3D Printing Case study: How I printed my own Zoom rings
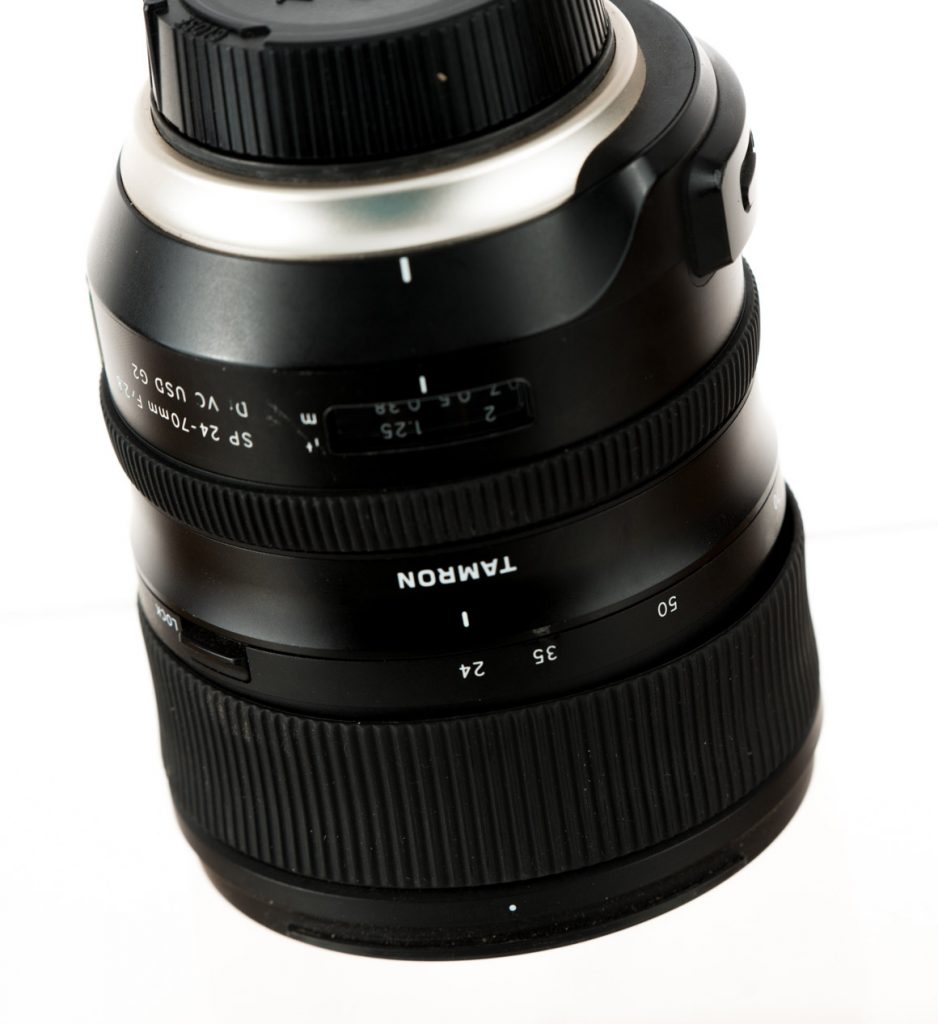
Being an avid photographer with a very heavy trigger finger my equipment tends to get used and often abused. After over two years of heavy use, the rubber rings around the zoom and focus rings of my main lens were stretched and loose. This can be slightly unsightly at times and downright annoying at others. Especially when trying to adjust fine focus during video recording or zooming in a dark nightclub!
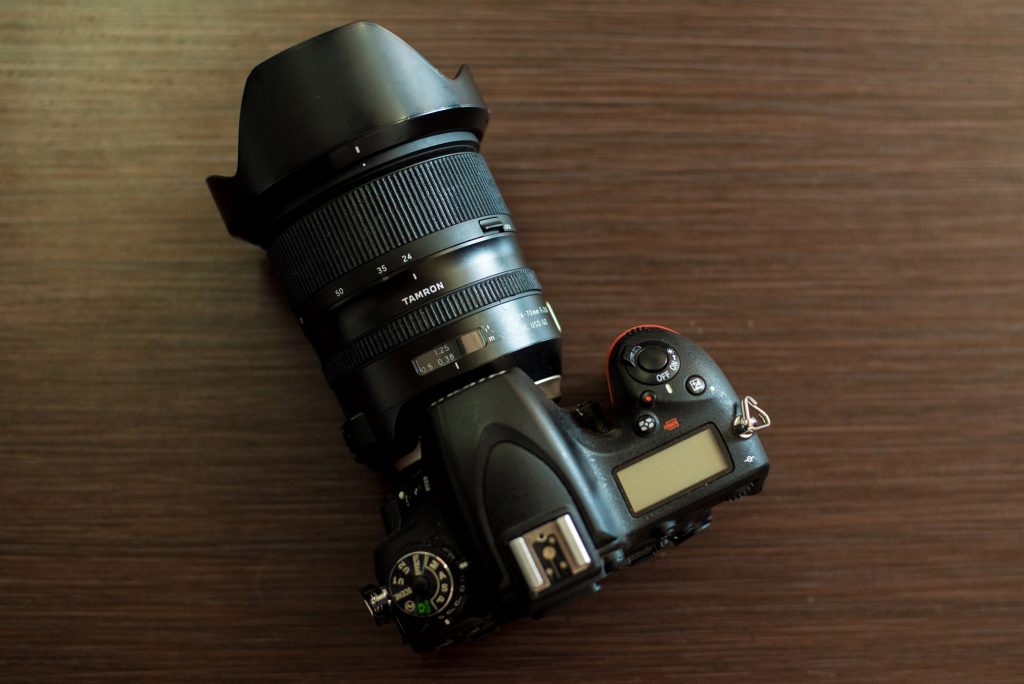
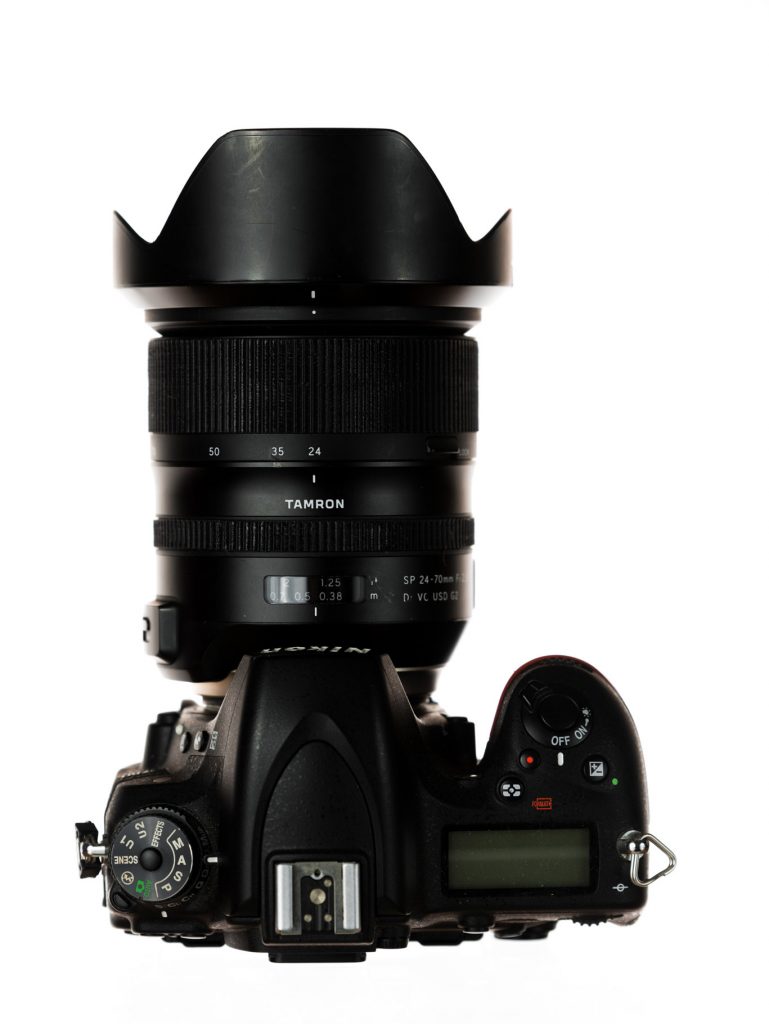
My main lens, the Tamron 24-70 f/2.8 G2 has seen better days but still works like a champ and hopefully continue working for more years to come. The state of the rubber rings is pretty terrible. In fact I was keeping the zoom ring in place with a wide rubber band. This works fine however it does not do the lens justice as it is visually and also ergonomically unappealing. Could 3D printing provide a solution?
Measurement and design for 3D printing
While I had been considering 3D printing the rings, at first I decided to buy replacement rings and be done with it. I figured that the time spent designing the part, finding the right material and getting a print which looks decent would not be worth the while. Unfortunately after clicking to the 10th page of my search results I could not find a reputable source which sells the replacement parts. I resorted to 3D printing, the vernier caliper came out of its drawer and I started taking measurements.
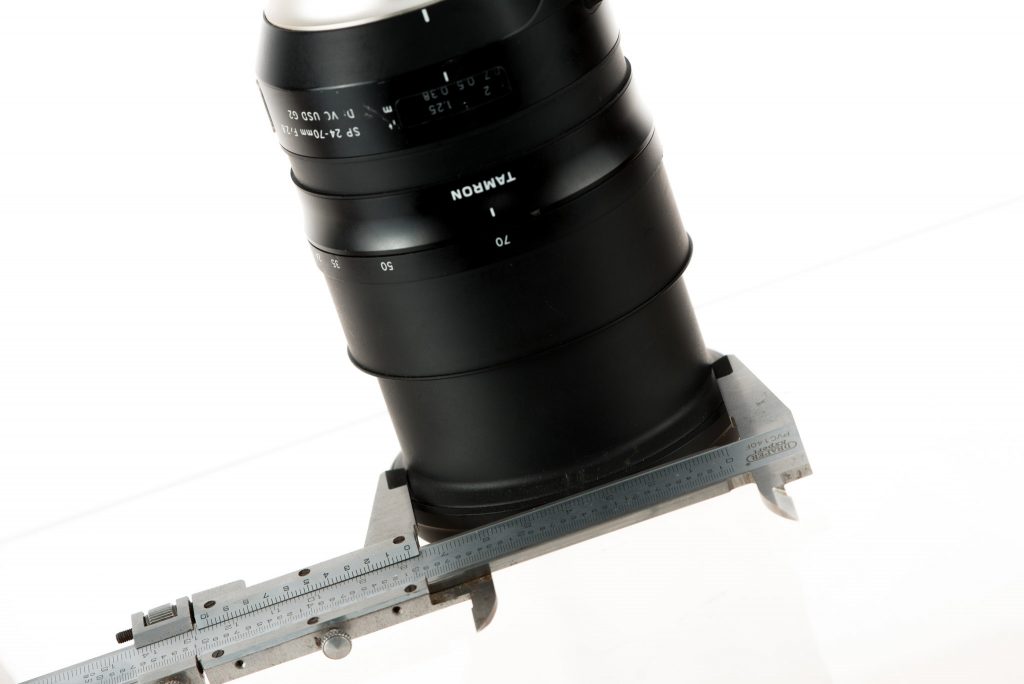
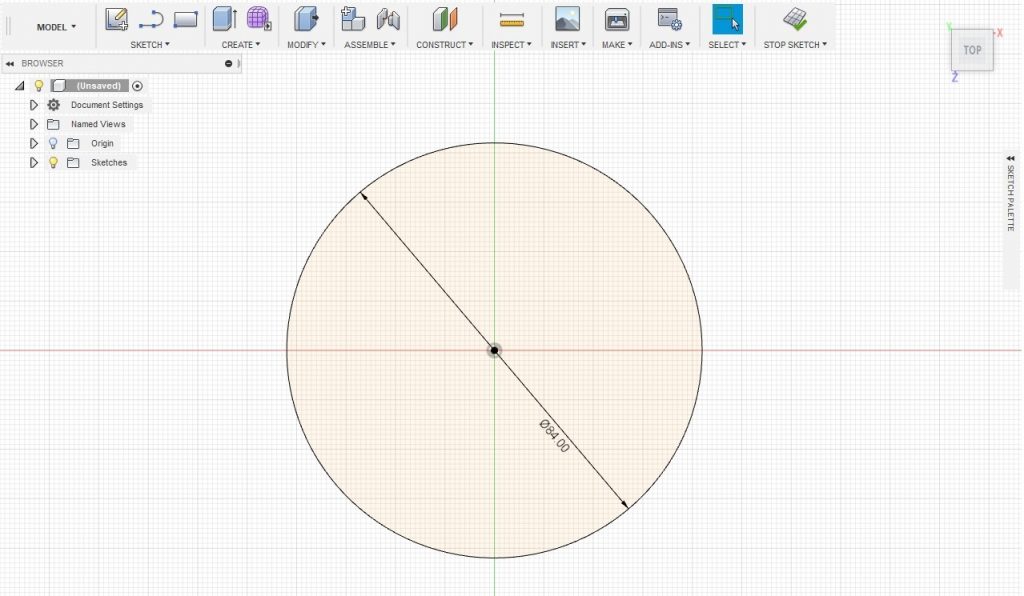
The zoom ring barrel is 84 mm in diameter with a height of 24 mm. The focus ring barrel is 82 mm and has a height of 7.5 mm. The thickness of material of both rings is around 1.5 mm. I opened up Fusion 360 and created a quick sketch using a centre diameter circle with a diameter of 84 mm.
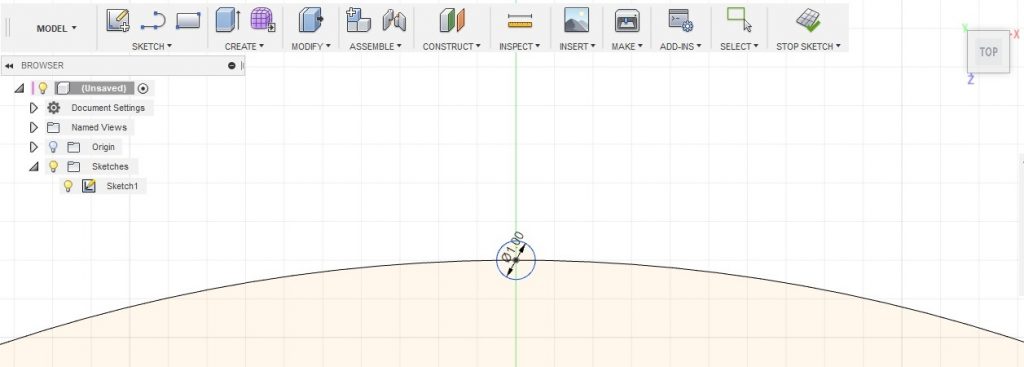
To add the knurling to the zoom ring I added a circle of 1mm diameter with the centre of the circle on the outside path of the 84 mm circle.
Using the circular pattern feature in the sketch module I repeated the small circle along the circumference of the 84 mm circle with a total of 140 repetitions
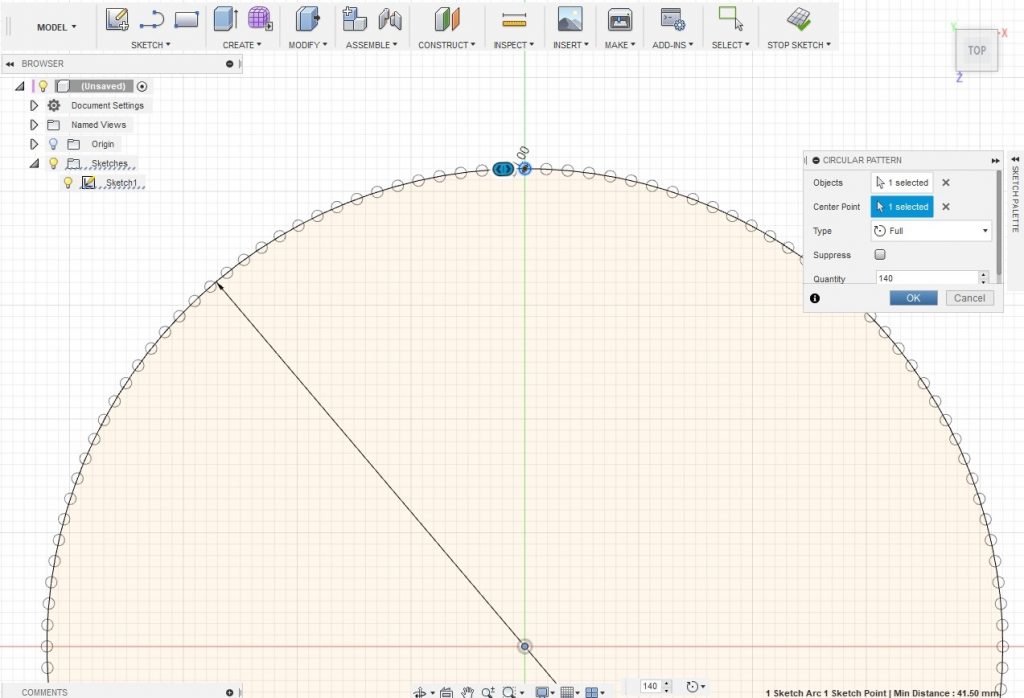
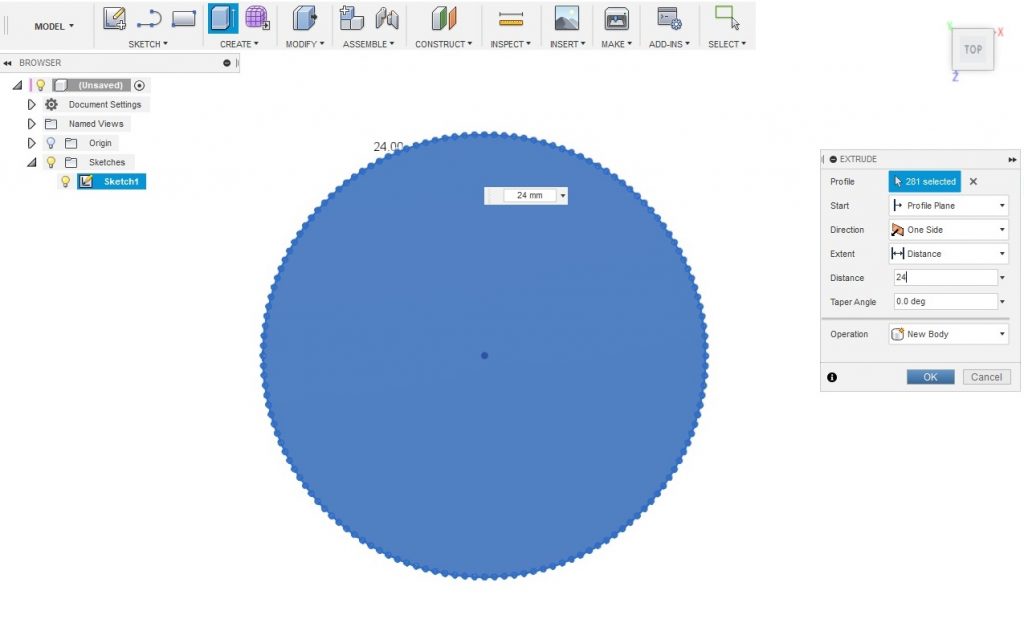
I then selected and extruded everything to a height of 24 mm.
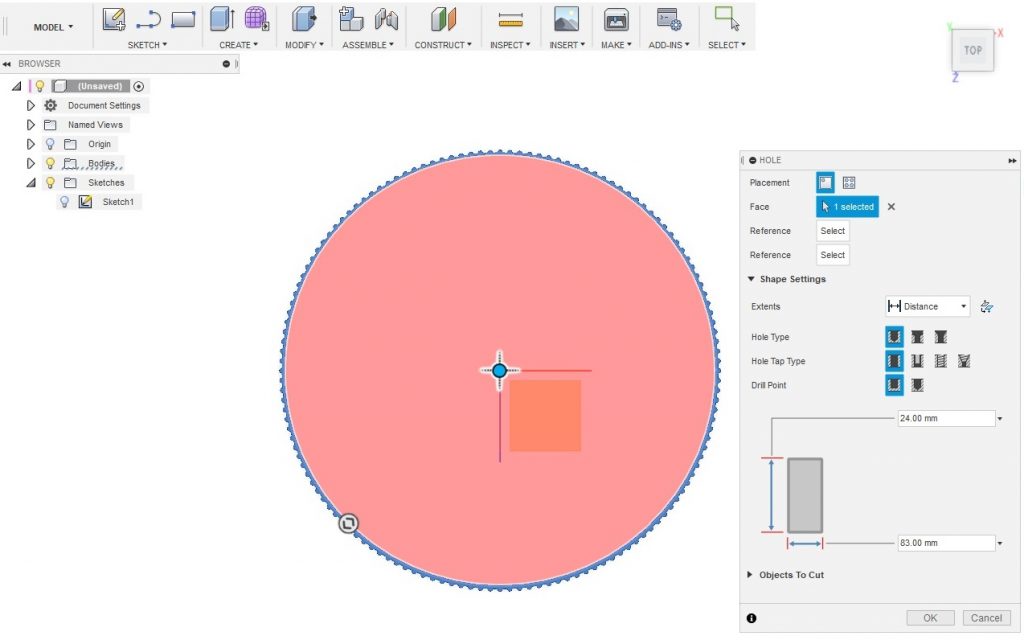
Given that I wanted the rubber grips to be slightly stretched over the barrel so that they stay in place, the diameter of the rubber ring needed to be slightly smaller than the diameter of the barrel. I used the hole tool to create an 83 mm hole in the extruded part and voila! the ring was ready. It actually took much less time than trying to source the ring online!
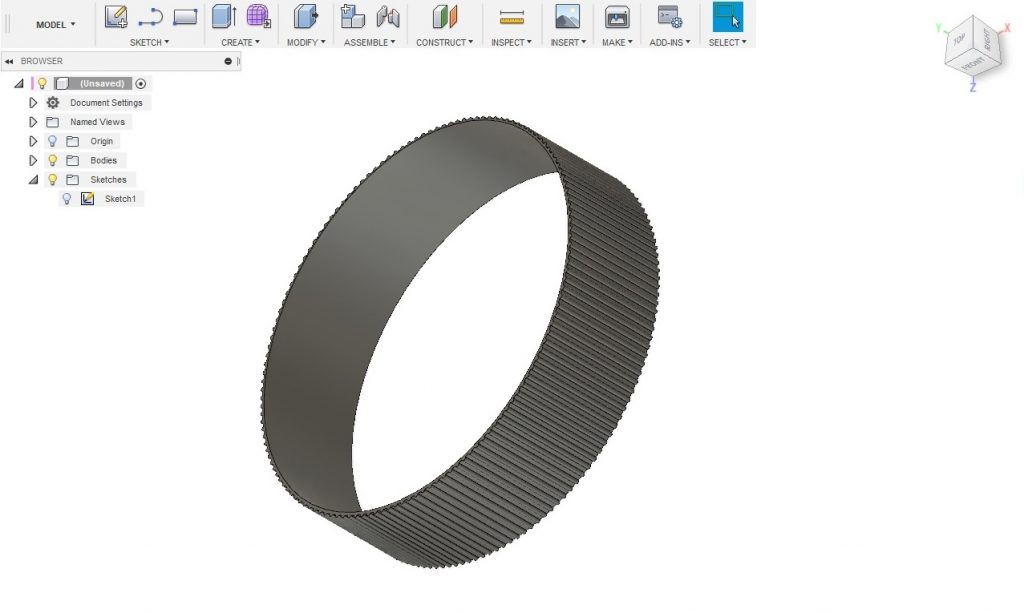
The finished ring on Fusion 360, looks close enough to the real thing and only took a few minutes to design!
Materials and 3D Printing
The rings need to be black to match the original rings as closely as possible. Currently we have 3 black flexible materials at our disposal. These include DSM Arnitel® ID 2045, DSM Arnitel® 2060HT and Polymaker PolyFlex™ TPU 95. DSM Arnitel® ID 2045 and ID 2060HT are TPCs – Thermoplastic Copolyesters. TPCs offer flexibility, chemical resistance and high strength and are often used in automotive applications. Arnitel® 2060HT is also capable of withstanding temperatures of around 190 °C for 500 hrs. This material is also quite rigid for a flexible polymer with, a shore D hardness of 61. As a result it is not really an ideal candidate for a zoom ring which should be soft and grippy.
Arnitel® ID 2045 on the other hand has a Shore D hardness of 34. This value is comparable to a Shore A hardness of 95, typical of flexible 3D printing filaments. Polymaker PolyFlex™ TPU 95 also has similar hardness values..
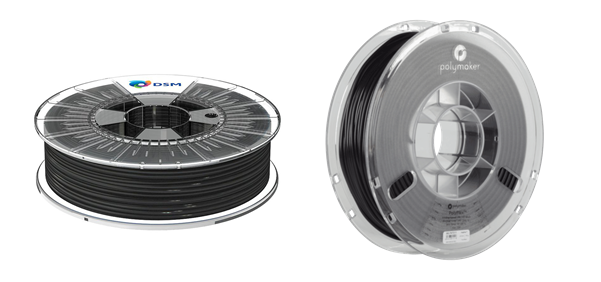
DSM Arnitel 2045
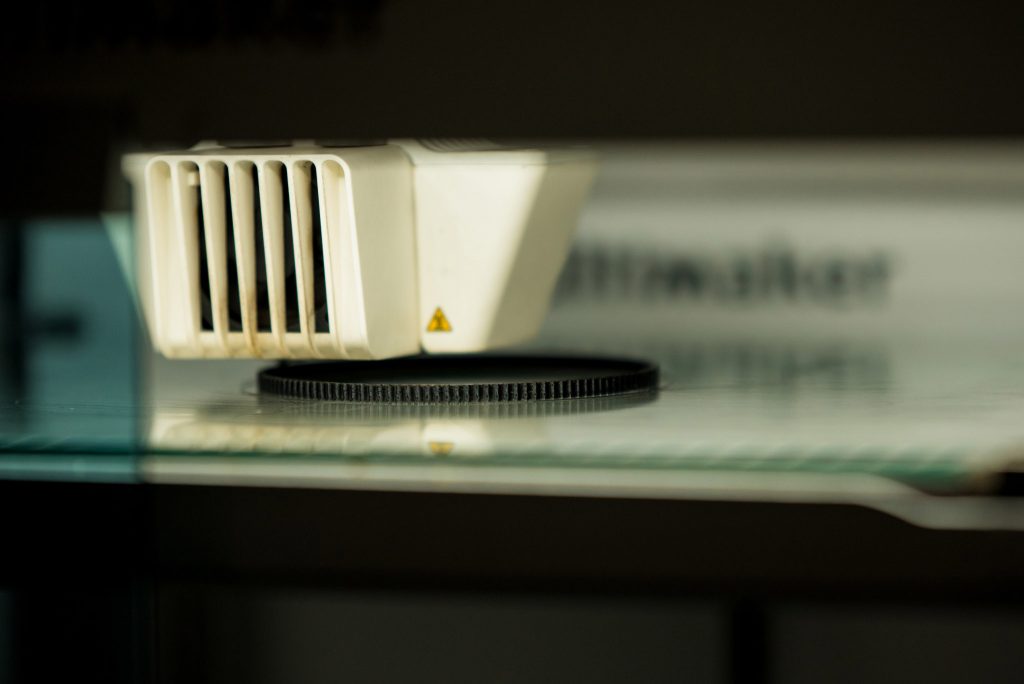
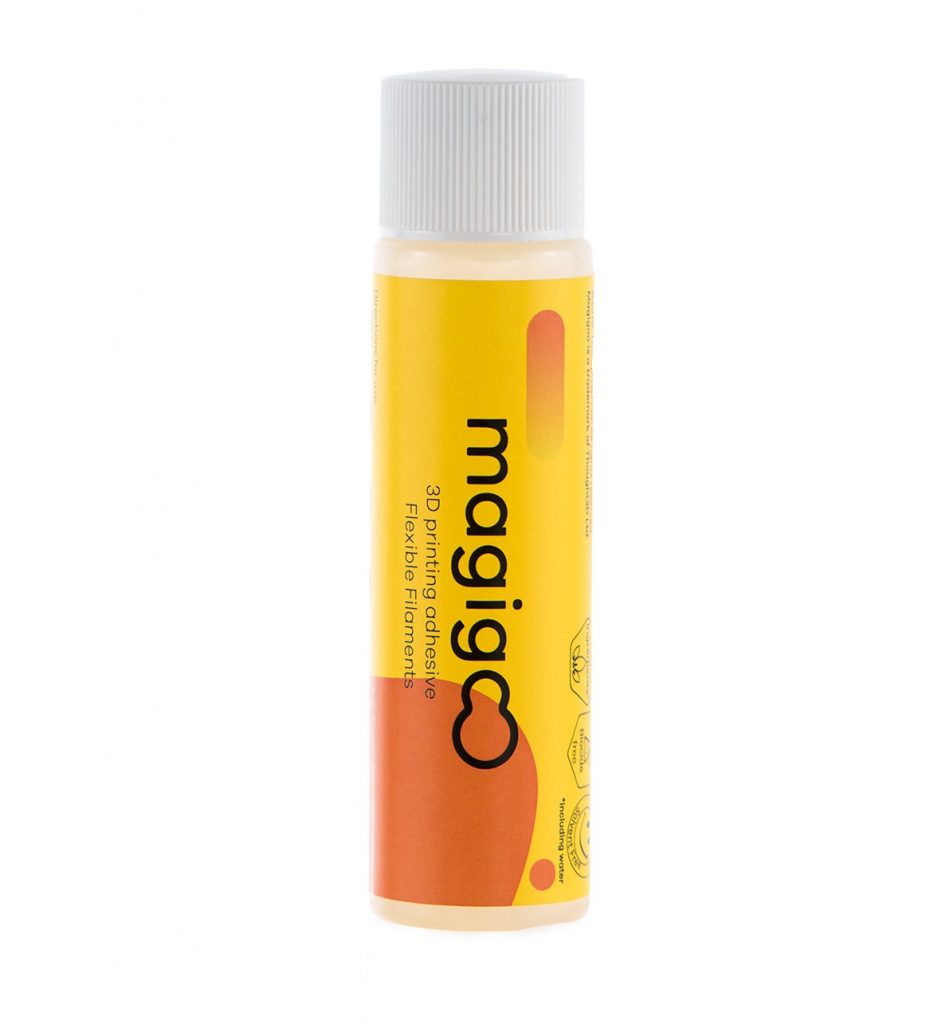
For printing I used the Ultimaker S5, Cura 4.2.1 and Magigoo® Flex – a new Magigoo adhesive for flexible materials. For Arnitel® ID 2045 the material Cura profile on the Cura Marketplace was used. The Magigoo Flex override were then applied on this profiles. The Magigoo Flex printing profile can be downloaded here.
For DSM Arnitel 2045 the recommended setting for best adhesion are a build plate temperature of 80 °C on the first layer, and 70 °C from the second layer onward. A brim is recommended for larger parts, but for very small parts such as this one, one can easily get away without using a brim. An additional 5 °C on the nozzle for the initial layer also helps improve adhesion. These settings will depend on your printer, print surface and printing environment!
Arnitel® ID 2045 unlike most TPUs does not stick very well to common adhesion solutions such as Magigoo® Original. In fact a number of TPEs and TPCs, have a different chemical make up to regular TPUs. For that reason we have formulated Magigoo® Flex in order make life easier when printing with these materials.
Three hours later my first 3D printed zoom ring was ready. I waited for the build-plate to cool before attempting to peel the part off. Pulling on any flexible material while the build-plate is still hot is a good way of irreversibly changing the dimensions of your part. After all that effort, you don’t really want that.
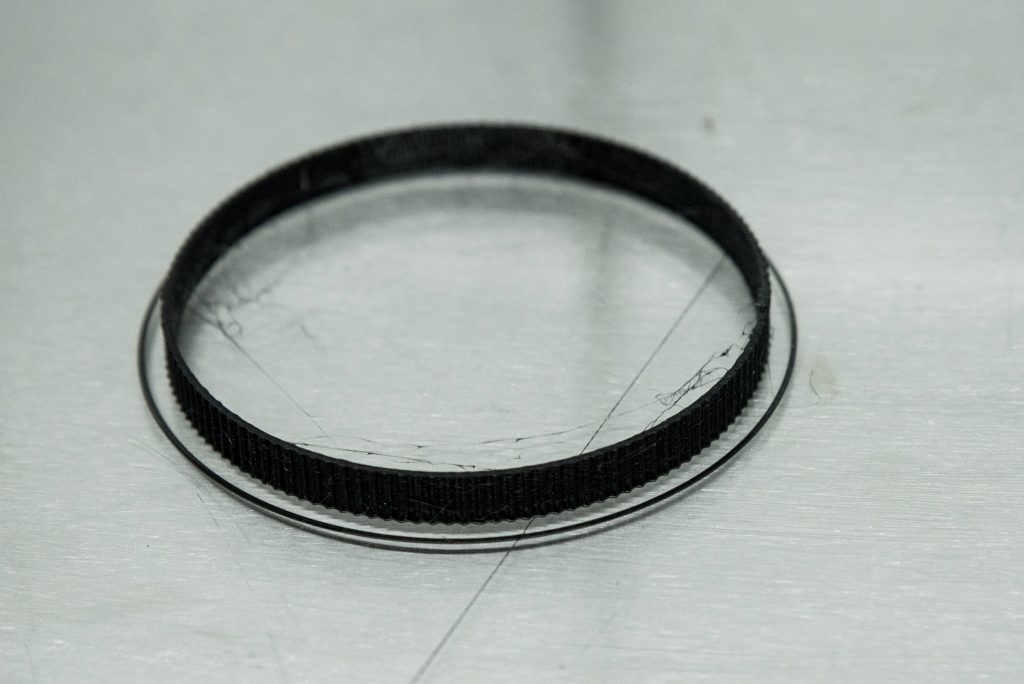
The print did show some light stringing however a quick blast with the heat gun quickly got rid of these and also improved the finish of the part.
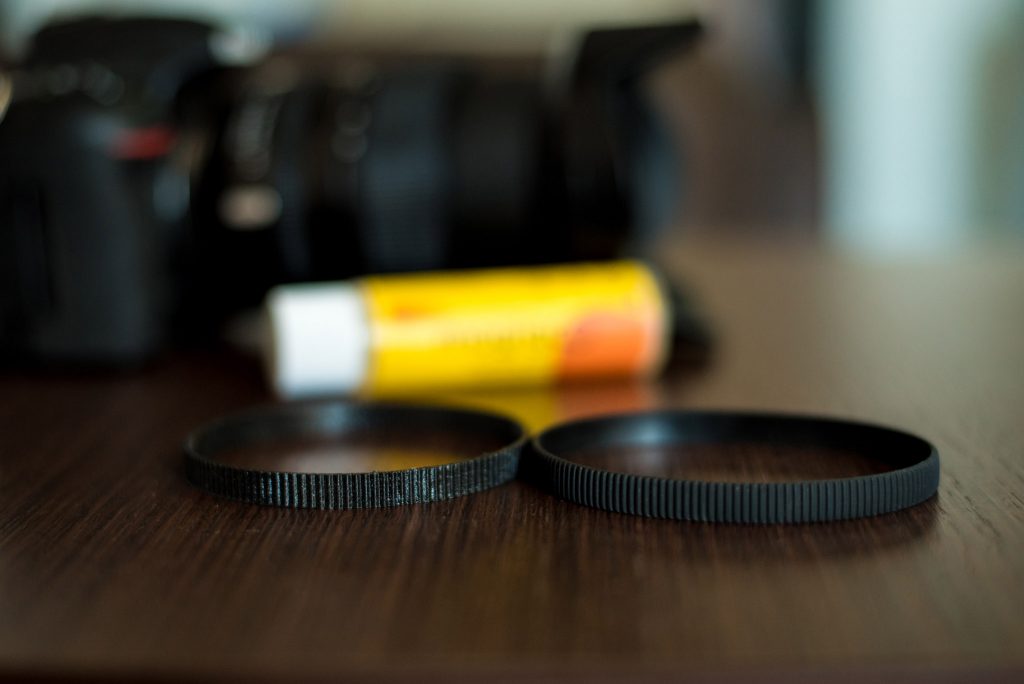
I was quite happy with the result however the finish felt a bit off, the original rubber rings (right) had a matte finish and were soft to the touch, on the other hand the printed rings (left) are slightly harder and also somewhat shiny.
Polymaker PolyFlex TPU95
I tried printing the focus ring using PolyFlex™ TPU 95A which has a slightly ‘matte-er’ finish when compared to the Arnitel®. Not wanting to design the ring from scratch I just adjusted the size of the ring from the slicer itself. Reducing the Z- height of the ring to 7.5mm and shrinking the ring by 2 mm in both the X and Y directions. With regards to printing parameters I used the same settings and adhesive but decreased the build-plate temperature to 60 °C. Once printed however the filament yielded more or less the same results with a similar finish to that of Arnitel® ID 2045. The lens still looks quite good with the printed rings and is definitely more comfortable to use when compared to the loosened rings.
Watch out for more interesting 3D printing projects in the future! Do you have any questions on this article or cool project you would like to see. Let us know!