3D Printing from a 2D Scan. Custom 3D printed part for Laser Tag gun.
This week’s blog post is somewhat different as it focuses on an actual use case of 3D printing for a custom application. We were approached by a local start-up, Warzone Malta, who have decided to set shop offering laser tag games here in Malta and since we like guns and games we were immediately interested. The opportunity to produce a custom 3D printed part makes it even better.
What is Laser Tag?
Laser tag is a tag game played between different teams carrying guns and wearing infrared sensitive targets. The guns shoot infrared beams (invisible to the naked eye) which are registered by the sensors. Depending on the different hardware and software used, the environment where the game is played and devices employed in this environment, the resulting game play mechanics can result in totally different game experiences.
At WarZone they have made sure to employ the latest in state of the art equipment. This means that it is possible to vary rate of fire, objectives, effects of being hit by another player, the number of lives and many other parameters on the fly to provide varied gameplay. At the same time, all parameters are effectively communicated to the players resulting in a far more enjoyable experience.
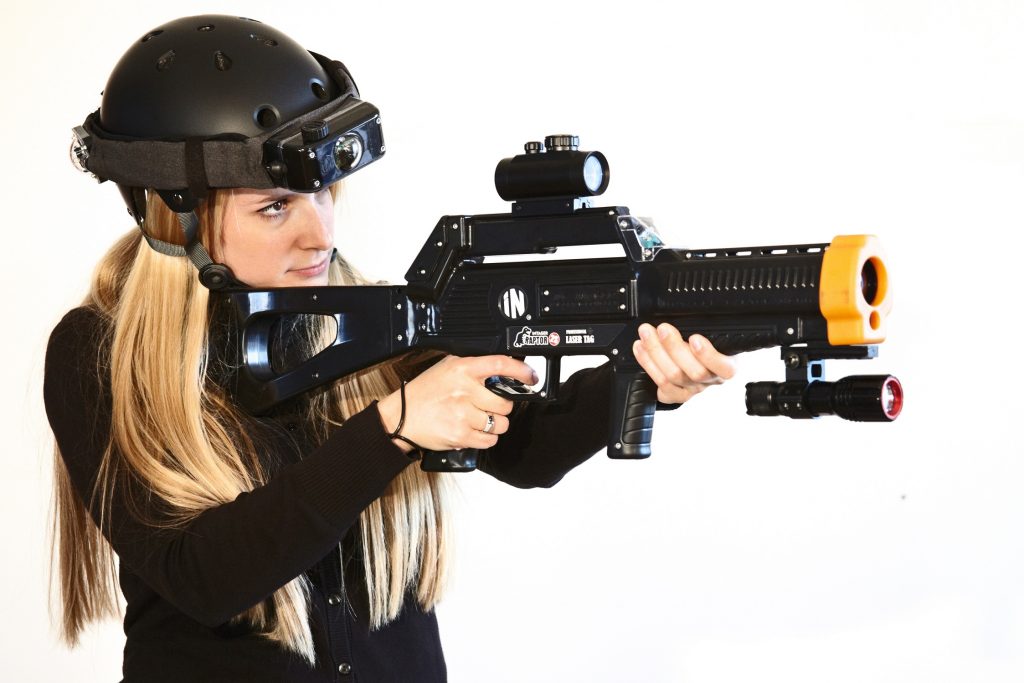
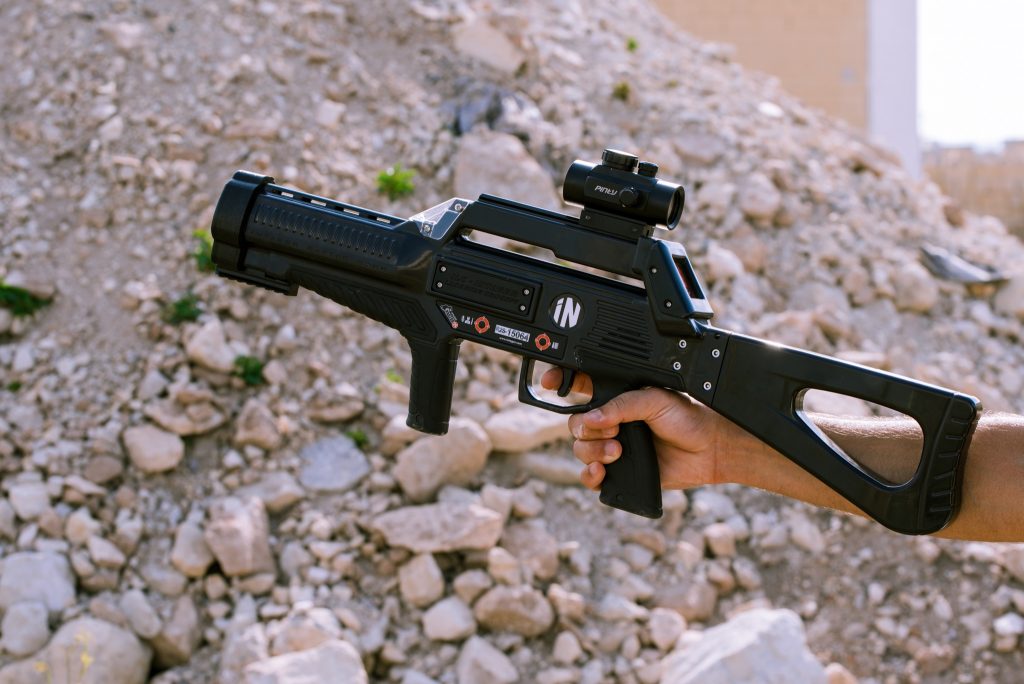
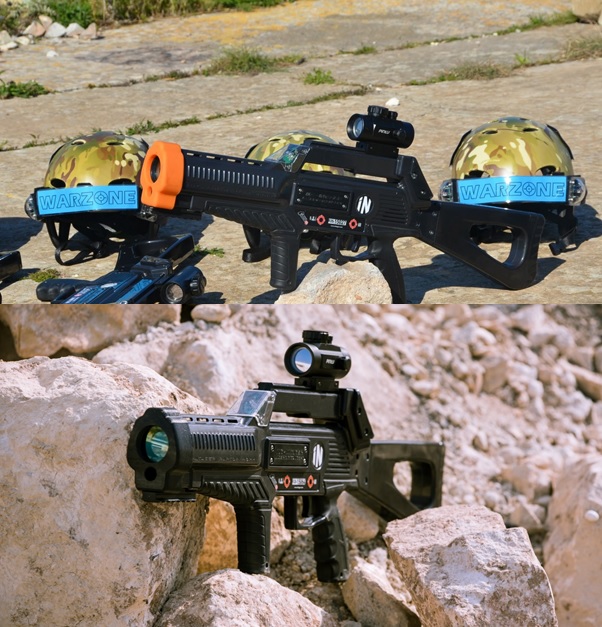
Offering the best experience is what led WarZone to contact us. The laser tag guns have rubber tips that offer protection to the inner electronics and lenses whilst also offering protection to the users from the hard-plastic edges underneath. Due to US safety regulations, these rubber tips have to be of a bright orange colour.
Andrew Scott Pace from WarZone had explained “Unfortunately, these orange tips do not look good on the guns as they make them look childish and thus, we wanted to get rid of them. Obviously, we did not want to just take off these tips as they offer protection to both the inner parts of the guns and the users against the hard-plastic edges. So, at first we asked the gun manufacturer whether these rubber tips were also available in black.”
Since this was not an option, they then considered dying the rubber tips in a black dye. This idea was quickly shot down as they were afraid that the result would not be consistent or professional enough.
They then thought about 3D printing these parts and this is how we got involved. The custom 3D printed part had quite a demanding geometry especially when considering that it had to fit snugly around the end structure of the gun. Printing it was also going to be a bit tricky since it needed to be printed using a flexible material.
Designing and iterating
We started off with a 2D scan of the main shape of the part that required replication. This flat shape was easy to scan in a common flat-bed scanner and offered an initial reference point to start off from. A 2D scan is a shortcut way to get the contours of the part eliminating the need of trying to design any complex curves precisely.
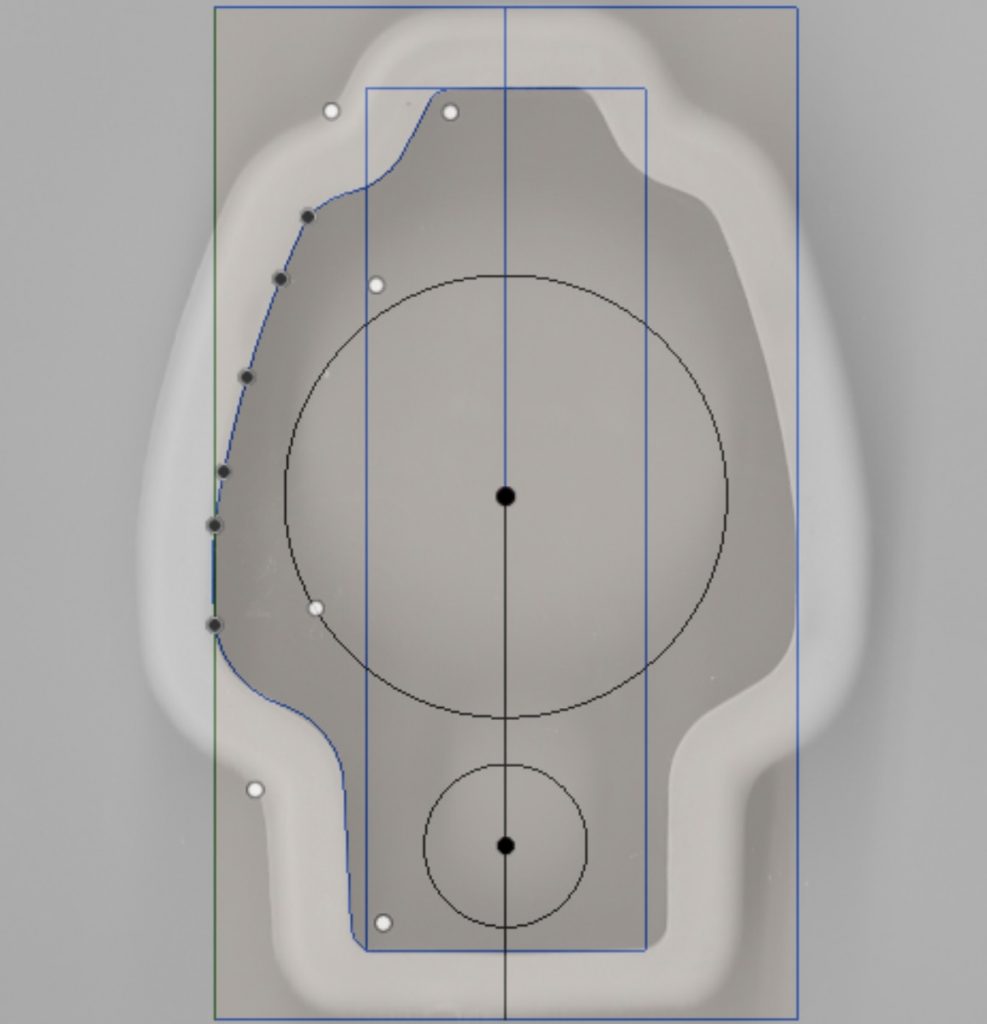
After this was done and imported into fusion 360, the actual part was measured up using rulers and a Vernier caliper. Using these measurements and the initial scanned shape we started building up the required part. We took a bottom up approach building the design from the bottom and rising, just like a 3D printer. Just by utilizing basic shapes and curves we were able to recreate the part and then started refining it.
Iterating and choosing a suitable material
After the initial prototype it was then a matter of printing, testing the fit, fixing the design and repeating over and over again. It took a number of iterations until we were totally happy with the results.
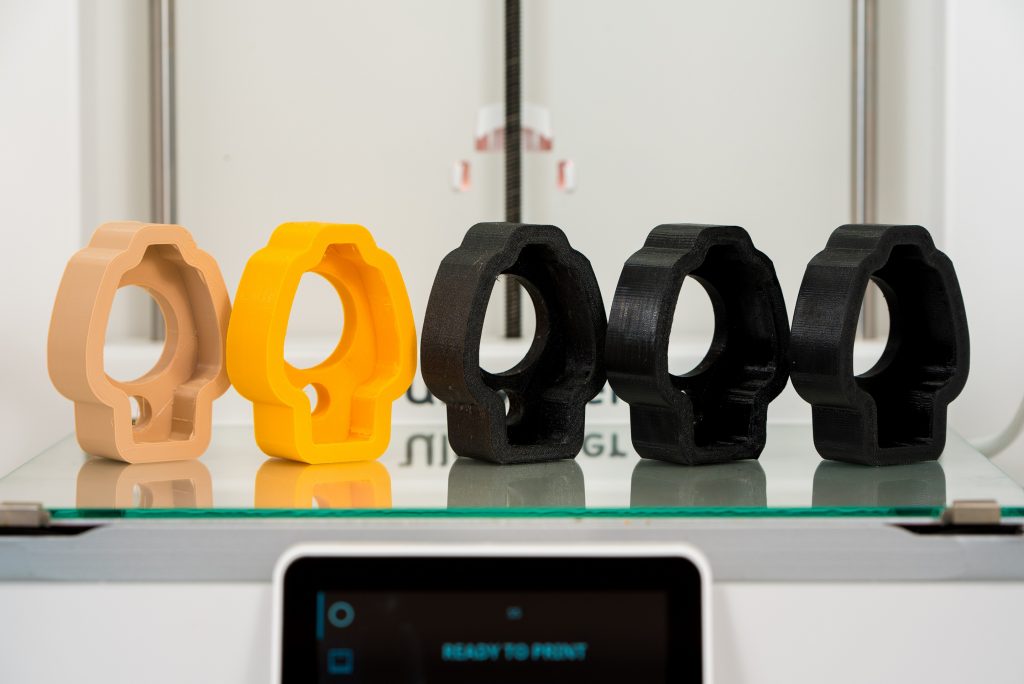
The choice of the material was also very important. It needed to match the original parts hardness and flexibility as much as possible. The fact that the molded part was totally solid as opposed to a custom 3D printed part that has an inner structure that actually imparts mechanical properties to it, meant that this was not just a simple task of matching like with like. We tested several different flexible filaments with varying shore hardness from different filament suppliers, 98A, 92A and 95A. We ultimately decided that the best compromise was achieved with using the 95A hardness filament. We decided to use black Polymaker PolyFlex TPU 95A (sourced from another local startup, Invent3D) and started testing the best settings for printing these on our Ultimakers using some Magigoo (original) to be able to easily release them from the glass bed after printing.
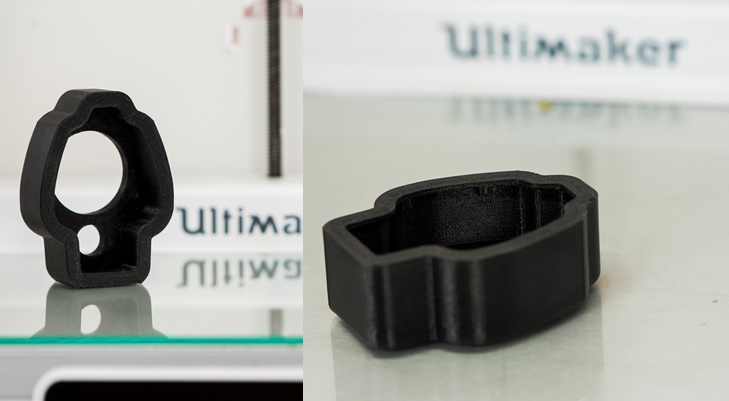
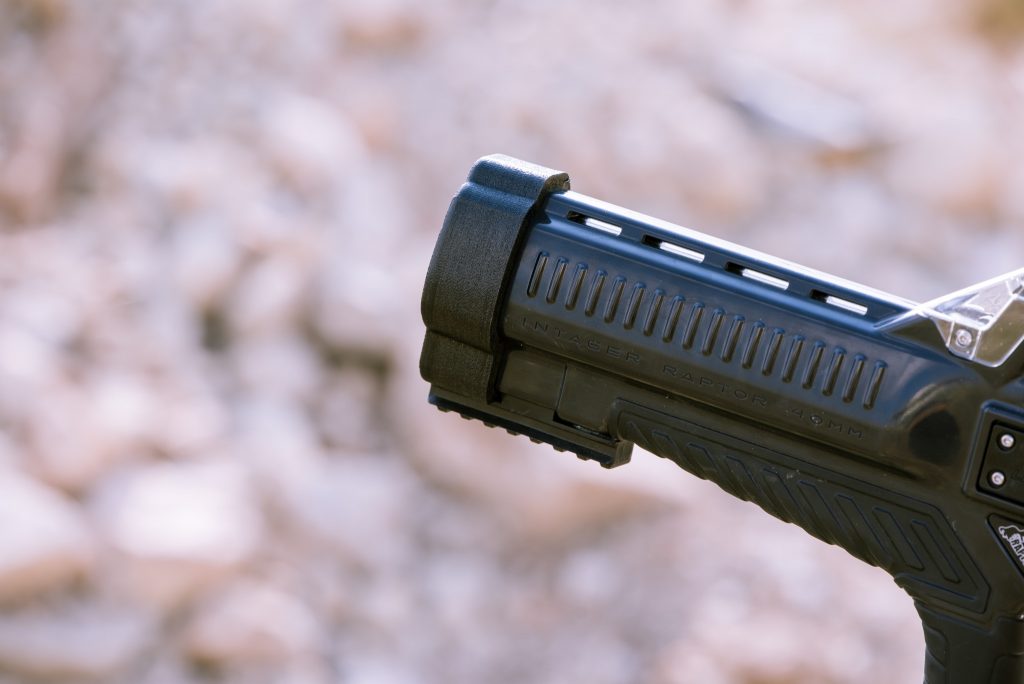
The result – Custom 3D printed part
Since it is said that an image is worth a thousand words, here are some images of the actual part Figure 5 and the same part fitted on the gun, Figure 6.
3D Printing an enabling technology
The wider adoption of 3D printing, one of the most important tools of this ‘Industry 4.0’ era, means that anyone can; customise parts to his liking, repair or replace broken parts with exact copies or improved designs, or even take an idea and quickly and efficiently create physical prototypes and products. Creating such a custom part without utilising 3D printing would have been a very big ordeal. Instead, thanks to 3D printing, this custom part was created in the span of a couple of days. At Magigoo, we feel extremely lucky to be able to help make 3D printing even more accessible. Our custom glues allow 3D printing people to experiment with more engineering plastics, thus enabling newer applications for this amazing technology.
The team at Magigoo is now looking forward to test these out on the field, playing a laser tag game to burn off some of the calories we take in during the week.