Upcycling with 3D-Printing: Our All-In-One PC Tablet
Additive Manufacturing, or more specifically 3D Printing, can be used for a variety of sustainable purposes. This includes printing replacement parts rather than buying them, modelling and printing parts to improve a system, and more. In this blog post, we will be exploring how we went through a process of upcycling with 3D-printing. We turned an old, broken, unusable laptop into a new ‘All in One PC’ tablet. This idea came to us after watching DIY Perk’s youtube video, where he did something similar.
The Broken Laptop
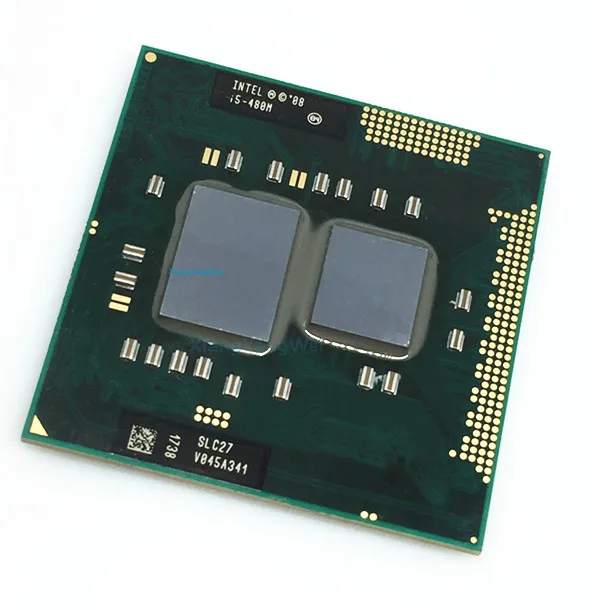
The laptop that would become the All in One PC had quite a few issues with it. It was purchased broken, with the idea of re-purposing the components for a project. The screen was smashed, and the case was broken in various places. It also had a defect with the motherboard, where one corner of it was slightly bent and damaged. This laptop featured an Intel Core i5-480M Processor, with 4Gb of DDR3 RAM.
The Transformation
To effectively reconfigure this laptop into a functional All in One PC, a number of changes had to be executed. Firstly, a number of unnecessary components were removed from the laptop, namely the Camera module, the whole keyboard section, a CD reader slot, and the broken screen. The main change in the system was that the broken screen was entirely replaced by a new 17.3″ Touch Screen. This change allows for the functioning of this reformed PC without having to use a mouse or keyboard.
The Camera module was taken out, and replaced with a USB hub, that was soldered in place. The purpose of this USB hub is to allow for a number of components to be connected to the main system internally, such as the 16:9, 17″ Touch screen monitor. The laptop’s battery was faulty, and for this reason, the battery was removed entirely, and the power supply was connected directly to the main board. This means that the system now requires a constant power supply to be connected to switch on.
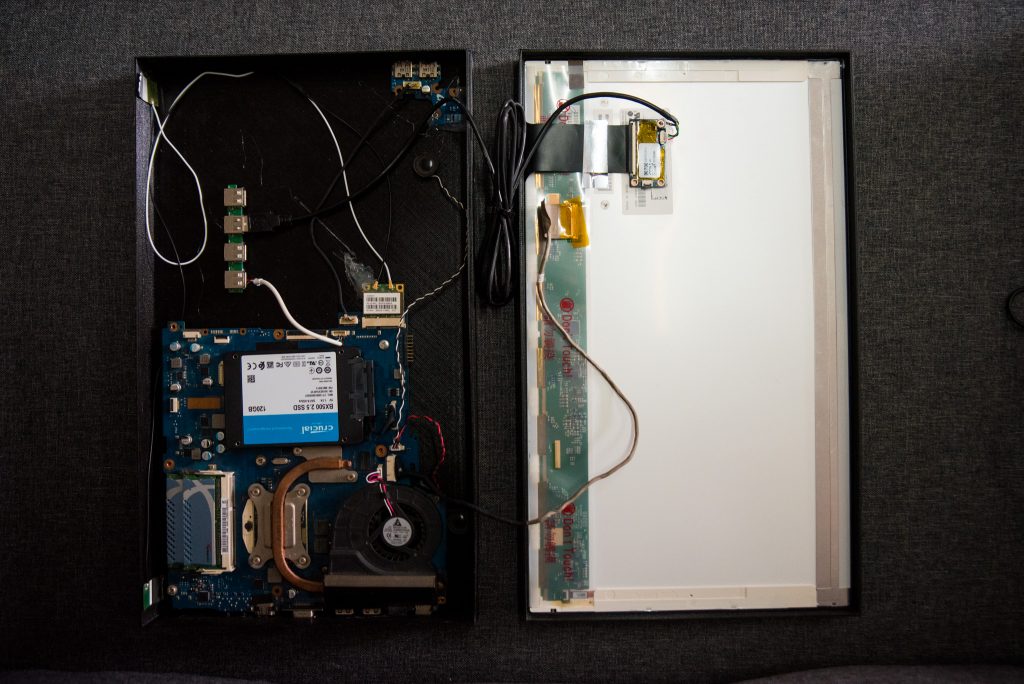
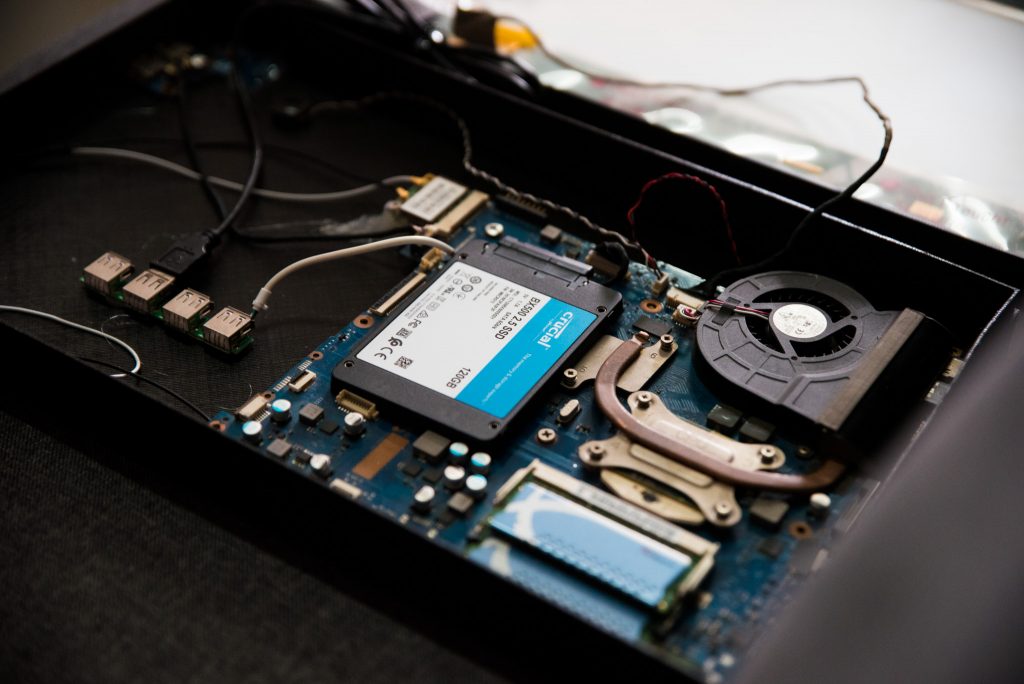
Although the broken laptop did not have a Hard Disk Drive (HDD), a Solid State Drive (SSD) was installed for extra storage, as well as faster data access. Another upgrade that was done was that of the RAM. The laptop originally had a 4GB, which was upgraded with another 4GB from an older laptop with a water damaged mother board.
3D Printed Housing
The final modification was to create a housing that can fit all the components, and the monitor. Since this blog is about upcycling with 3D-printing, this part was 3D Printed. It was designed through Autodesk Fusion, and 3D Printed using PLA, on a CR-10S5 printer. Magigoo was used on the build plate before printing, to ensure that the large flat part is printed with as minimal warp as possible. While PLA might not be the most ideal material as it isn’t heat resistant, the limitations imposed by the printer would not allow for more heat resistant materials to be printed.
The screen was fastened to the top part of the case, and the rest of the components were fastened to the bottom half of the case, most of them either glued in place or by using threaded inserts.
The All in One PC Tablet
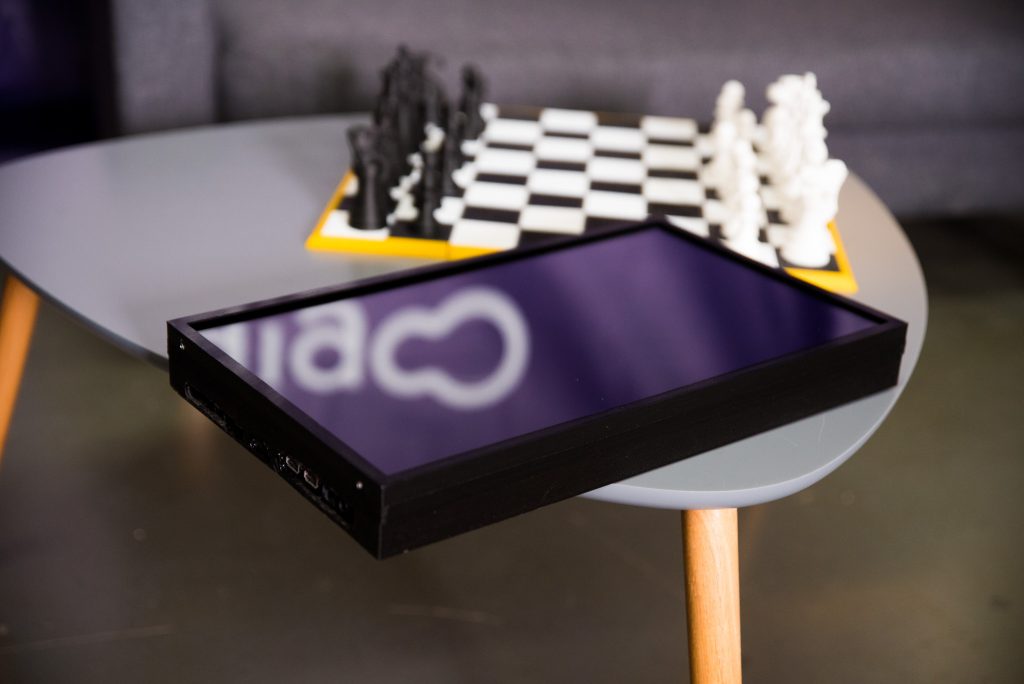
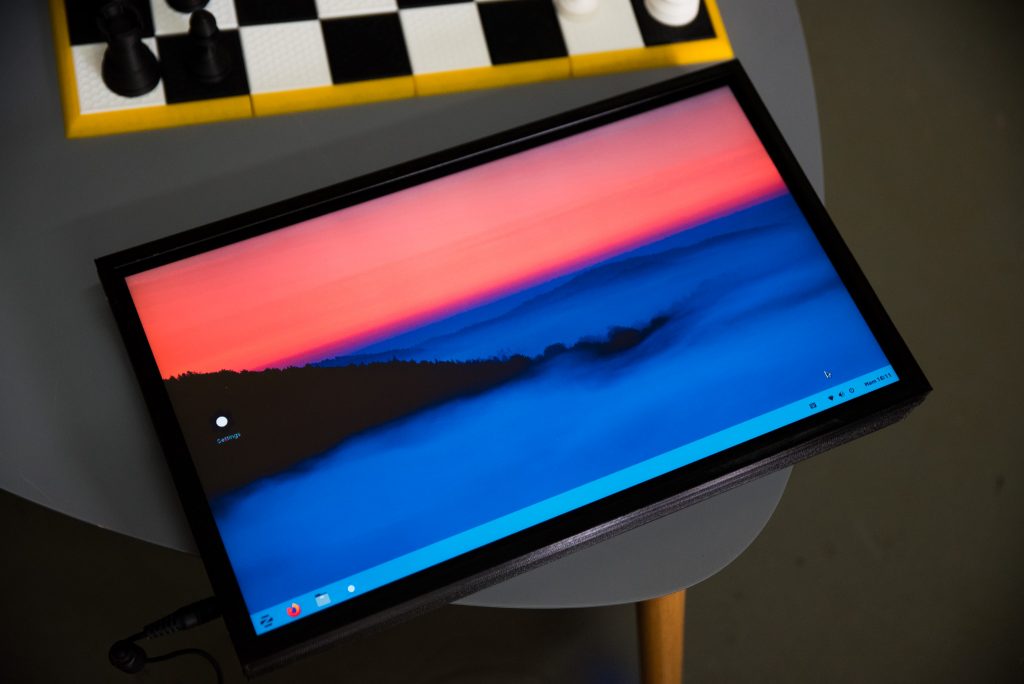
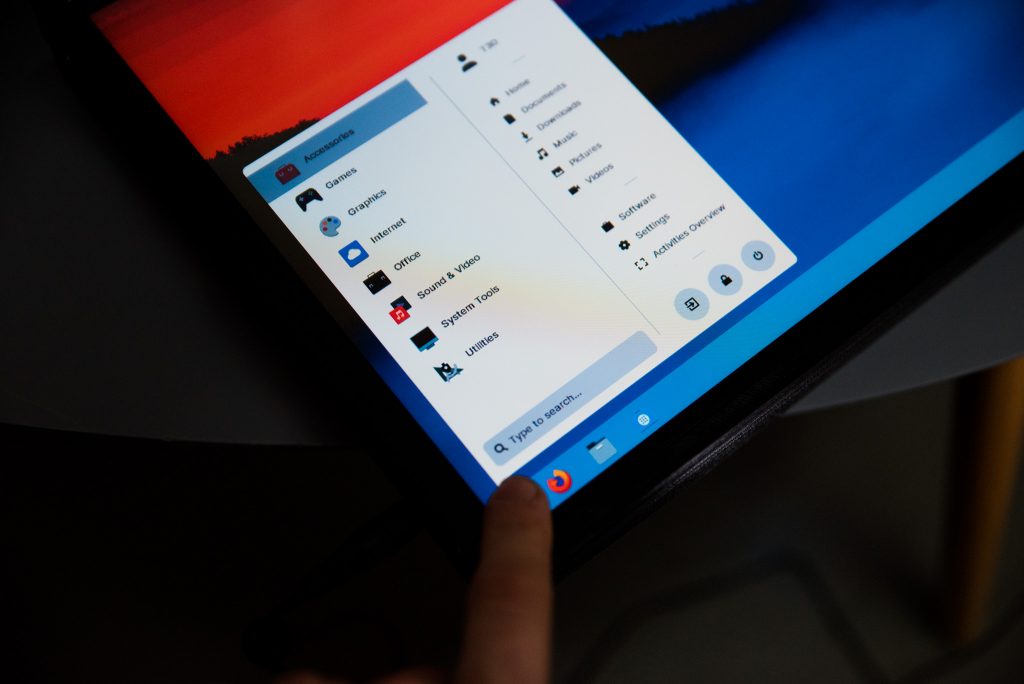
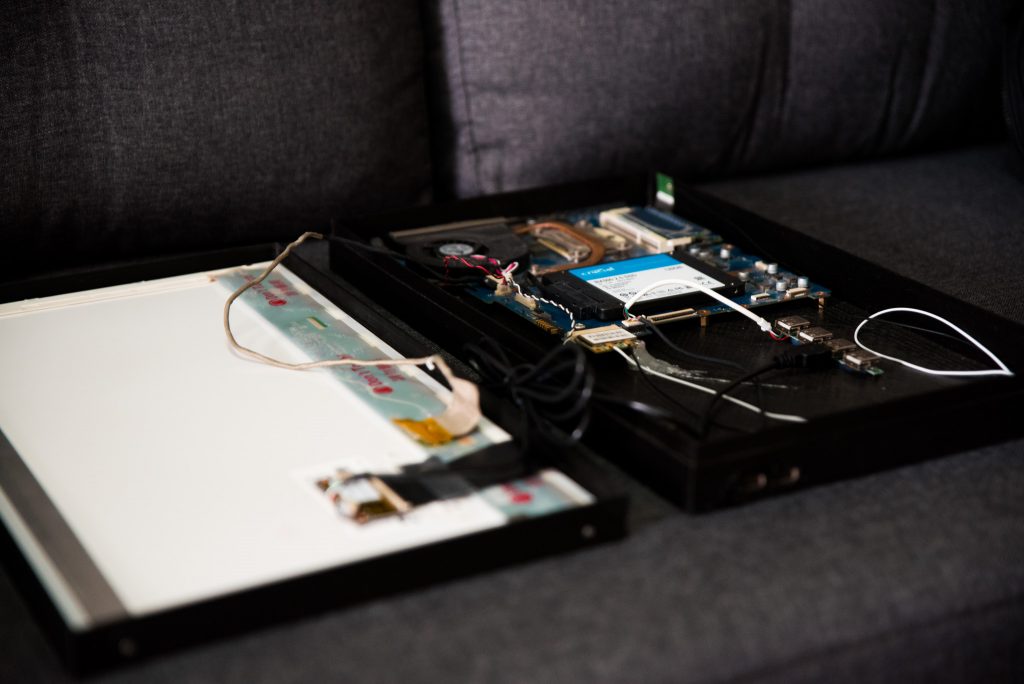
The final product which can be seen below, is the final, fully functioning All in One PC Tablet, obtained through upcycling with 3D-printing. It features 4 USB port and an SD Card reader. It also has an Ethernet port, HDMI and VGA ports, as well as Mic and Headphones 3.5 mm jacks.
We also have some upcoming planned upgrades to the All in One PC Tablet. Mainly, we would like to find and implement a battery to the system. This allows for this machine to be used while not directly plugged into the wall. We would like to implement the ability for it to accept an external video input. This allows it to be used as an extension of another system. Other small upgrades include adding a USB-C power connector and adding a stand to have it stand upright or at an angle.
