Applications of 3D Printing – Project batteRE prototype
About Jan Wegener
My name is Jan, I’m 16 years old and currently attending German grammar school at “Gauß-Gymnasium Worms“. I mostly prefer subjects like physics or mathematics. and like to regularly participate in competitions with my own 3D printing prototype projects. I built my first Prusa i3 in 2017 to help me print my own spare parts. Nowadays I give workshops in school on topics like Raspberry Pi, programming and 3D printing.
Things I do with 3D printers
When I started my 3D printing adventure, I printed things like small spare parts, mobile phone covers or figurines. Later on, I started printing more functional pats such as Raspberry Pi projects and finally I moved on to designing and printing my own parts. My first design project was a “pill dispenser”, which I designed with two friends for the competition “Jugend forscht”. We won first prize with our design!
Over the last year 3D printers have become more and more popular in my school. In one of our projects, we printed our own tires for the Lego Mindstorms robots in the “Robotics ag”. Another 3D printing project which I am currently working on is called “batteRE”!
Project BatteRE
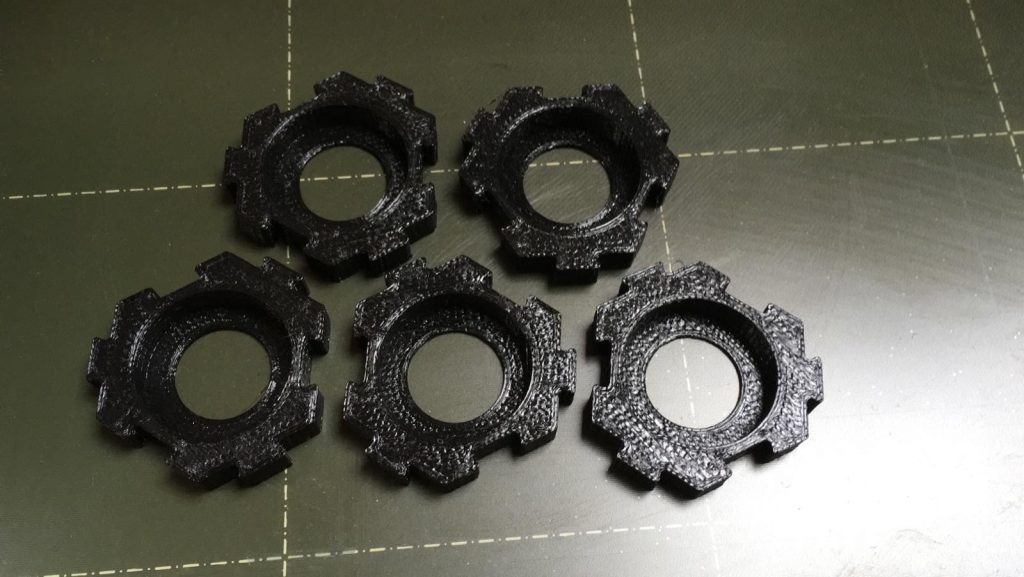
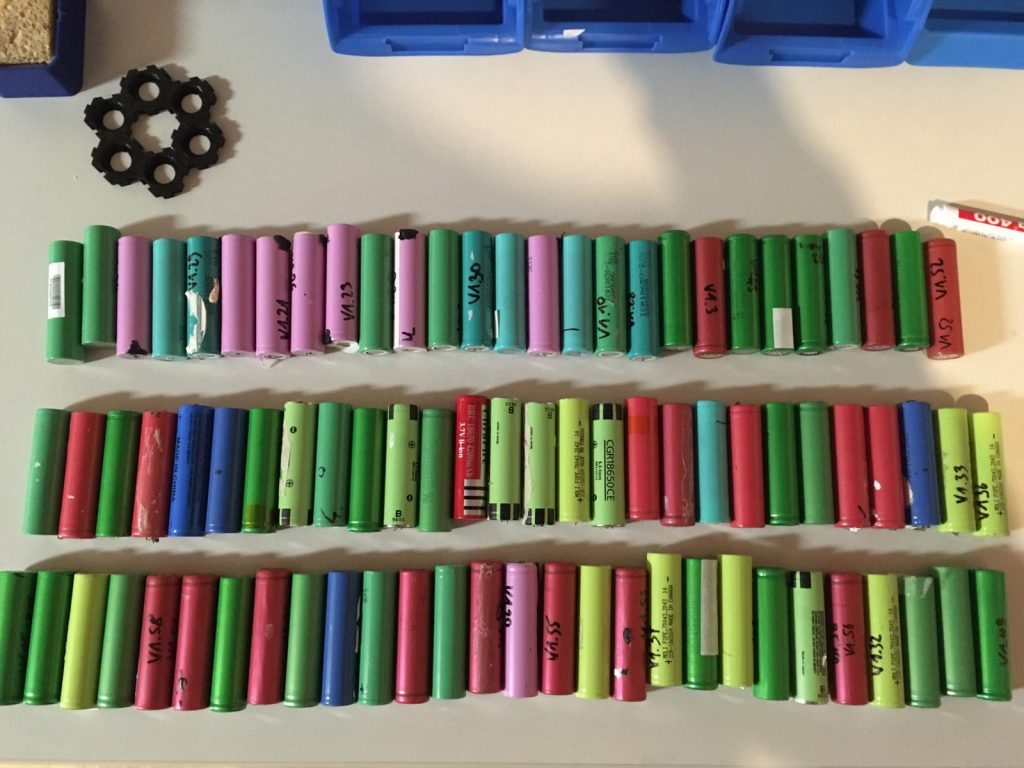
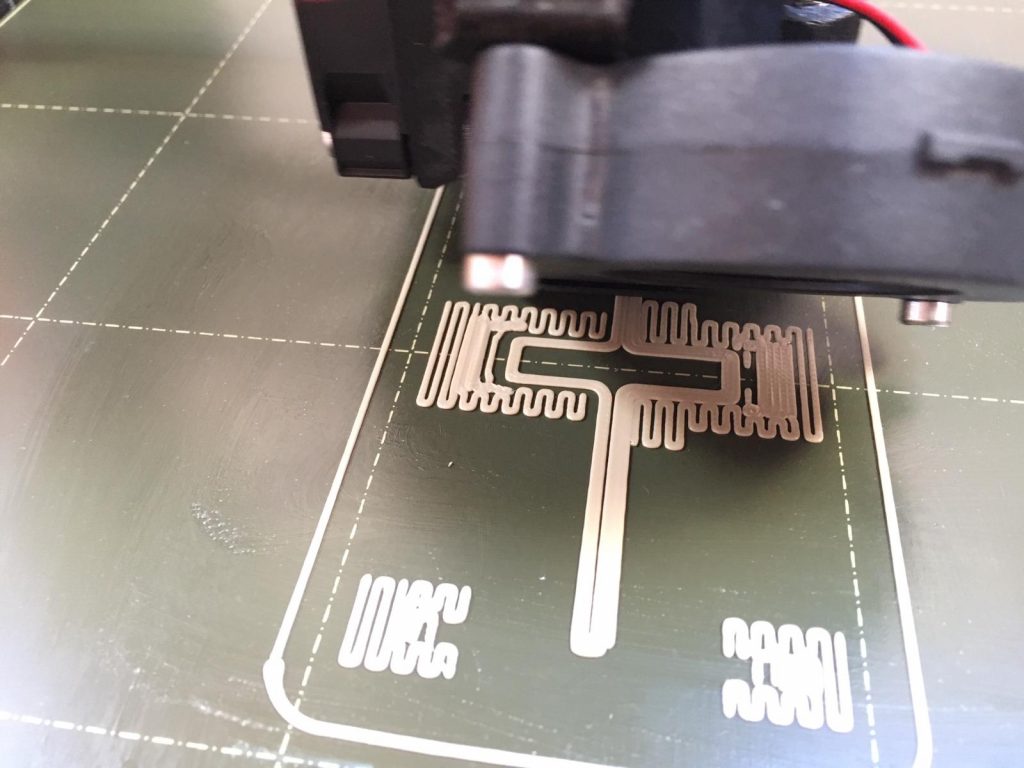
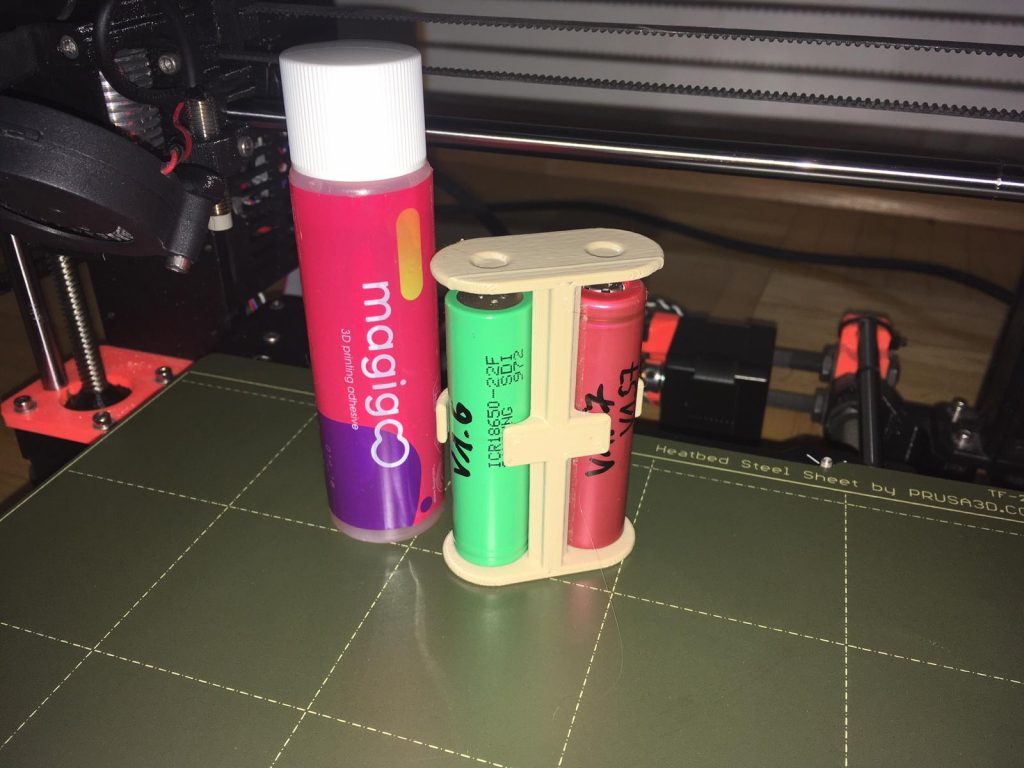
In one of my projects, I recycle Lithium-Ion batteries (18650) from used laptop batteries. In order to store the Li-ion batteries in cases, and to build new battery packs with a different quantity of cells I used 3D printed parts. I print these using, PETG since it is more heat resistant than PLA, and thus it does not melt as fast when soldering the cells. For the recycling process, I use a chart in Libre Office Calc to save the capacity and the voltage of every cell. When I need a battery pack I print the parts shown in the images below to connect the cells:
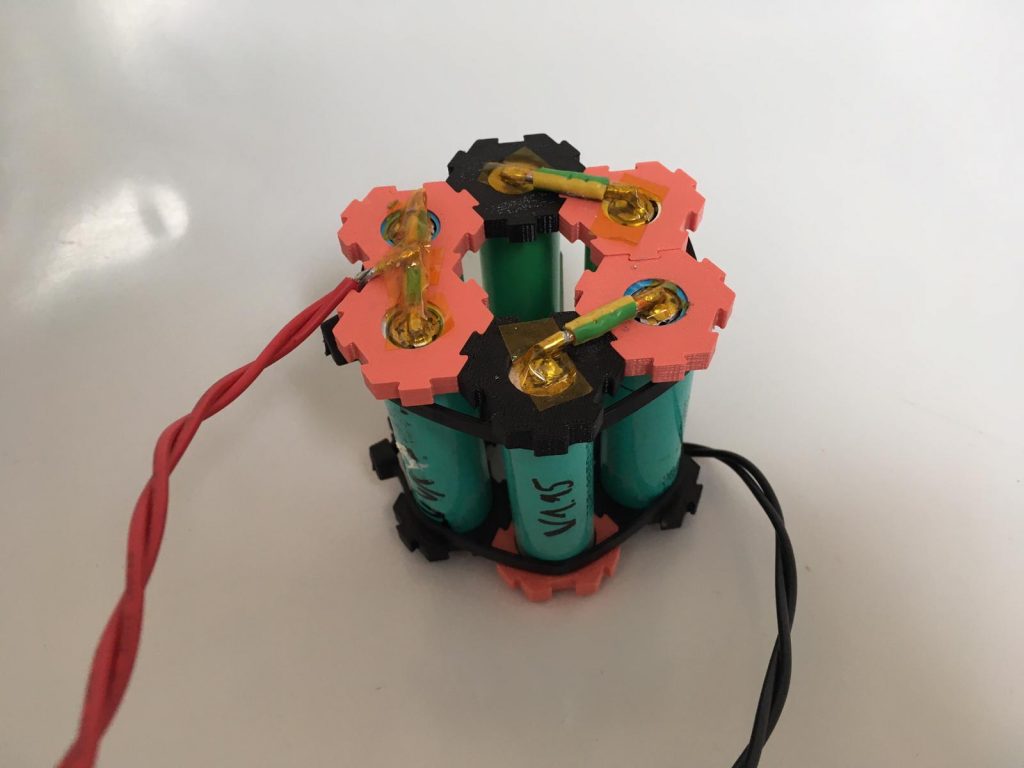
The main goal of my project is to build a working house battery that can be charged by solar energy. Furthermore I am also developing methods for monitoring and extinguishing such batteries in case of fire.
How Magigoo helps
I often experienced first layer adhesion problems when using PLA but especially with PET-G. You can check out the video below where a PETG print failed when no build plate adhesive was used.
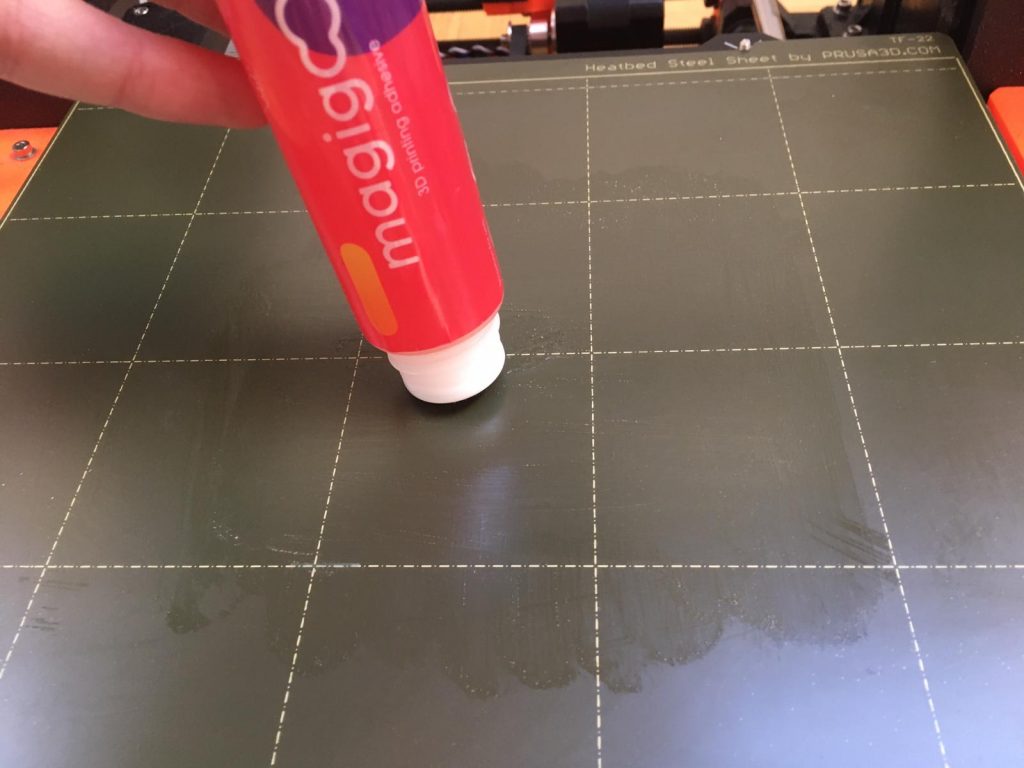
I also attempted to print with normal glue stick, this failed because the print hardly came off and I destroyed a part of the bed. What I like about Magigoo is that it is very easy to spread and the prints always stick perfectly. The print can be removed easily and the bed will not be damaged!
The SATWARE//LABS, a new makerspace in my home town, now also uses Magigoo for 3D printing and they also benefit from the good adhesion as they make many high quality parts with PETG and ABS.
Get in contact
If you have any ideas, or questions about me or my projects, please write a mail to: info@jantec.internet-dns.de or battere@jantec.internet-dns.de. You can also follow me on the social media channels YouTube and Twitter or visit my website