Functional Prints for FDM Printing – Part 1
Everyone who owns a 3D printer is probably guilty of printing frivolous models found online on websites such as thingiverse, cults3d, myminifactory. However these sites often feature functional prints which can put your 3D printer and filaments to good use. Furthermore with some design knowledge you can also design your own functional prints and even save money by fixing or creating your own tools and jigs. This week we will feature some of our favorite useful 3D prints we found online and also some parts which we designed ourselves.
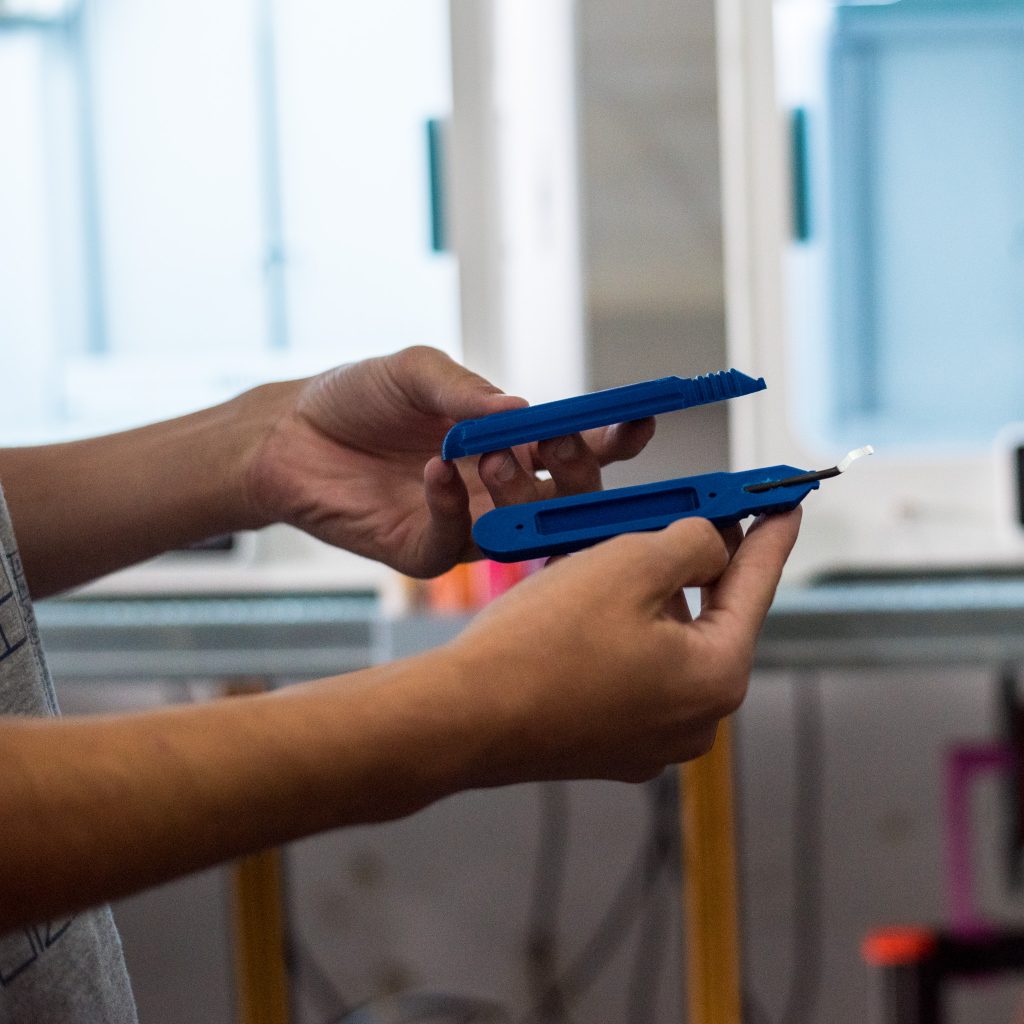
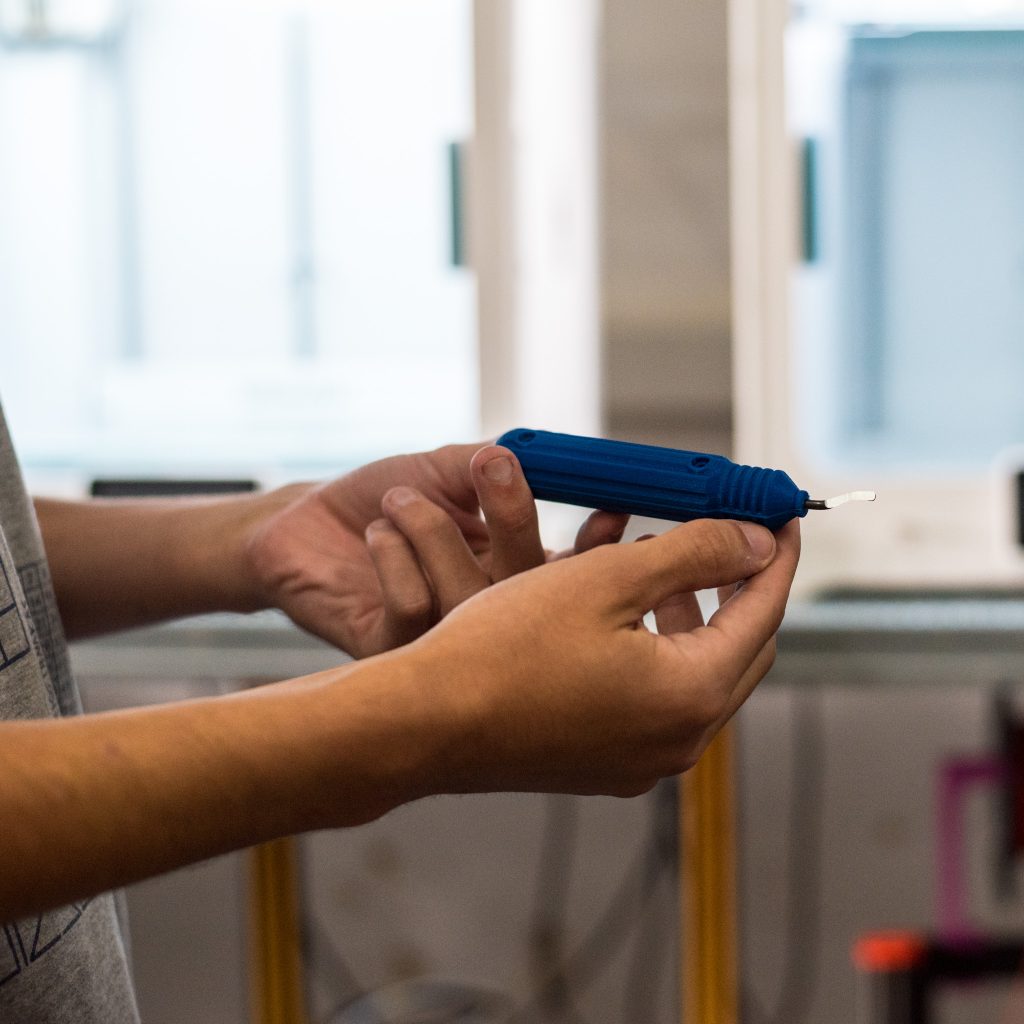
K.U.T. – Knife Utility Tool, the office favourite
This is currently the office favorite functional print and for good reason, it is compact, practical and can be printed in under an hour. We suggest printing this part using ABS material since PLA is brittle and can fail more easily, especially in the case of the locking pin. Since ABS is also less stiff than PLA the locking pin can be opened more easily
It is also a good idea to print the part using 4 shells and a dense infill. One can also use modifier blocks such as Cura’s infill blocker to reinforce the latch part only. This enables you to print the rest of the part with low infill saving both on material and printing time. After printing just add your favorite SK-5 blade and hang it around your key-ring, ready for your next cutting task!
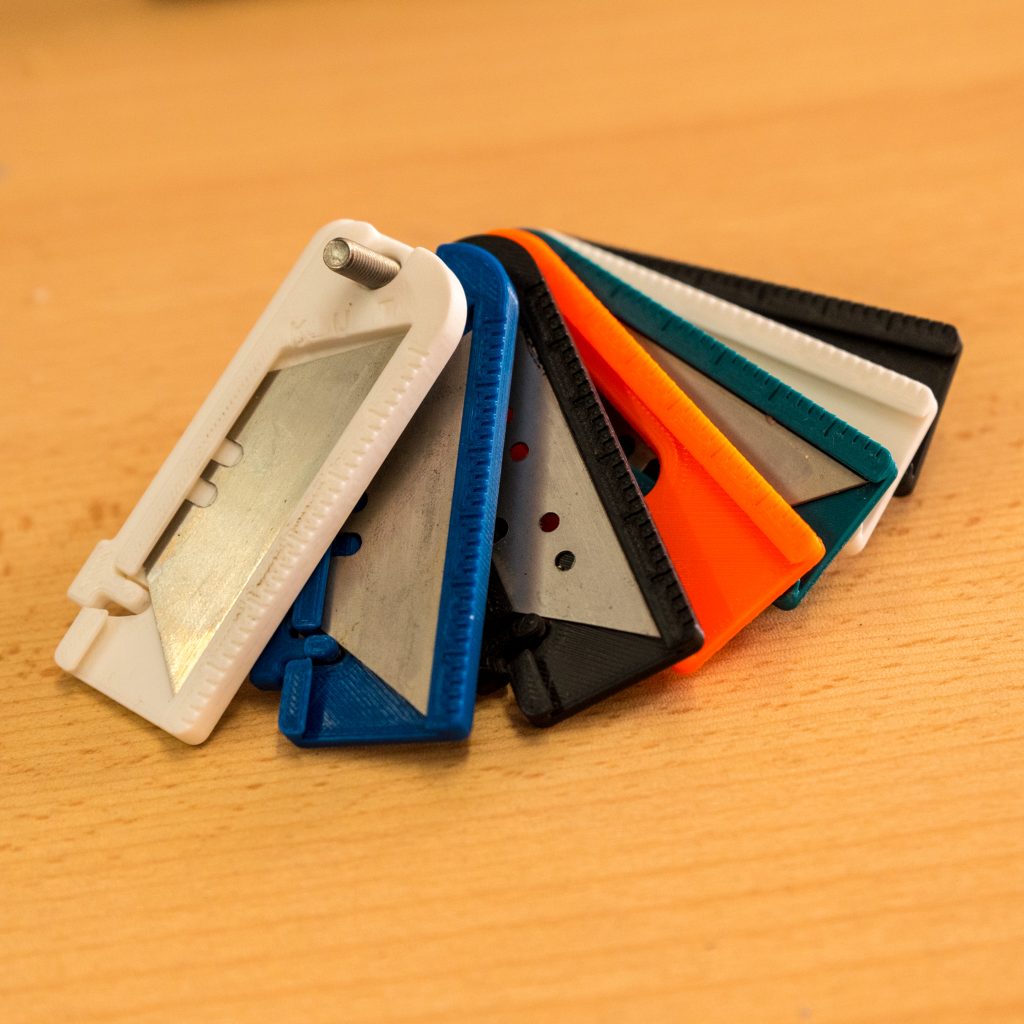
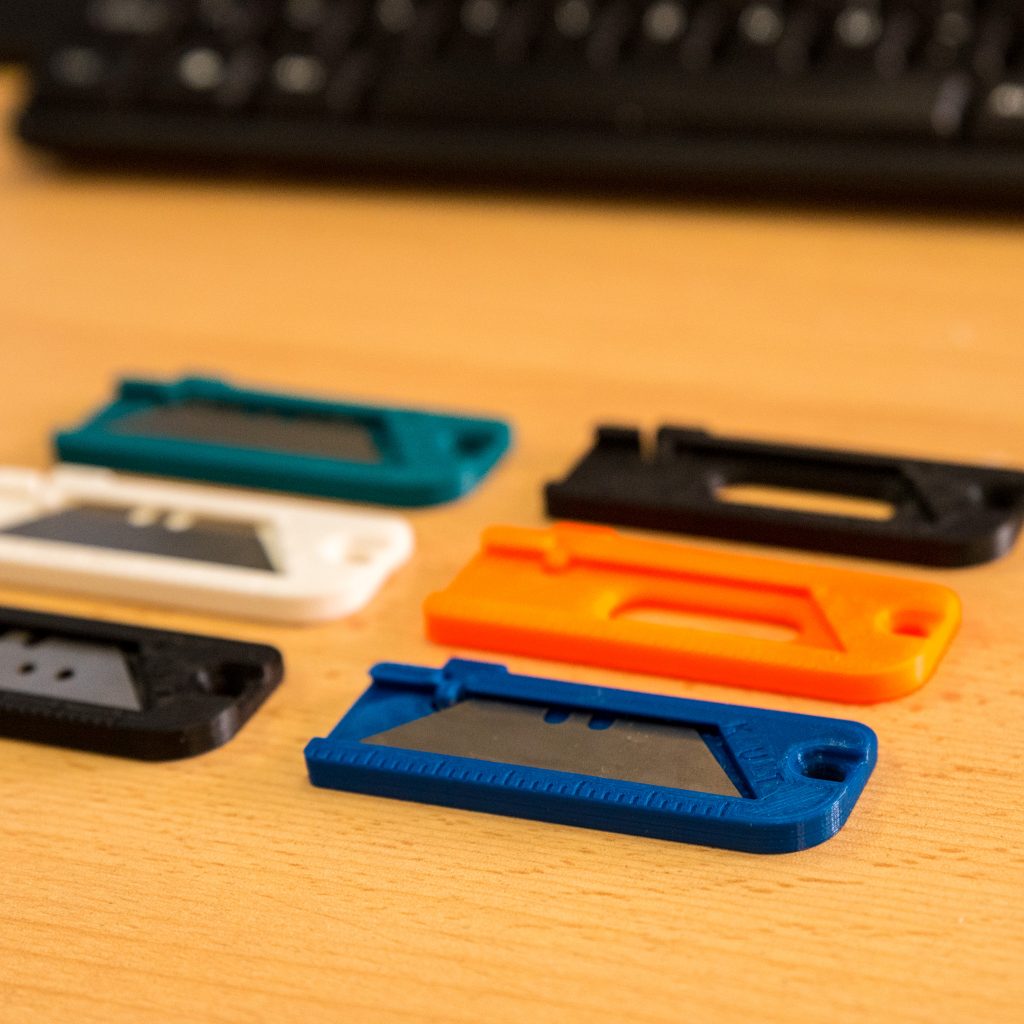

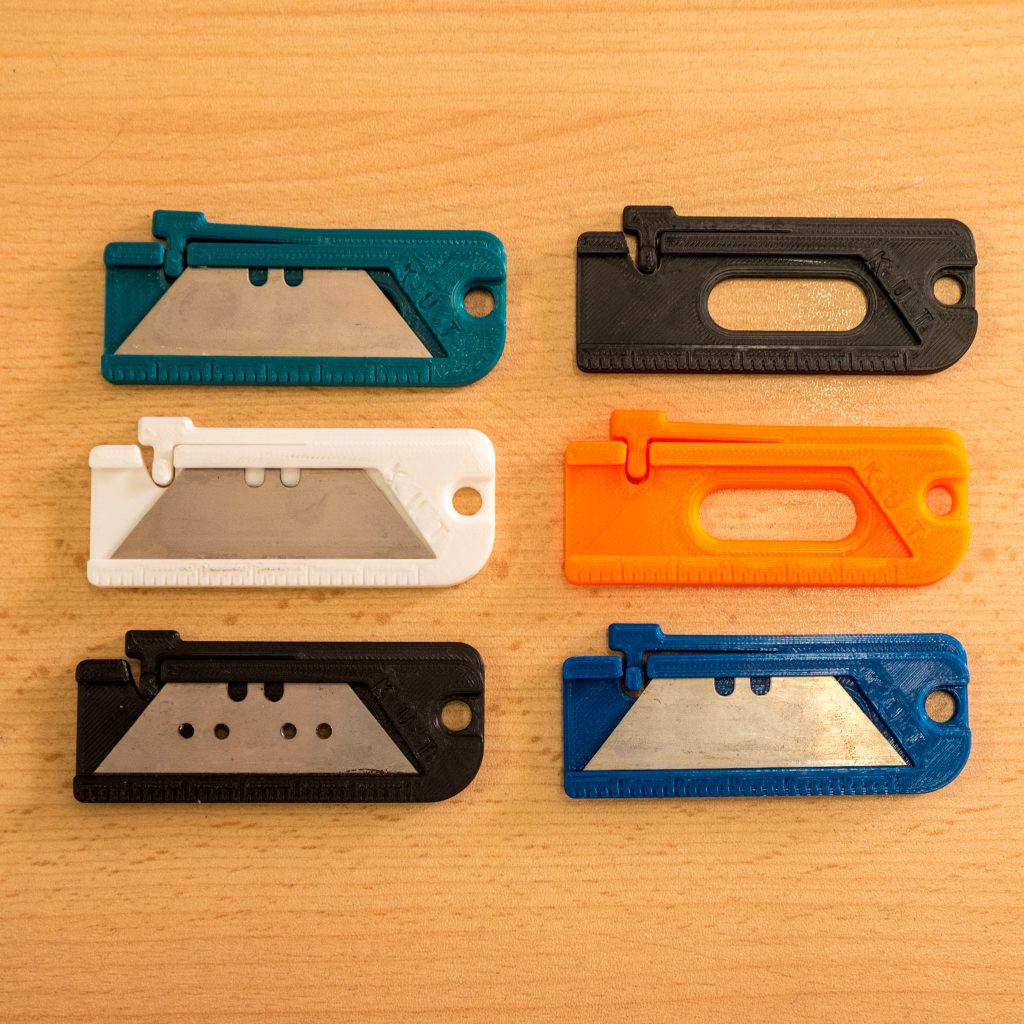
We have added our own slight modification to this print by removing some material from the latch pin groove. This enables the user to push the blade out using his finger which will push the latch up thus unlocking the blade. It is advisable to use these blades with caution and only to use this part for light cutting work. Applying excessive force might break the tool resulting in injury.
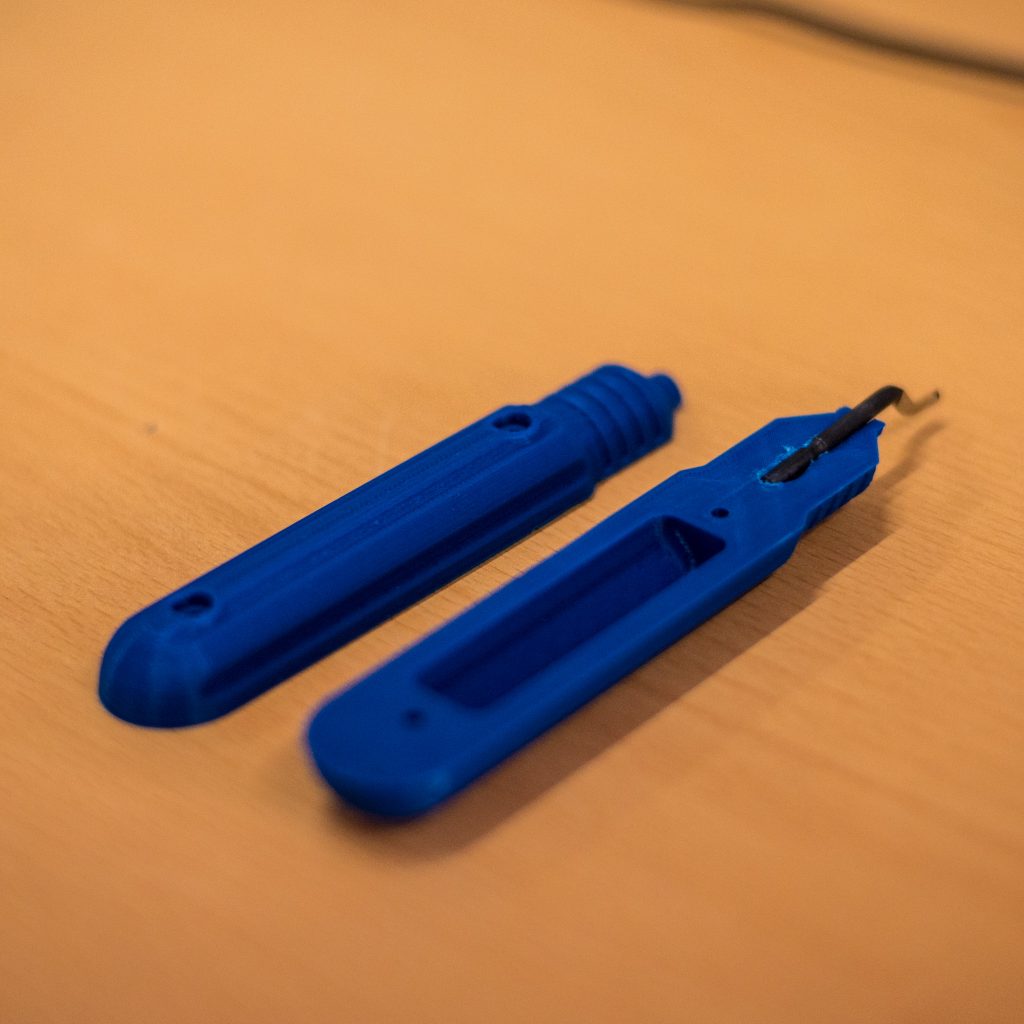
De-burring tool, a must have functional print!
This de-burring tool print is very useful when it come to cleaning up prints, especially for removal of brims and elephant’s feet. We printed this part in PLA and heated the de-burring tip using a heat gun before merging the two halves together. After spinning the heated de-burring blade a few times, the cavity should become smooth and allow for free rotation of the cutting tip. The two halves are then kept together using M3 bolts and nuts.
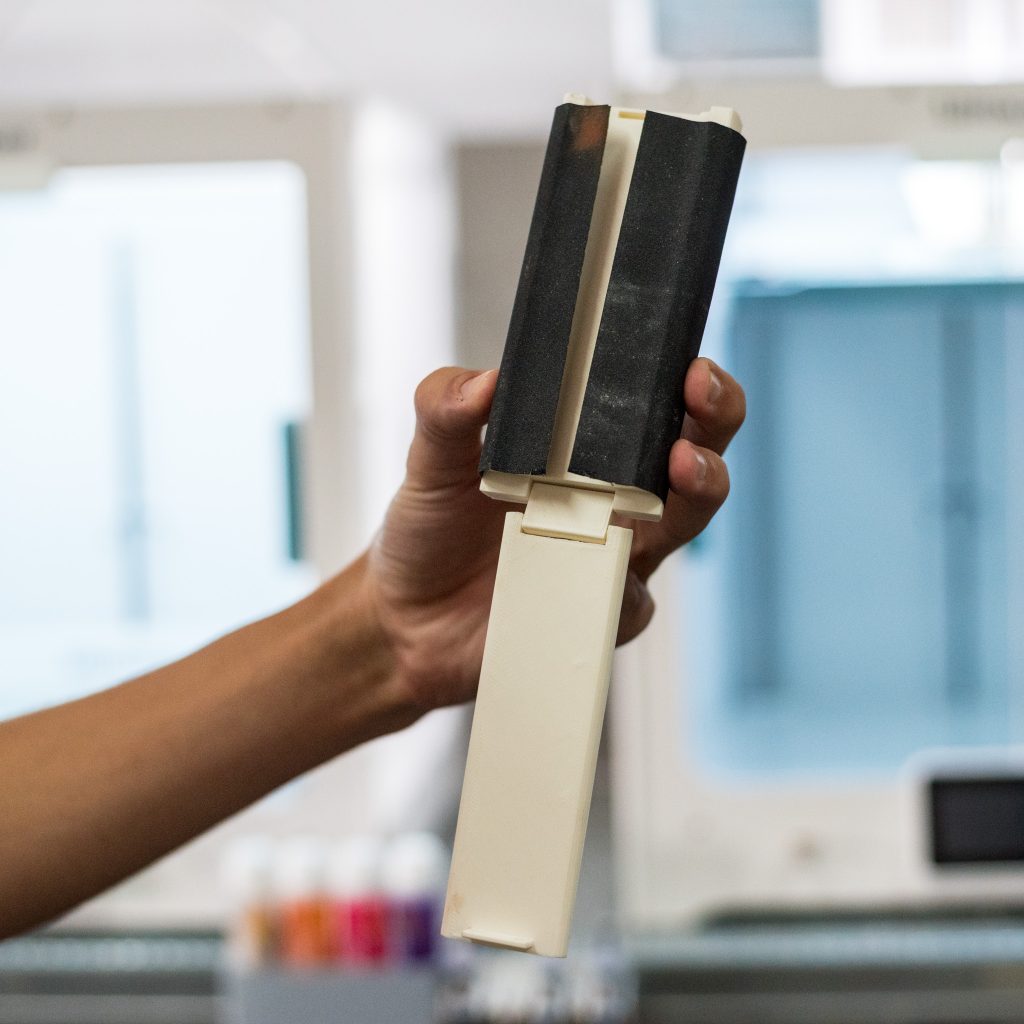
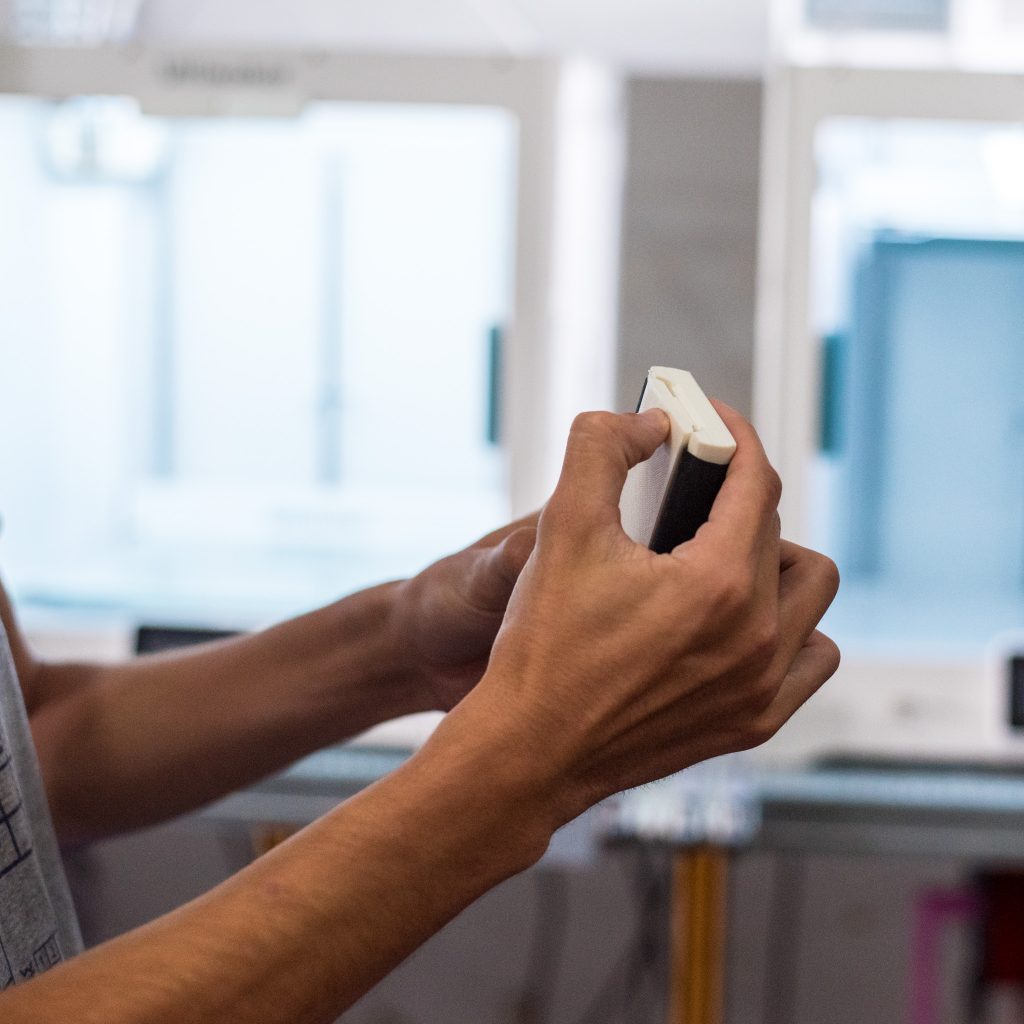
Sanding tool

There are myriad of sanding tools available online, depending on their intended use. We liked this print in place model and decided to give it a try. The print in place mechanism meant that all we needed was to cut the sand paper to size, close the latch and it was good to go!

Remote control garage door opener
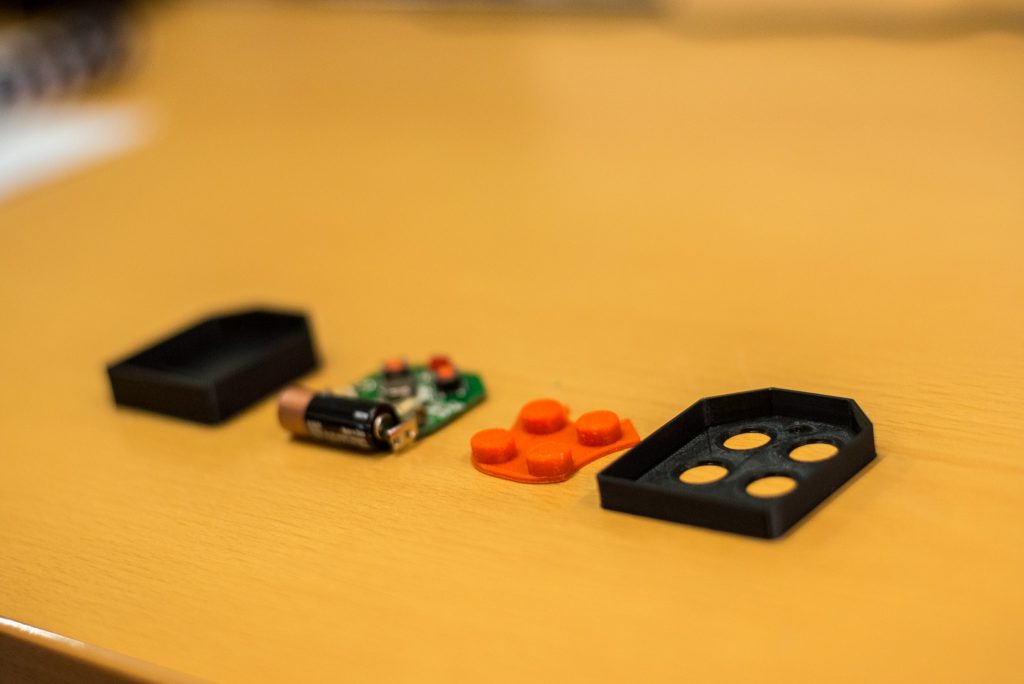
Following a nasty drop the garage door opener of one of our employee’s split open into a couple of pieces. As any respectable maker would do, it was first repaired with a couple of turns of transparent tape. The battery then died a few months later. Since it had to be opened anyways, we decided to fix it correctly using plastic welding. Unfortunately this failed as the plastic tab to hold the two parts clipped together kept snapping.
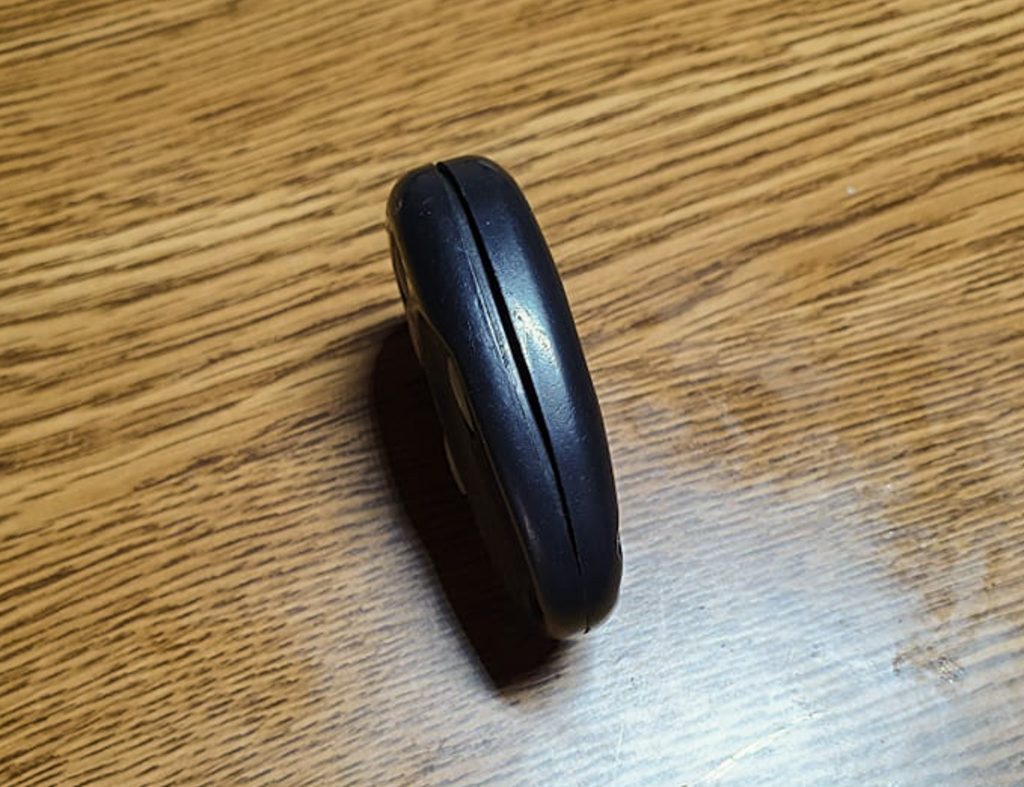
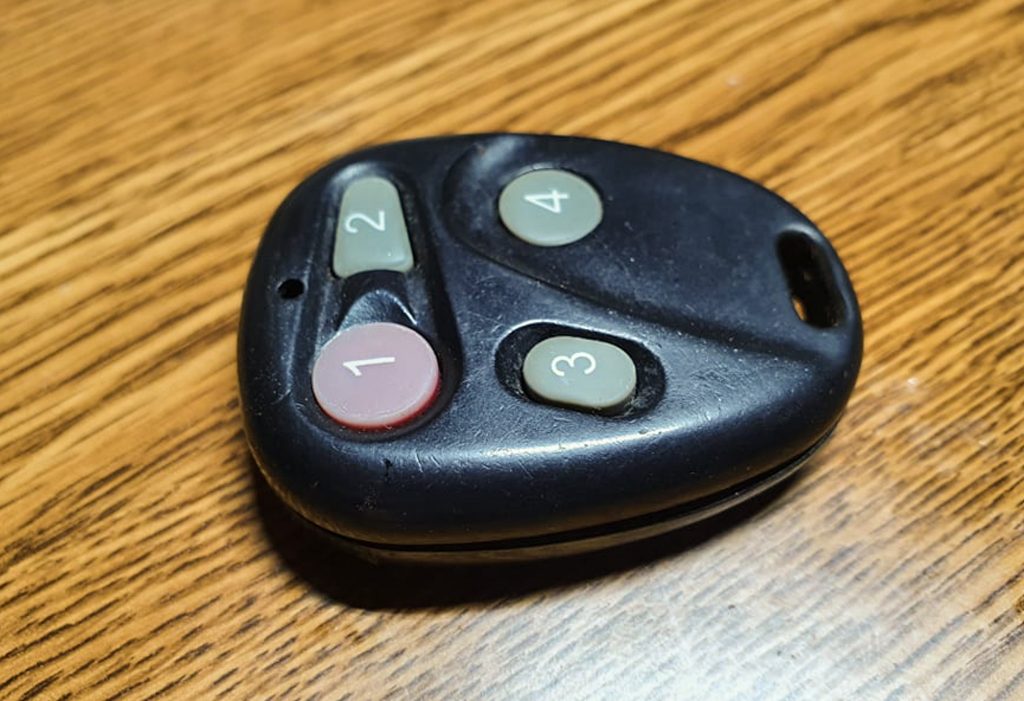
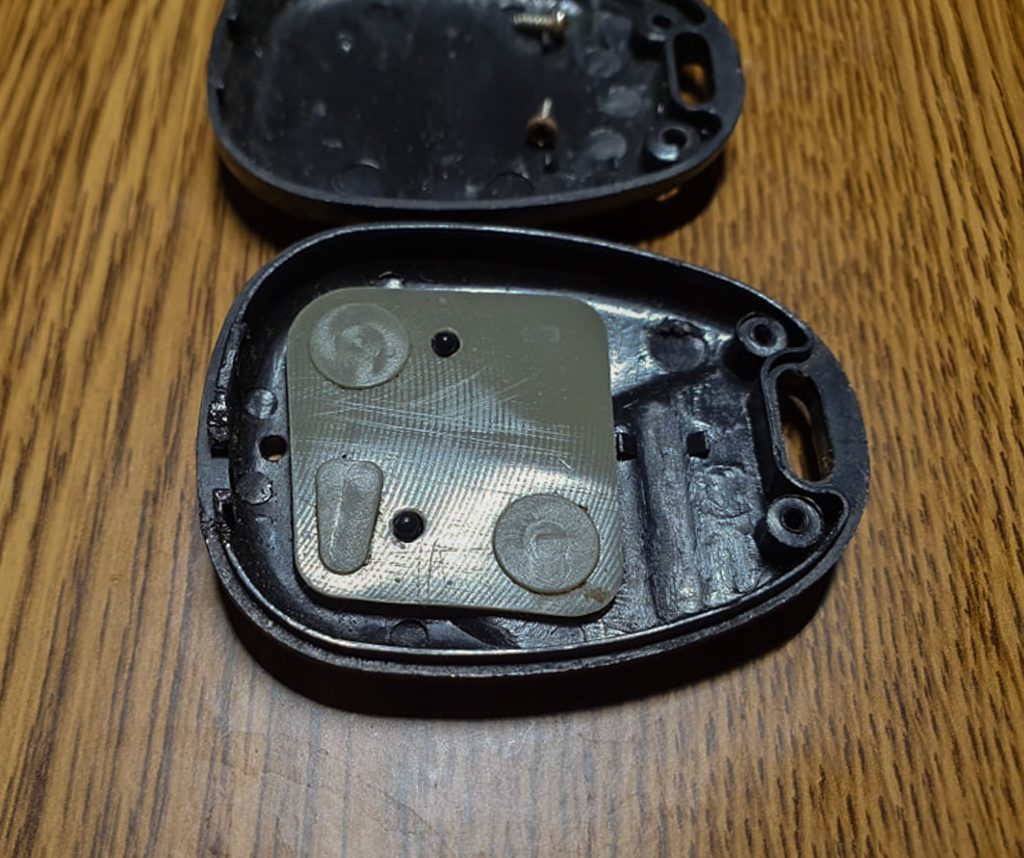
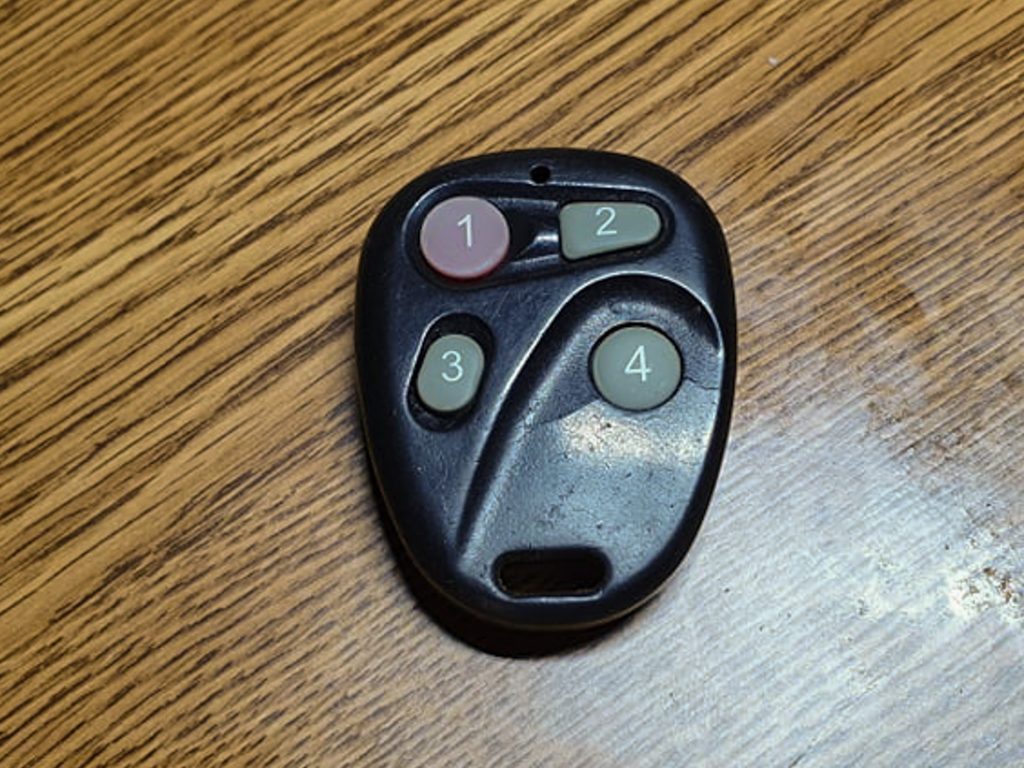
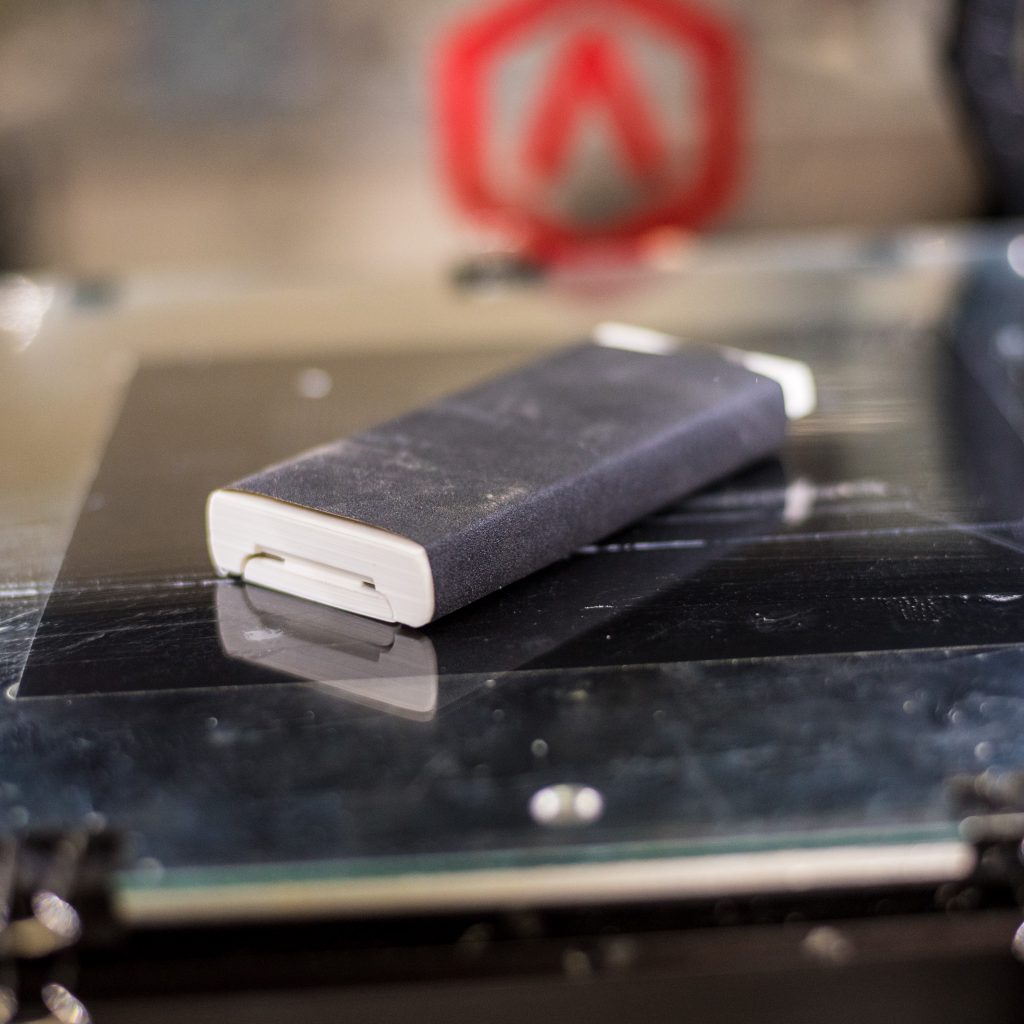
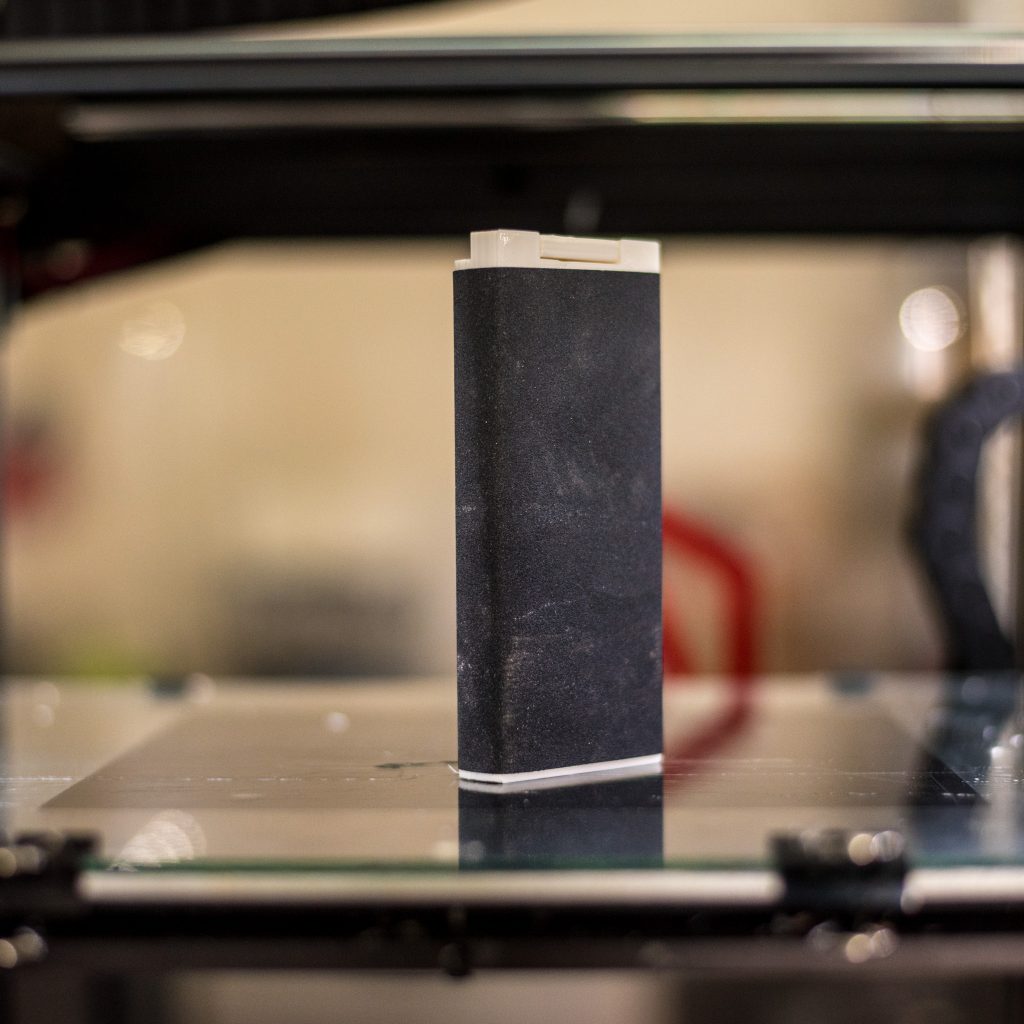
3D printing to the rescue
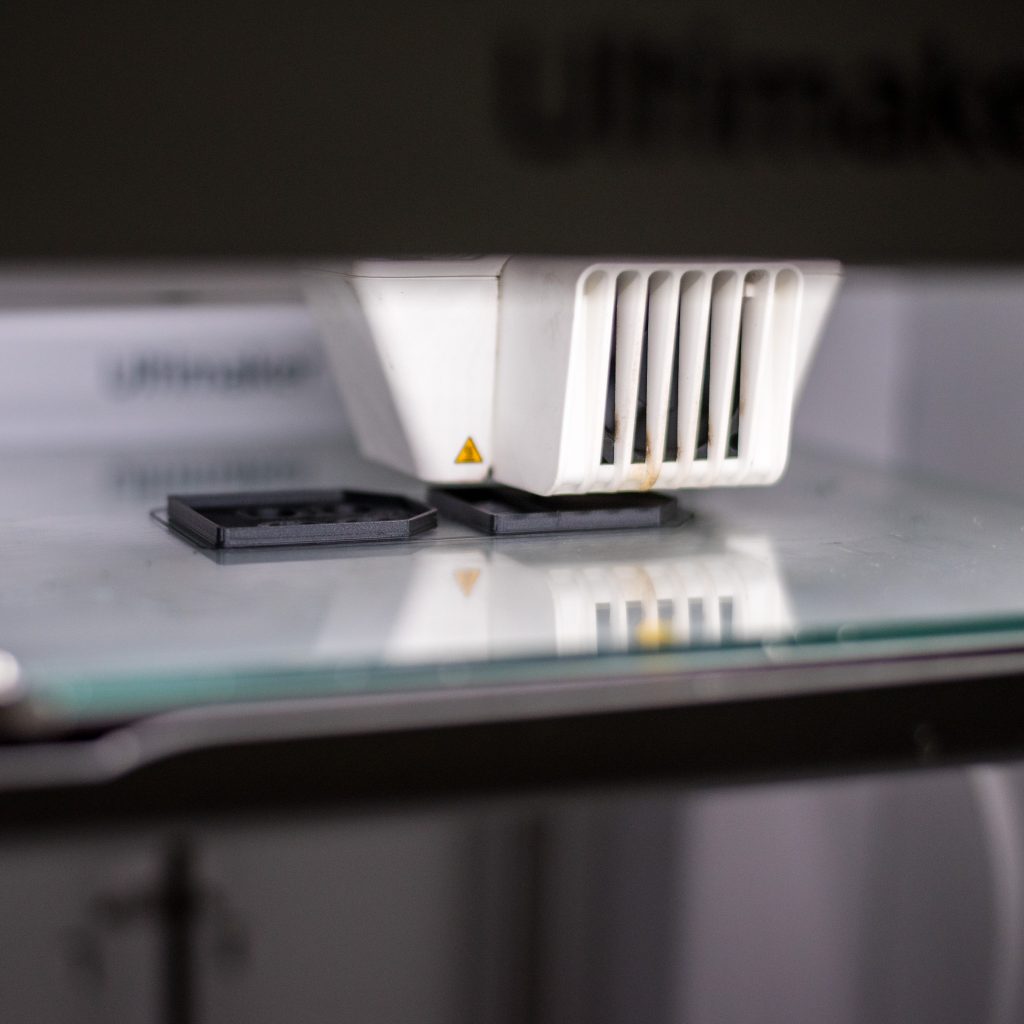
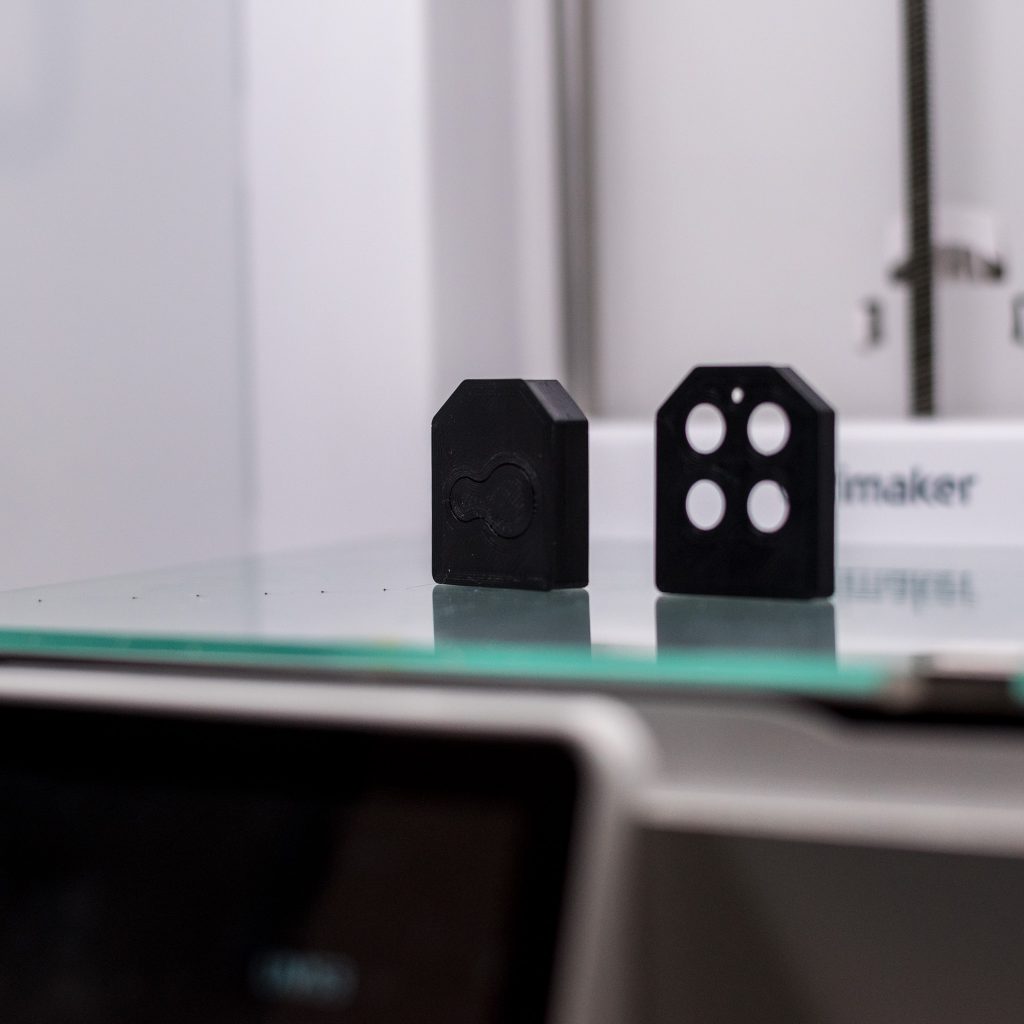
With no other option left, (apart from buying a new remote) we removed the PCB from the casing and took a 2D scan of it. After correctly scaling it in Fusion360, a simple case was designed around it and printed. After a couple of failed prototypes, the design of the final parts was ready and the remote casing was printed in black ABS. The numeric keypad was printed using NinjaTek TPU. This gives it a soft touch feel, we also feel that the orange colour adds a nice touch.
Do you have any functional prints you would like to share with us? Let us know on info@magigoo.com