3D printed flower pots – Making your own
Having some extra time on my hands, I decided to get back to one of the many projects on my ‘to-make’ list. In this week’s article we will look at how to make your own molds for 3D printed flower pots. These 3D printed molds can be re-used to make as many concrete flower pots as you can fit in your garden, office or home! We got this idea from thingiverse user esparapse and his geometric concrete pot design
Designing your 3D printed flower pot mold
We wanted to make the flower pot in the shape of the Magigoo logo and thus I started by importing the *.svg file into Fusion360. This can be easily done by following the procedure in this video by Autodesk. Following this I added a 3 mm inset to the outside pat of the logo. This extra area will become the outer wall of the mold. I split the logo into two equal parts and added added a rectangle at each edge. These will be used to clamp the mold shut with bulldog clips.

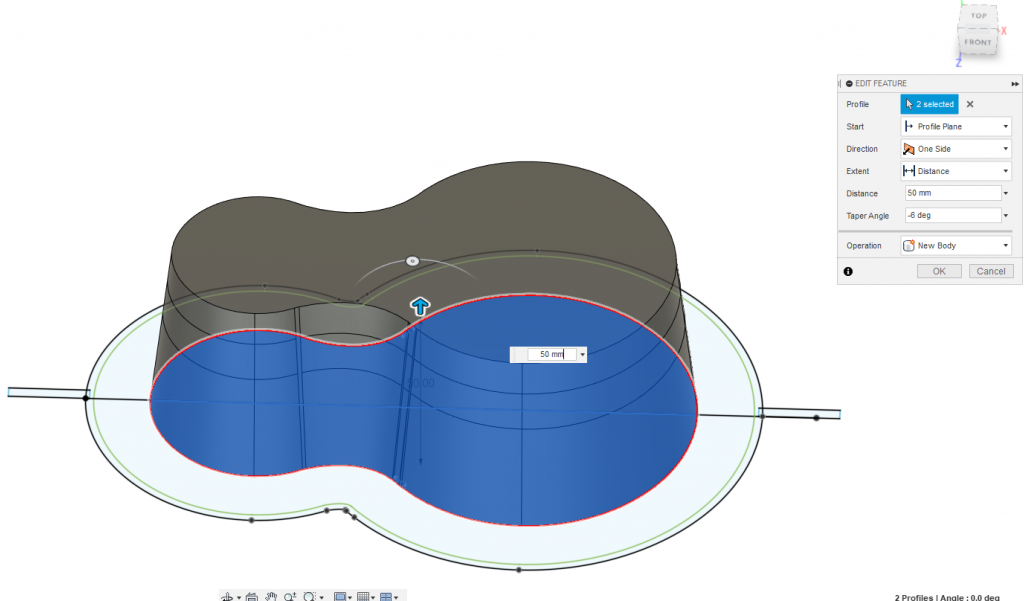
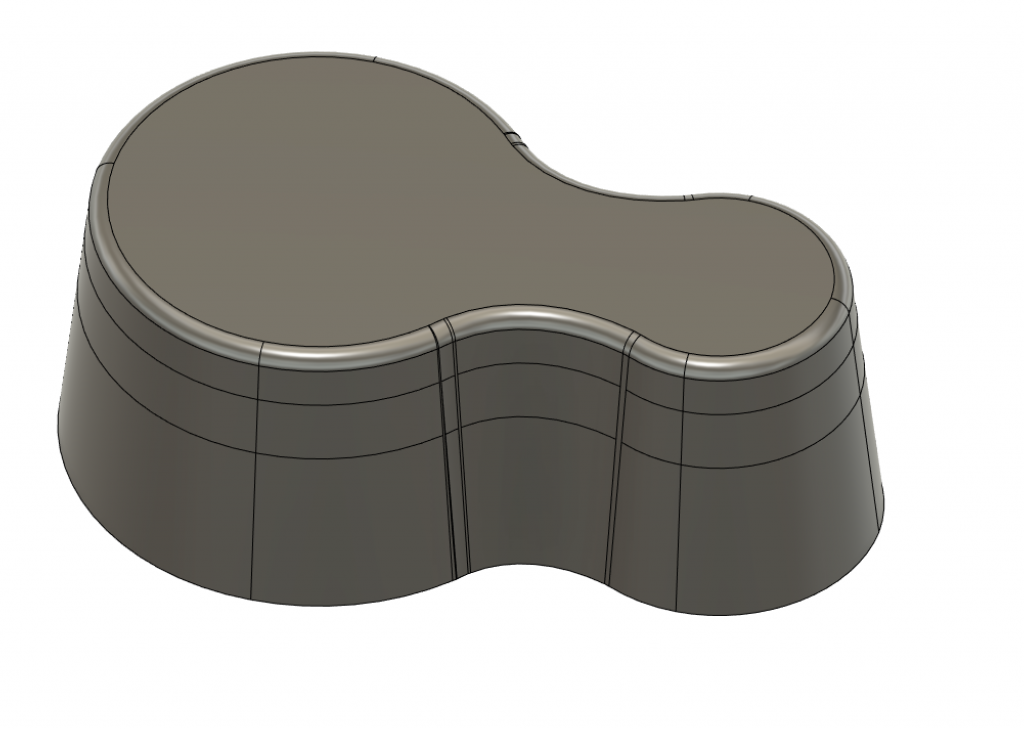
I then extruded the center part of the mold to form the cavity for the soil. In order to facilitate removal the inside part was tapered to the bottom. A fillet was also added to the lower edge. The inside part was extruded to 50 mm while the outside part will be extruded to a height of 65 mm. This was done to provide with a base with adequate thickness.
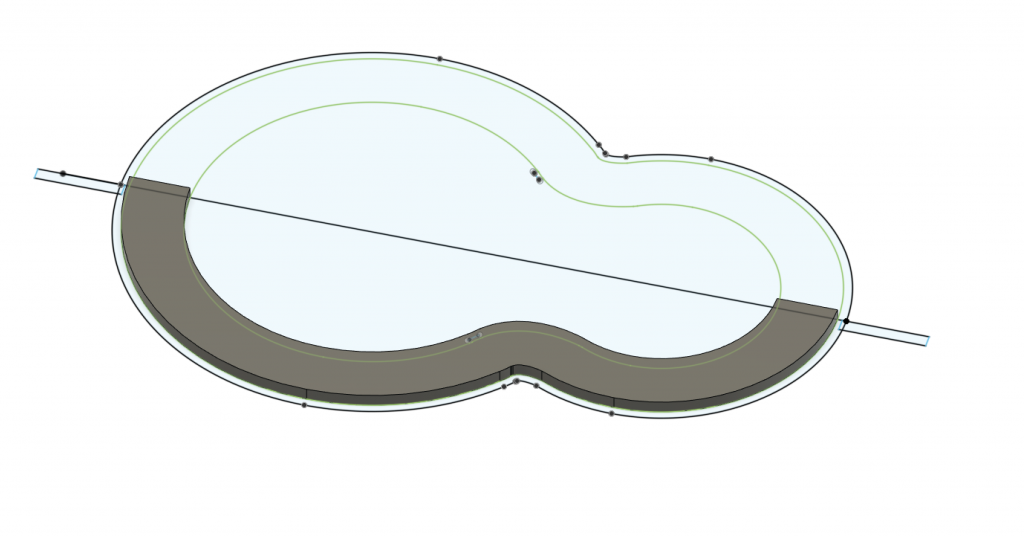
The outer part of the mold is just as simple. First the part which will from the top of the mold is extruded to 3 mm
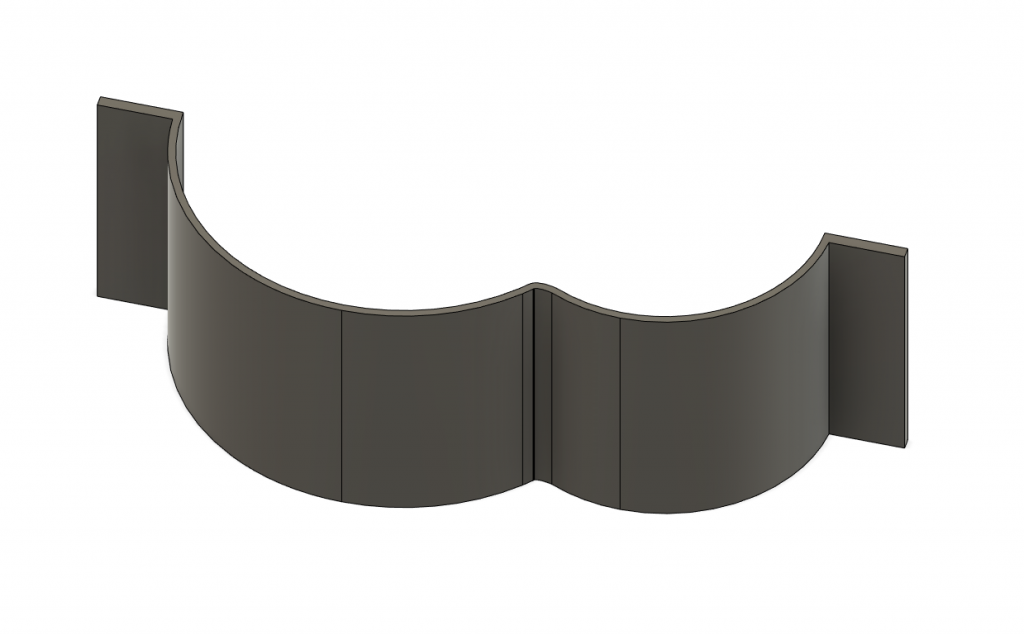
Then the wall of the mold is extruded to 65 mm to form half of the mold. Since the mold is symmetrical the other half can be easily obtained by mirroring the mold.
The mold is now ready for printing!
3D printing
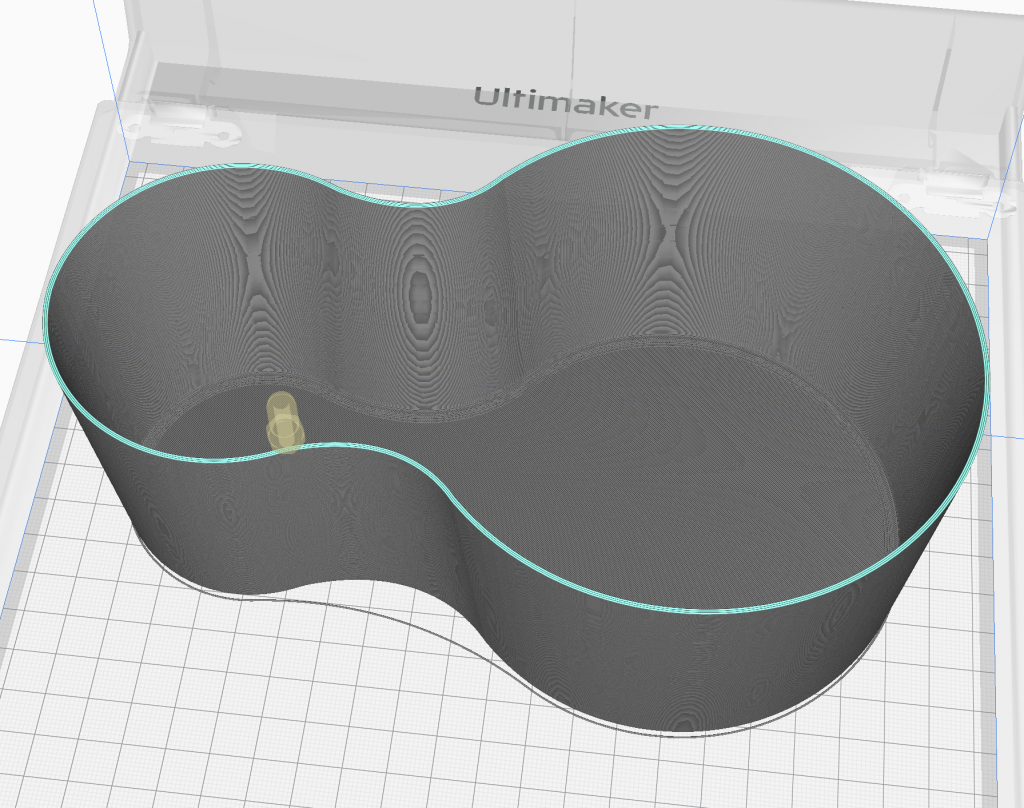
3D printing of the molds is quite straightforward. I wanted the molds to be as big as possible. Thus I carefully placed once part of the outside mold on the diagonal to the larges size it can print. I noted the scaling factor so as to apply it to the inside of the mold. For the outside of the mold, tough PLA was used. Regular PLA can be quite brittle and can break on removal. ABS or ASA and maybe even PET-G are also good candidates.
The inside of the mold can be quite tricky to remove. Thus I wanted to print it in a relatively soft material. PP is a very good candidate since with enough walls, it can be sufficiently rigid to hold shape. On the other hand PP does not like to adhere to most materials and should be much easier to remove than other printing materials such as PLA. Softer Nylons or rigid TPUs can also be used for this purpose.
PP filament also has very good layer adhesion and produces parts which are watertight without requiring much modifications to the slicing settings. Other materials might benefit from slight over-extrusion to improve layer adhesion and water tightness.
In order to obtain a hollow shape the following slicing settings were used in Cura:
- Layer height: 0.2 mm
- Bottom layers: 10
- Top layers: 0 (this gives an open part)
- Shells: 3 (More are recommended if you are using PP, 4-5 should be enough)
- Infill: 0% (this gives a hollow structure)
Tools and Materials needed
Once the mold is printed you would need:
- 4 Bulldog clips
- Wet concrete
- Gravel
- Sand
- Driller
- Allen key
- Bucket
- Trowel
There are a number of debates on how to formulate concrete. The local hardware store suggested, one part cement, to two parts each sand and gravel. The amount of gravel can be adjusted to your liking, and if using very coarse gravel (like me), I’d suggest using less gravel. This helps with pouring the cement and reducing bubbles on the surface.
Filling the mold
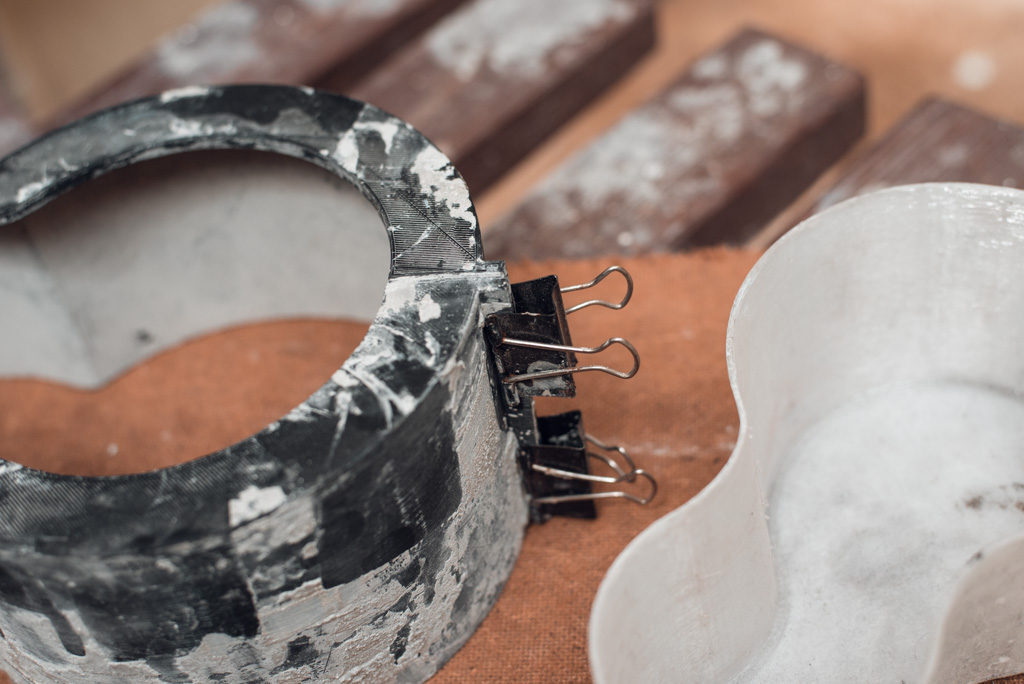
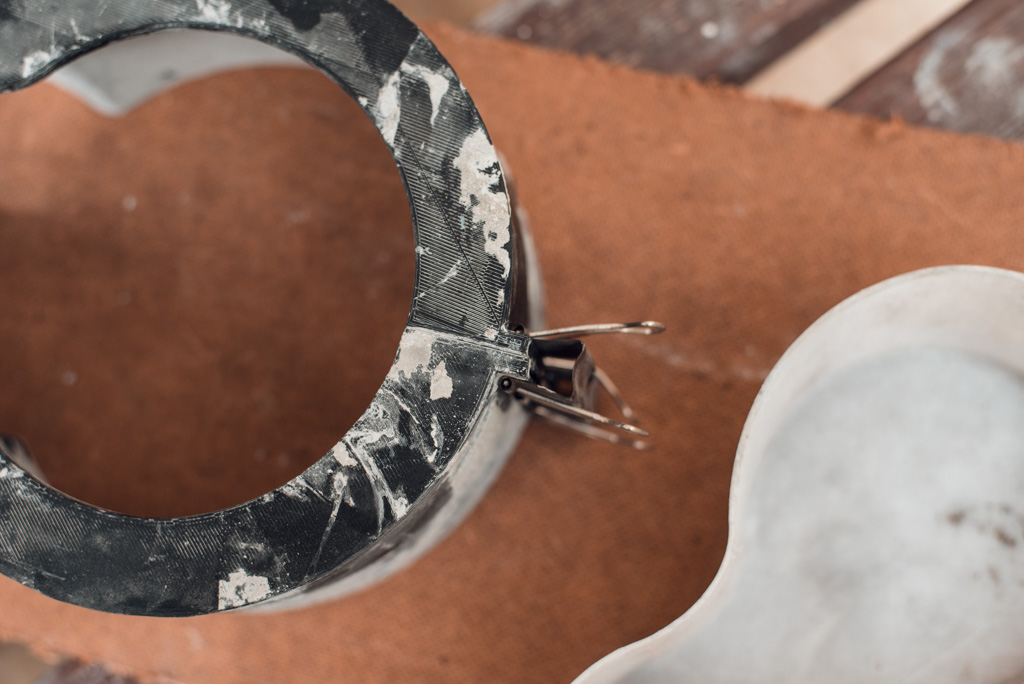
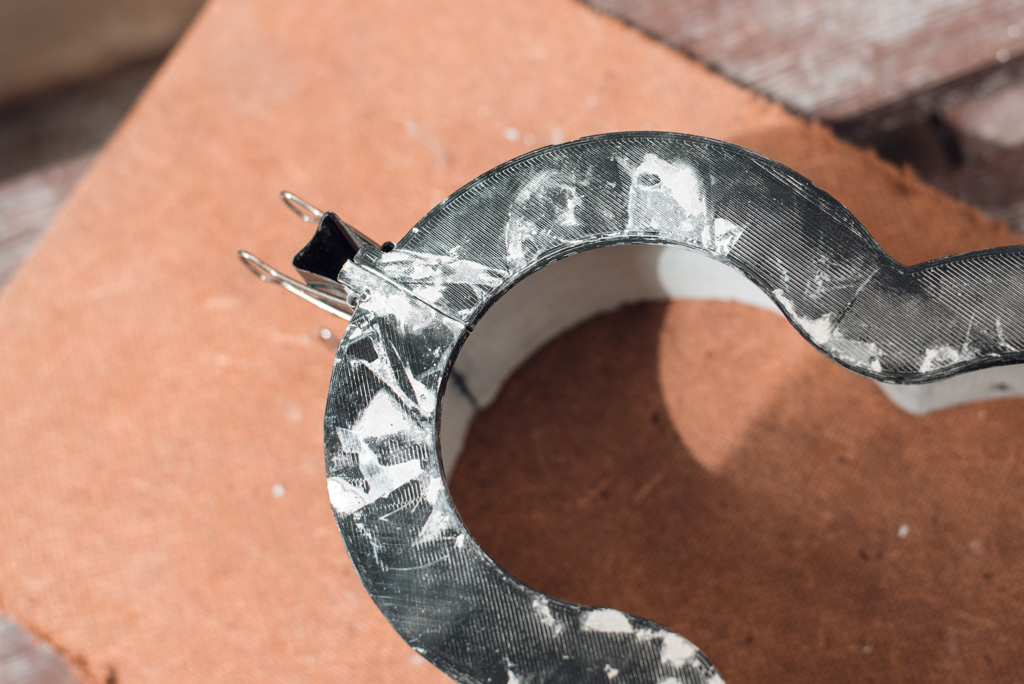
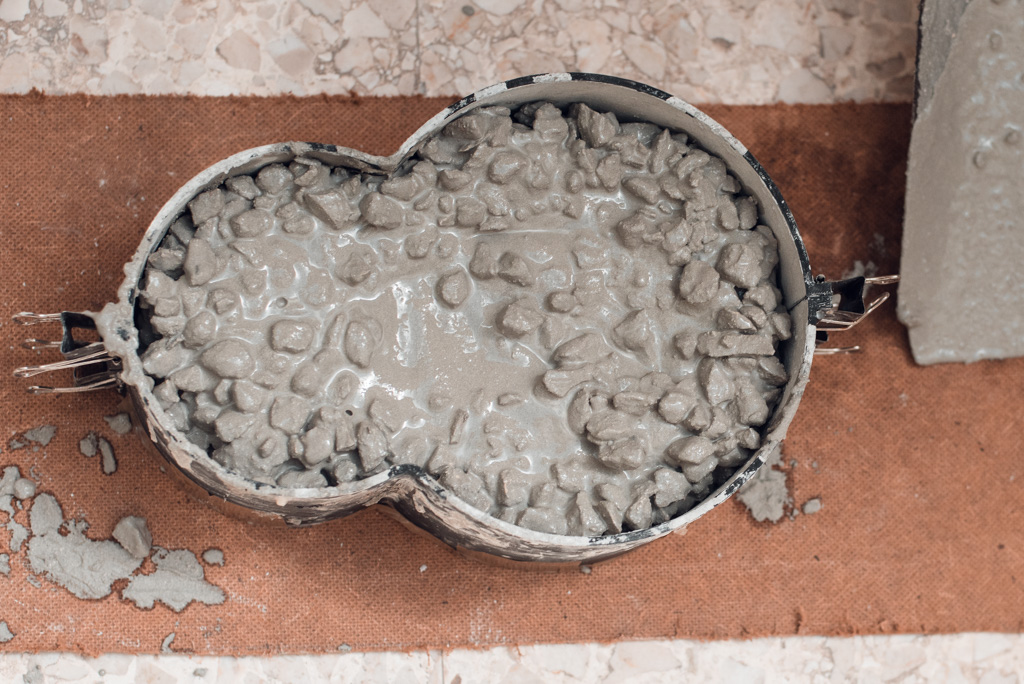
Prepare the mold, align both sides and secure with bulldog clips. If you already used the mold, it is a good idea to clean it from any loose debris.
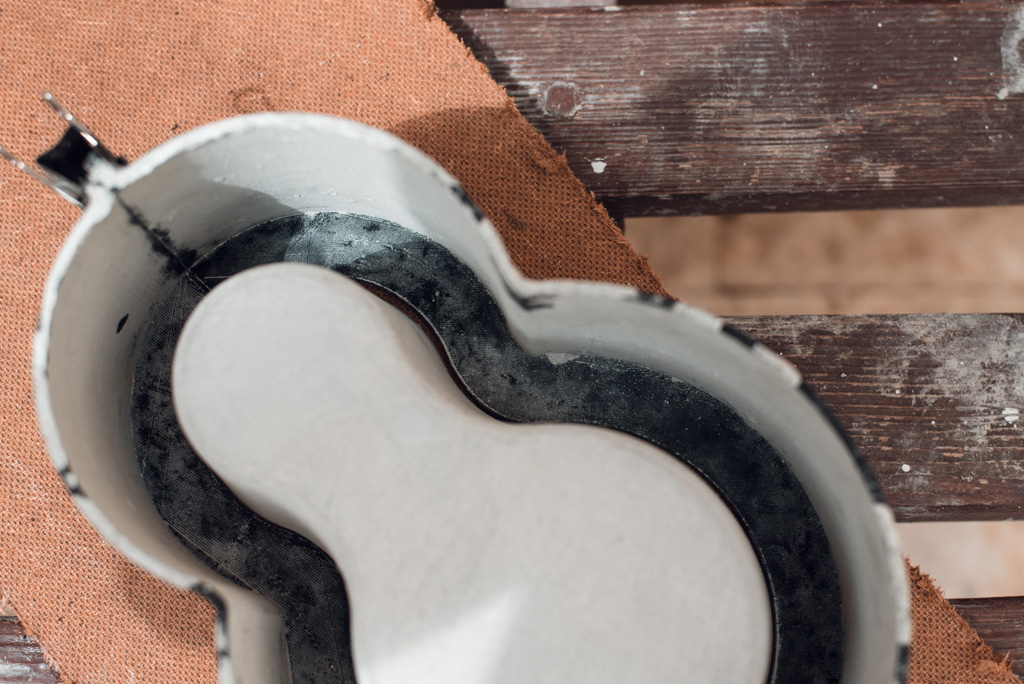
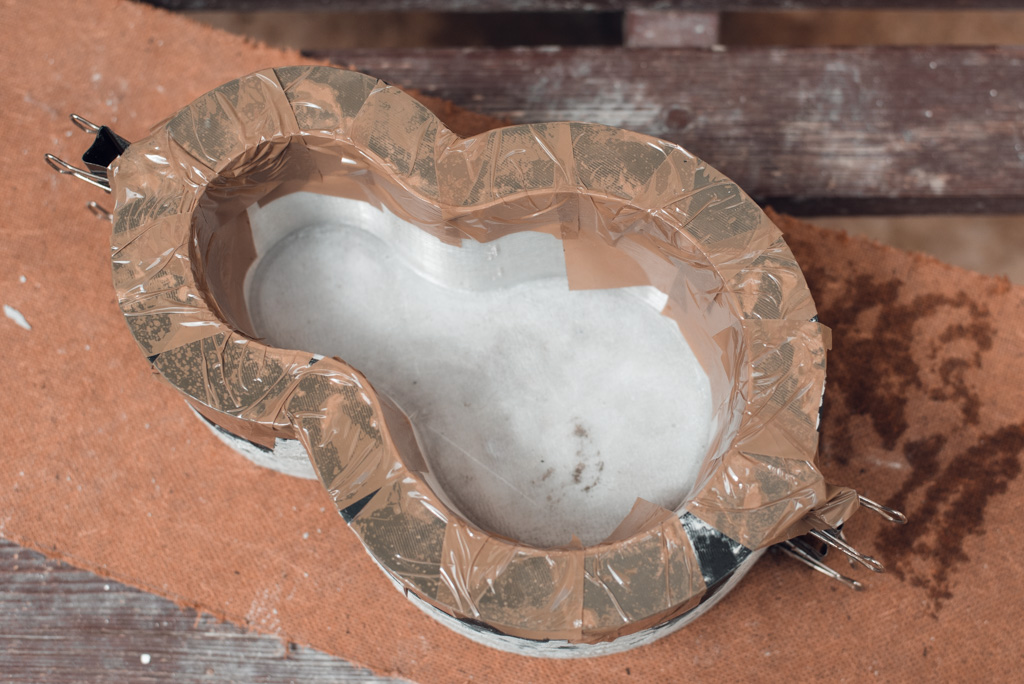
Set the inside of the mold in place. I used some PP tape to secure the inside since on the first try the inside part deformed under the weight of the concrete. Printing the inside part of the mold with more walls will solve this issue.
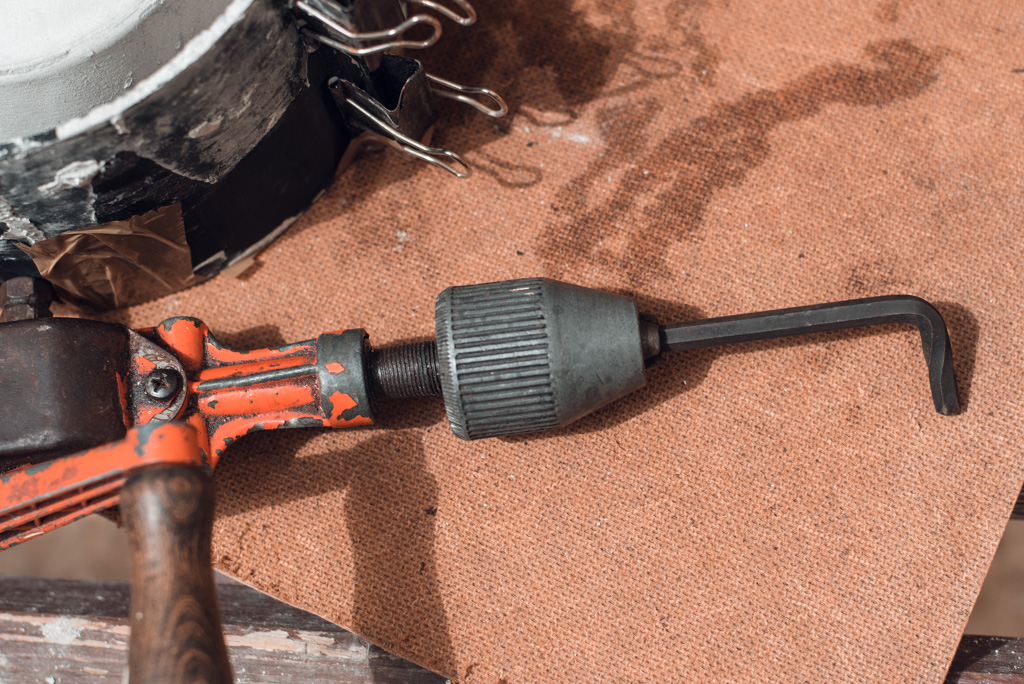
Prepare a driller with an Allen key attached, This will be used to tap on the mold to help the concrete fill it evenly.
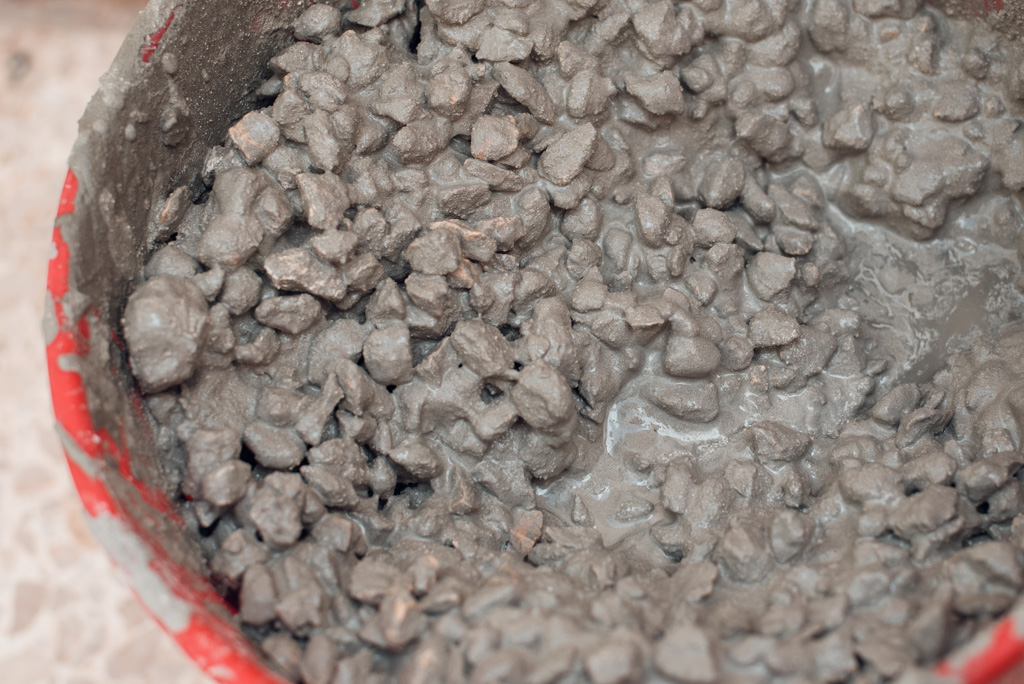
Mix the dry components of the concrete thoroughly. Add enough water to obtain a thick slurry. Take care not to add too much water as this will result in a weaker concrete. The concrete should not be crumbly but must not flow easily on its own.
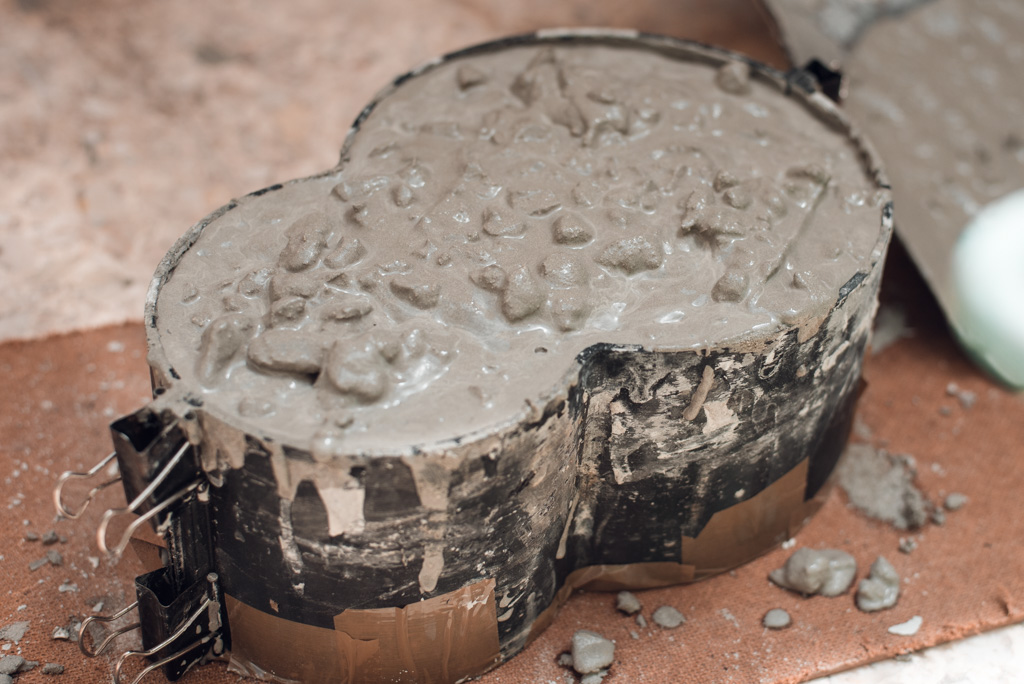
Pour the concrete to fill half of the mold, and use the driller to tap the mold on the side at different places. This will help the concrete to flow and fill the mold better.
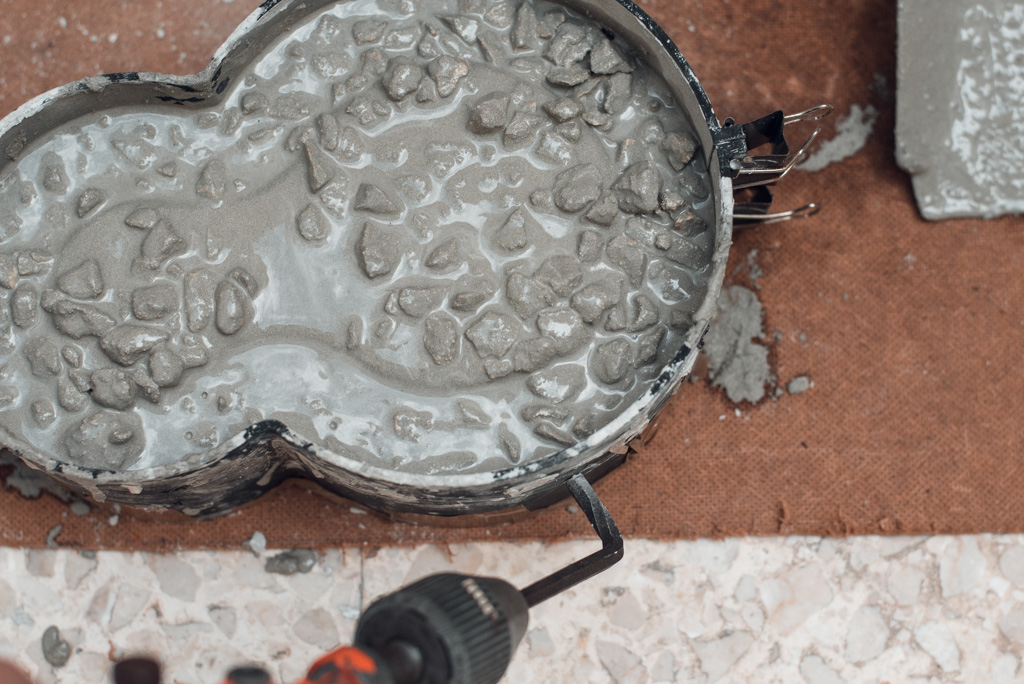
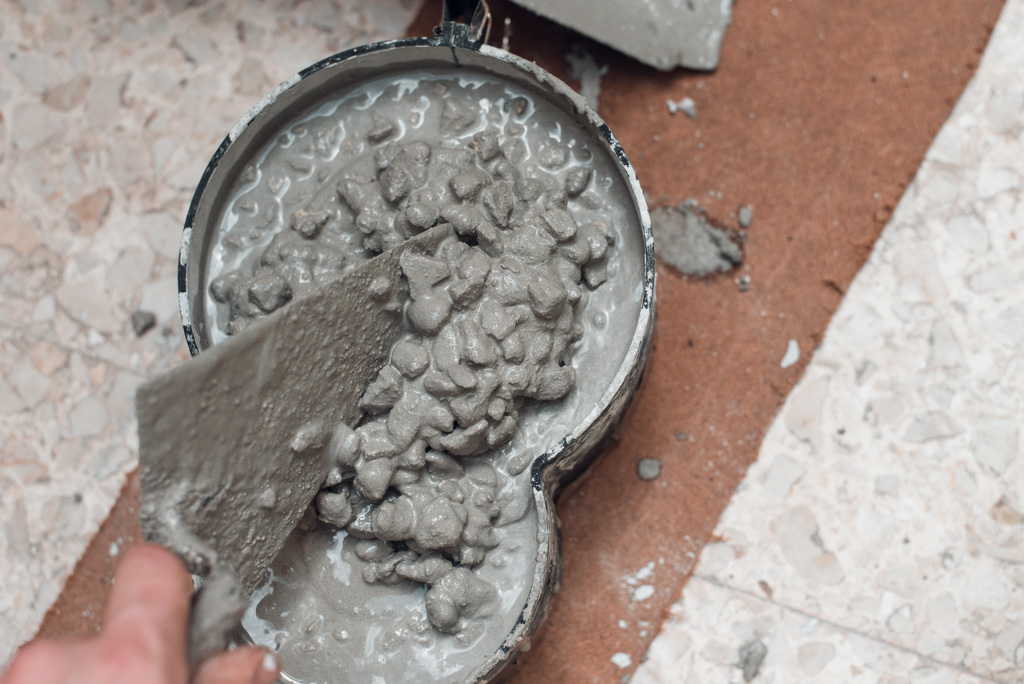
Continue filling to the top and use the driller again to help the concrete flow.
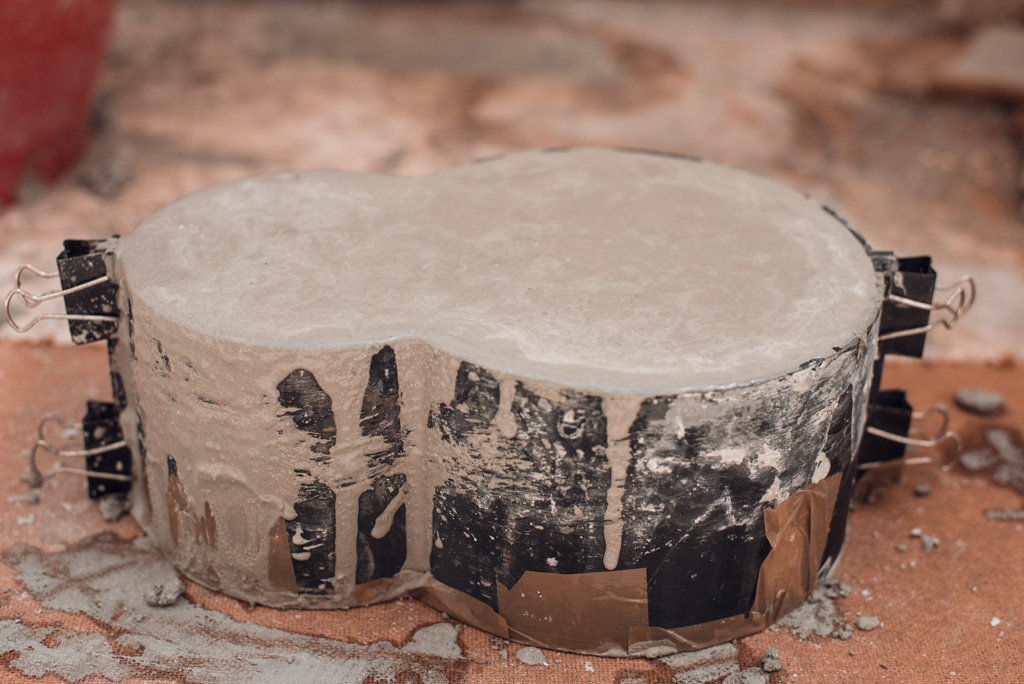
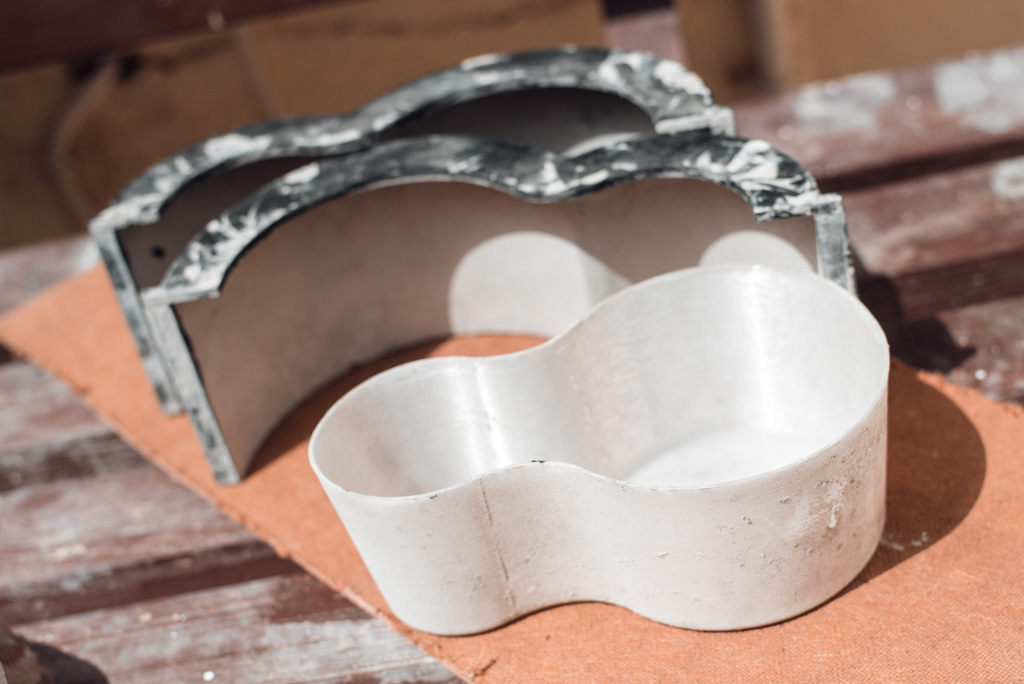
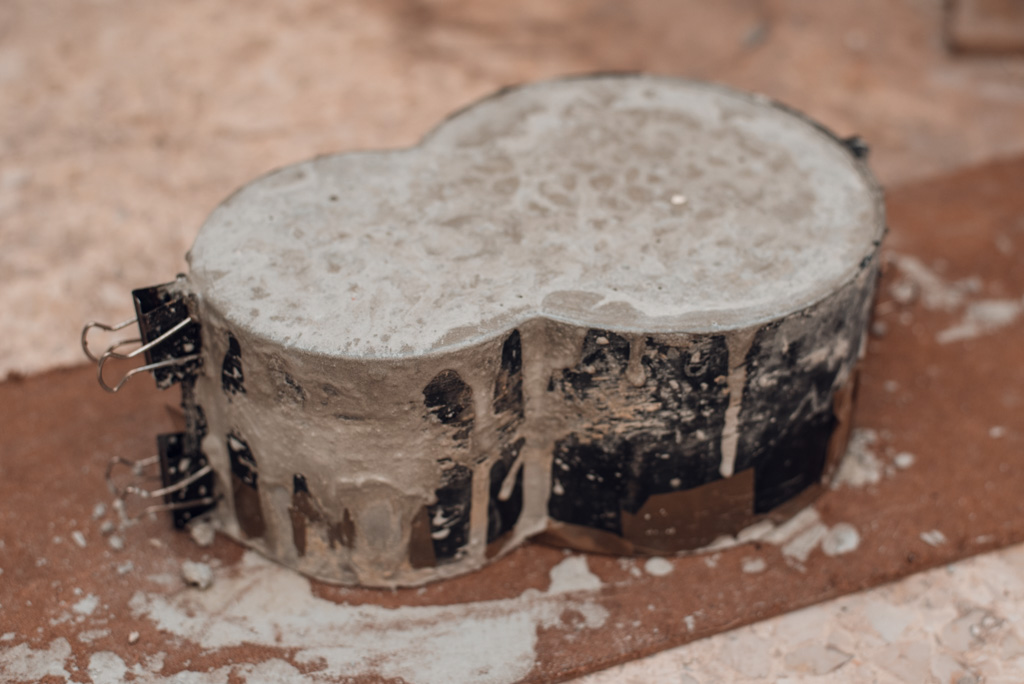
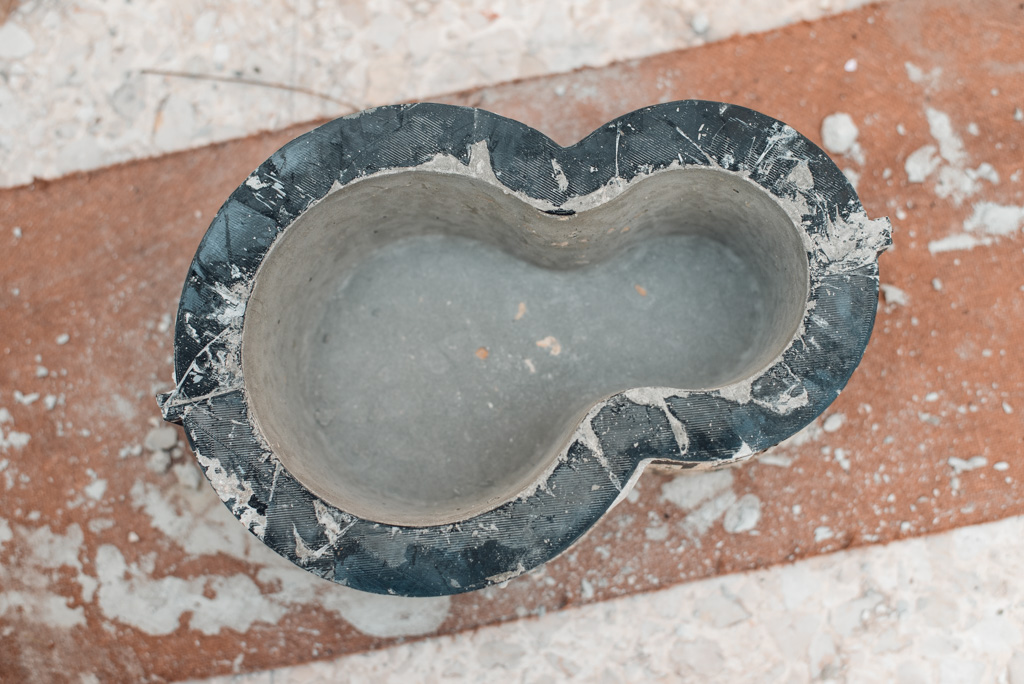
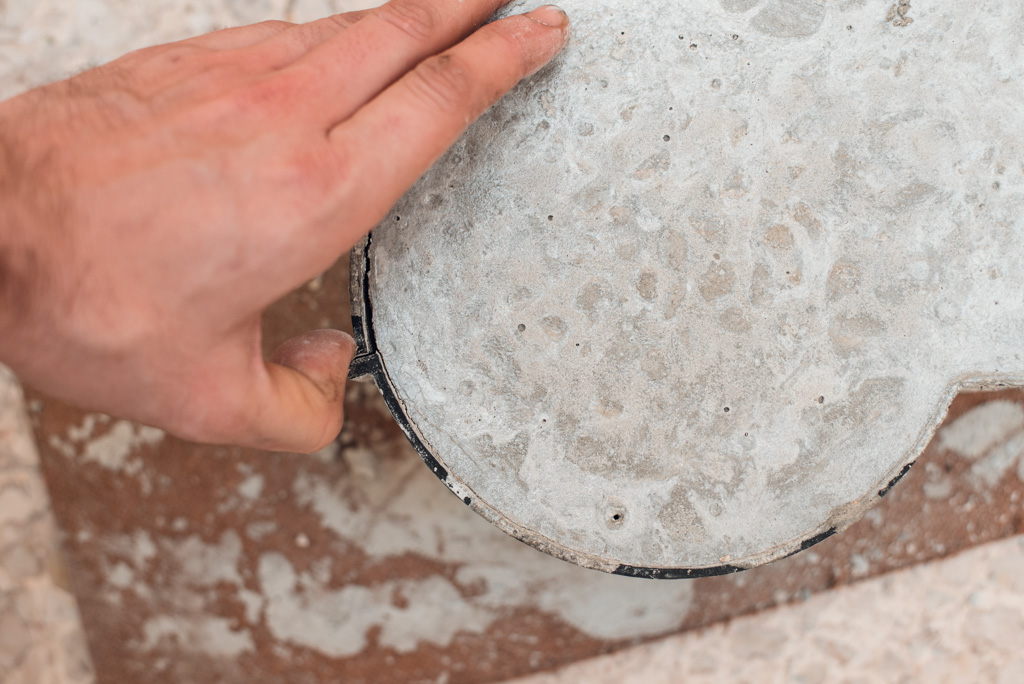
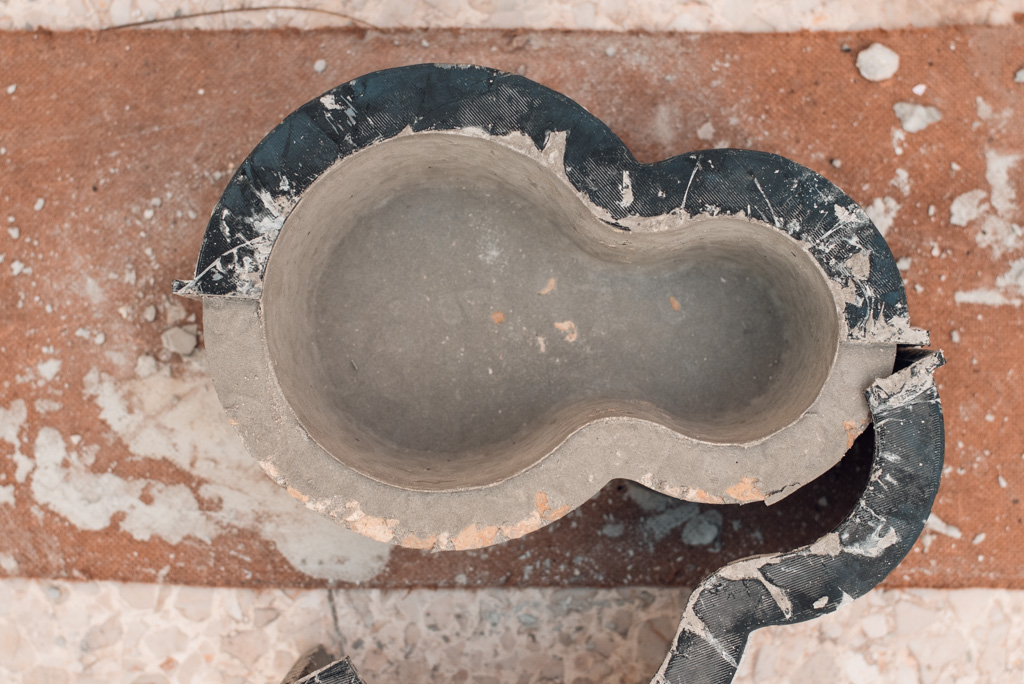
Wait for about 24 hours for the concrete to fully solidify and carefully remove the inside and the outside molds.
After finishing the concrete pots with a coat of paint, some holes were drilled into the bottom of the print. It is important to let the concrete set for a few days and cure before adding soil. Uncured concrete can leach into the soil. This might increase the alkalinity of the soil which hinders plant growth.
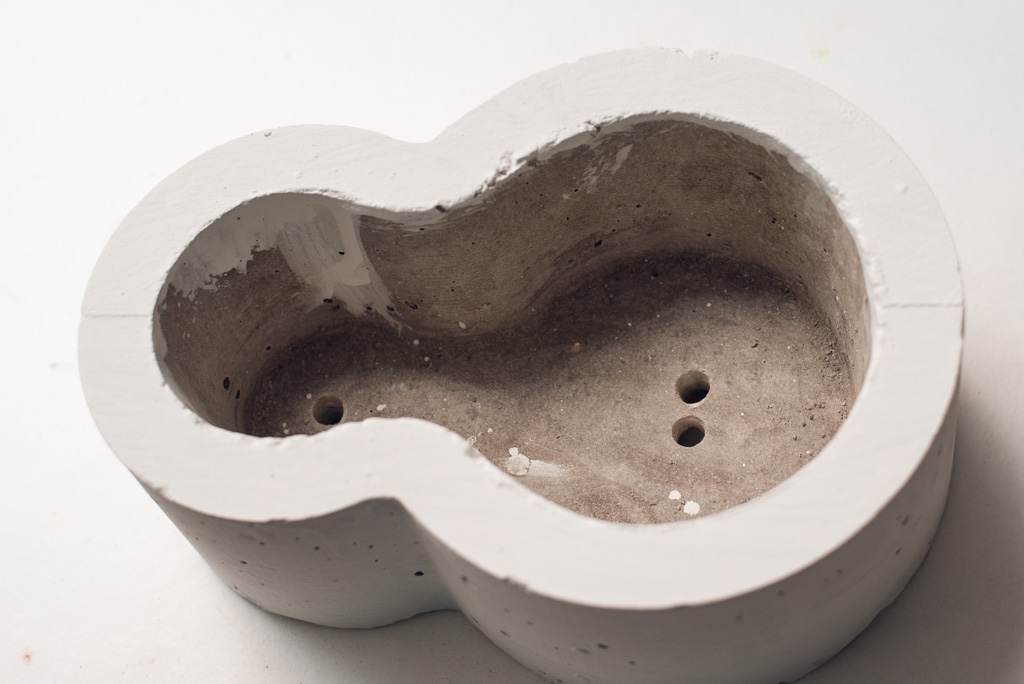
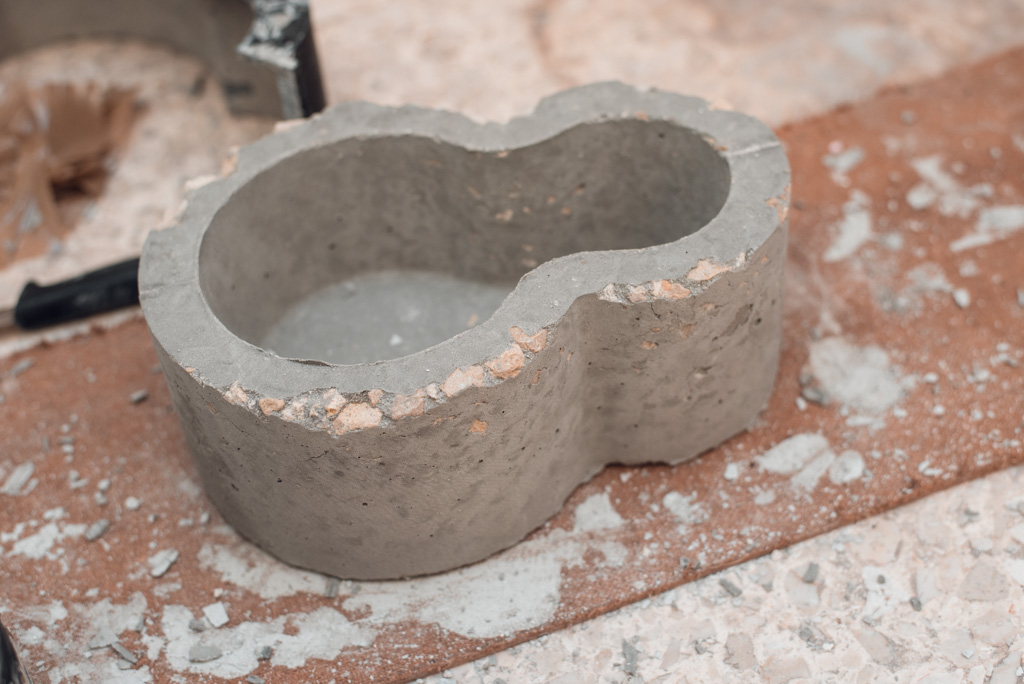
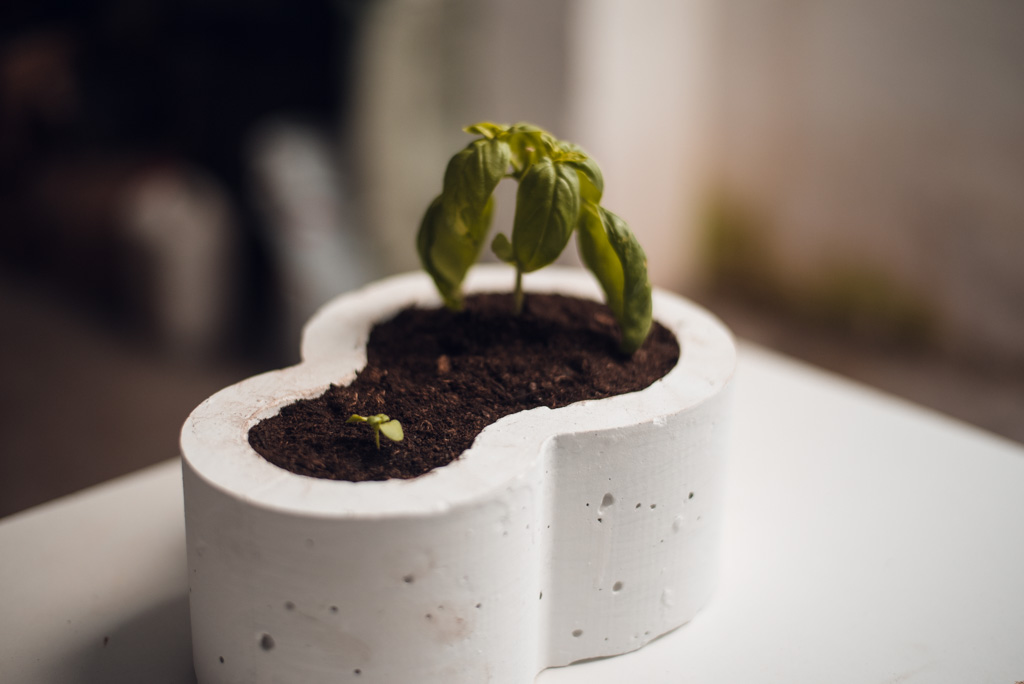
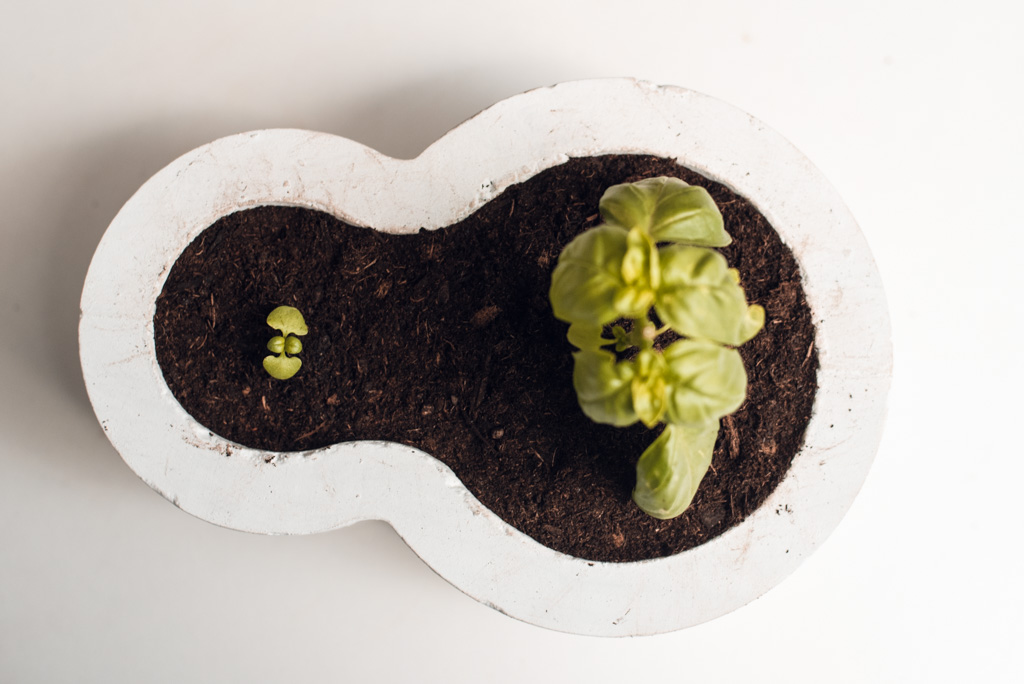
The finished 3D printed flower pot
Once finished, painted and fully cured the cement pot was filled with soil. Due to the shape of the pot, two plants can be plated simultaneously. In this case I went for some basil!
That’s how we made our 3D printed flower pots in the shape of the Magigoo logo. This method can also be used to created molds for other purposes, be it decorative or functional.