3D Printing – Perfect first layer adhesion – Magigoo
In this final part of our blog post series about warping in 3D printing, Magigoo Chemist, Jean Paul Formosa will discuss the best practices to further improve first layer adhesion and reduce that warp.
Improving first layer adhesion further
With some engineering materials, printing at the optimum build-plate temperature and using a designated build-plate adhesive might still not be enough to prevent warping. While for some materials a heated build chamber which reduces the thermal stress is needed, the following methods will also help further to mitigate warping and improve first layer adhesion. These include:
Application
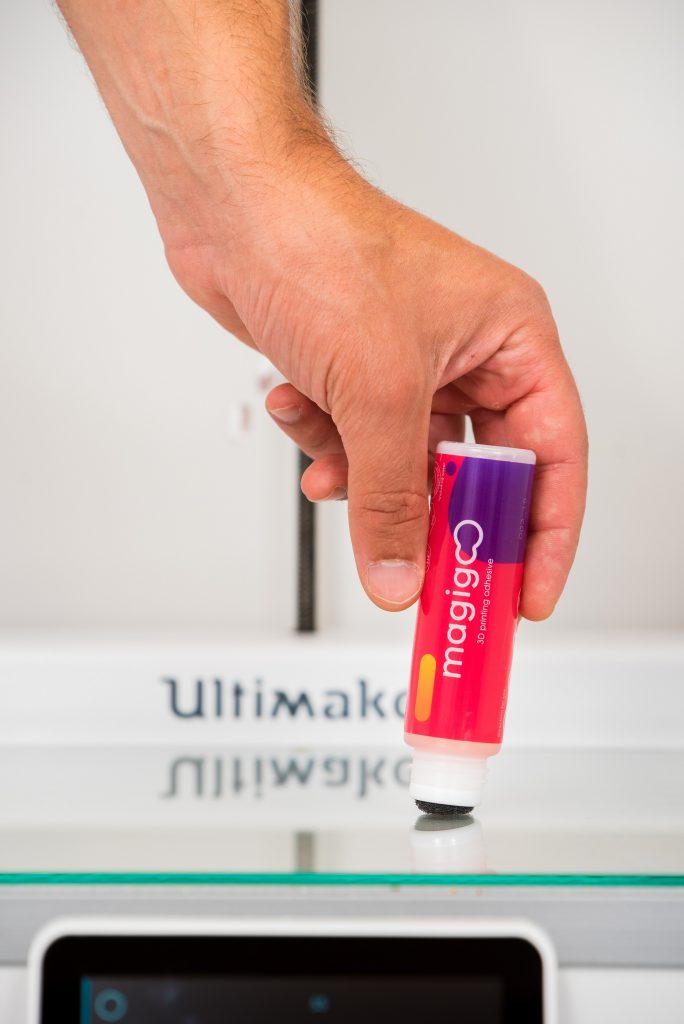
Before application one must make sure that the build-plate is cleaned properly and free from oils and detergents which will negatively impact adhesion. Care must also be taken to apply the adhesive evenly, in some cases applying a double or triple layer of adhesive will improve first layer adhesion. (Figure 1)
Using slightly higher temperatures for the first layer:
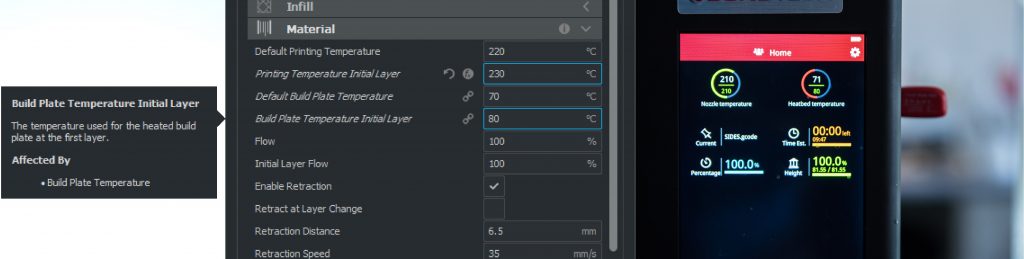
An additional 5 °C, 10 °C or even 15 °C on the build plate over the base printing temperature can often help with improving the adhesion on the first layer, the build-plate can then be turned down to the base temperature to avoid problems associated with the build-plate being too hot. The same principle can also be applied for the nozzle temperature, an additional 5 °C – 15 °C for the first layer usually aids with improving first layer adhesion.
Using a brim
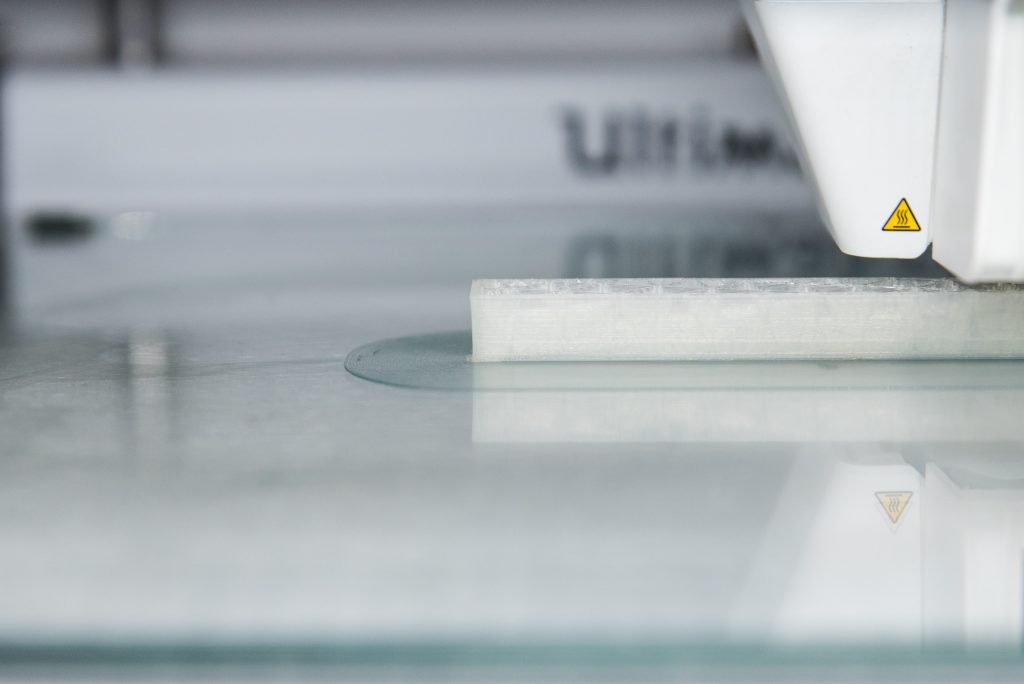
With certain materials such as PP, some Nylons, some Polycarbonate materials and Glass reinforced PP, a brim is an absolute necessity with most parts (Figure 3). For example polypropylene materials and some nylons show poor adhesion, are flexible, crystalline and have a high shrinkage rate. The perfect recipe for warping. This means that a wide brim will be needed to keep the part from peeling away from the build plate. On the other hand materials such as polycarbonate are very stiff and pull on the build-plate with large amounts of force, a brim will help distribute this force on the build plate and thus reduce warp. When using a brim it is also recommended to use the largest first layer height possible since a thicker brim is stronger and will thus be more effective against warping.
Tweaking other first layer settings
Slowing down the speed for the first layer helps improve the interaction of the melted plastic with the adhesive layer and thus will aid in first layer adhesion. Similarly slightly over extruding the first layer also improves first layer adhesion (Figure 4).
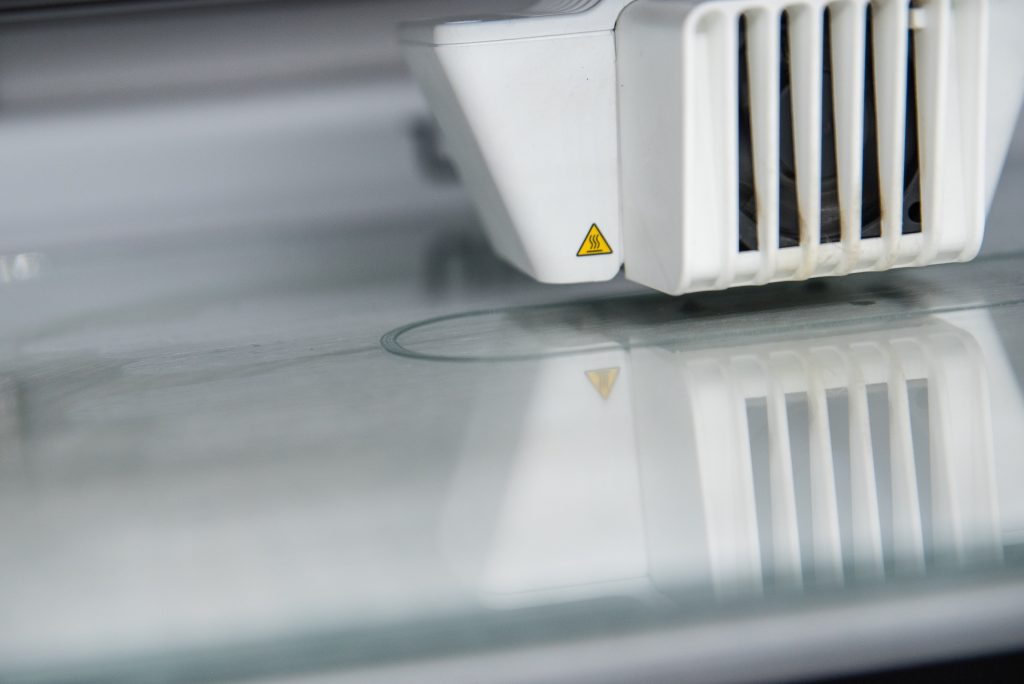
Turning off the build-plate after the first layer and using fan cooling for certain materials
Some exotic materials such as glass filled polypropylene and some flexible materials behave differently from other materials. These materials counter-intuitively benefit from a cooler environment while printing. This can be brought about by disabling the heated build-plate after the first layer is completed or by using an active part cooling fan. Since these materials are somewhat flexible, the thermal stresses brought about by the uppermost layers of the print will have a large effect on the bottom of the print. By cooling the plastic, both the base of the print and the build plate adhesive will become stiffer and thus restrict the uppermost layers from further deforming the print underneath. While this solution is highly effective for some filament types it can be disastrous for other filaments such as ABS and polycarbonate which tend to detach once the build plate cools.
This was the final part in this blog series. If you missed any of the previous parts, these will link you to them Part one, Part two and Part three.
Until the next one. Happy 3D printing.