Battery pack – Creating your own with 3D printing and sparks
Why create a battery pack?
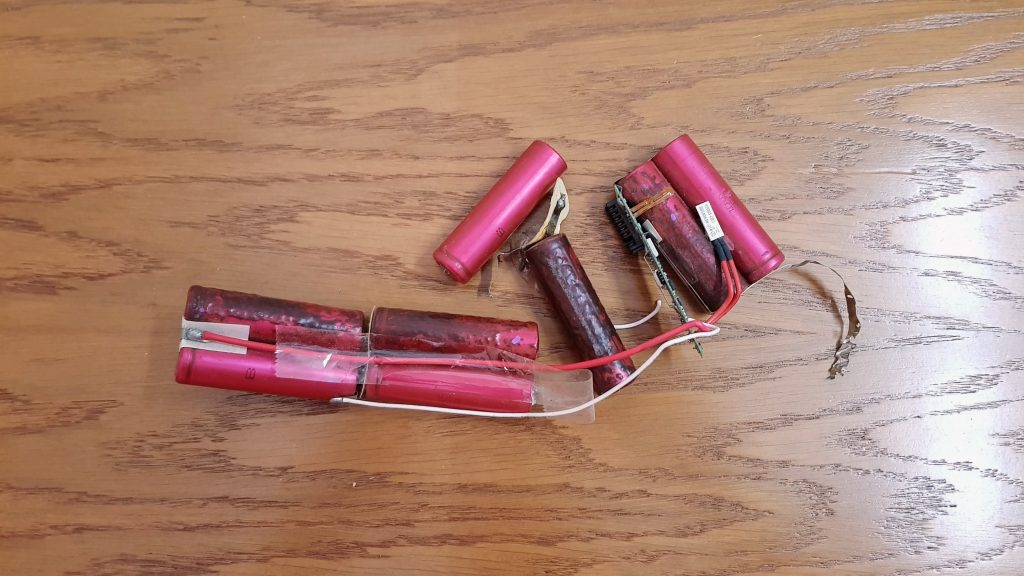
Laptop batteries look like something very complicated and sophisticated. This meant I had to crack one open to see what is inside. So, a number of years back, this is what I did and what I found was a collection of simple 18650 battery cells and a control circuit. I wanted to build one myself.

So I grabbed some batteries, a soldering iron, some flux, solder and wires. The steps were simple. Tin some wire with solder. Use some flux on the batteries and apply plenty of heat using the soldering iron. As a result I quickly had a self-made battery pack. This was not completely satisfying, however and besides, I was somewhat concerned that the applied heat was probably not beneficial to the cells themselves.
In reality, more for the sparks I guess
The idea of having my own spot welder to create professionally looking welded battery tabs was, very intriguing. Probably, what really intrigued me however, was that a huge amount of energy will be discharged in a very small amount of time in a single point, or SPARKS. It is also true that it is a quicker, more efficient and probably safer way to get professionally looking battery packs done.
Thus, lately when I needed a custom battery pack with a specific shape, I decided that I would have my own battery spot welder. Therefore, I started doing some research into building my own. Most of the designs I came across on the internet, repurposed old microwave oven transformers. Even though I have a couple of these transformers lying around, none the less I decided against these designs. They just look too dangerous for a tool that can be safely operated by pretty much anyone. Furthermore, they looked too unrefined for something that would look nice even in a lab or at home. I also came across a video on youtube by ‘GreatScott!’ as part of his awesome DIY or Buy series.
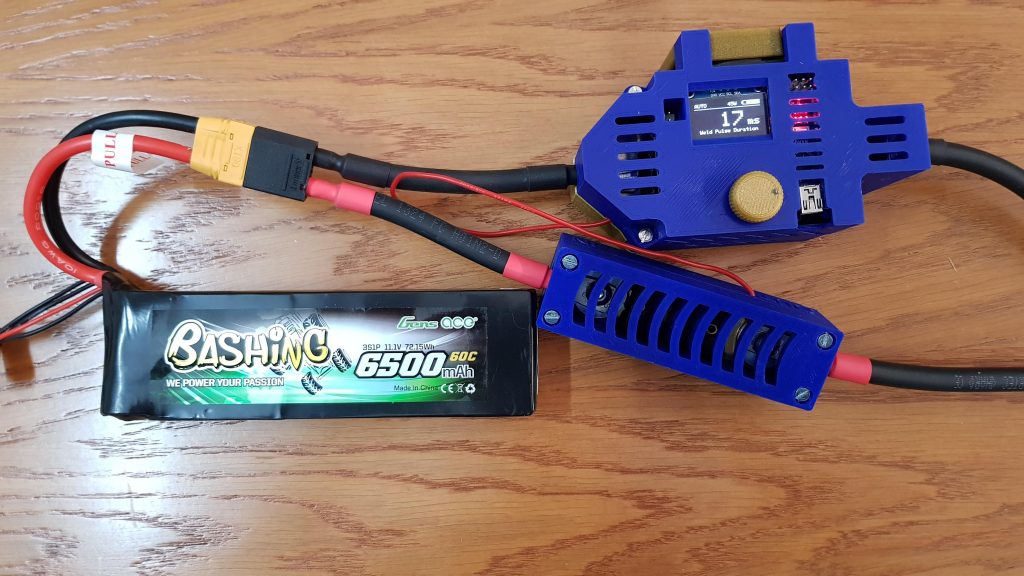
I then decided I wanted to my spot welder design to be based on an Arduino microcontroller, and this is when I came across the Malectrics Arduino spot welder kit. I bought a kit, 3D printed the case using some blue pla from 3DPrima and some gold happens from fillamentum and let it sit for some months together with many other projects. A year later, with the whole COVID situation, I found the time to finish this project.
With some sparky results:

Unleash all the power
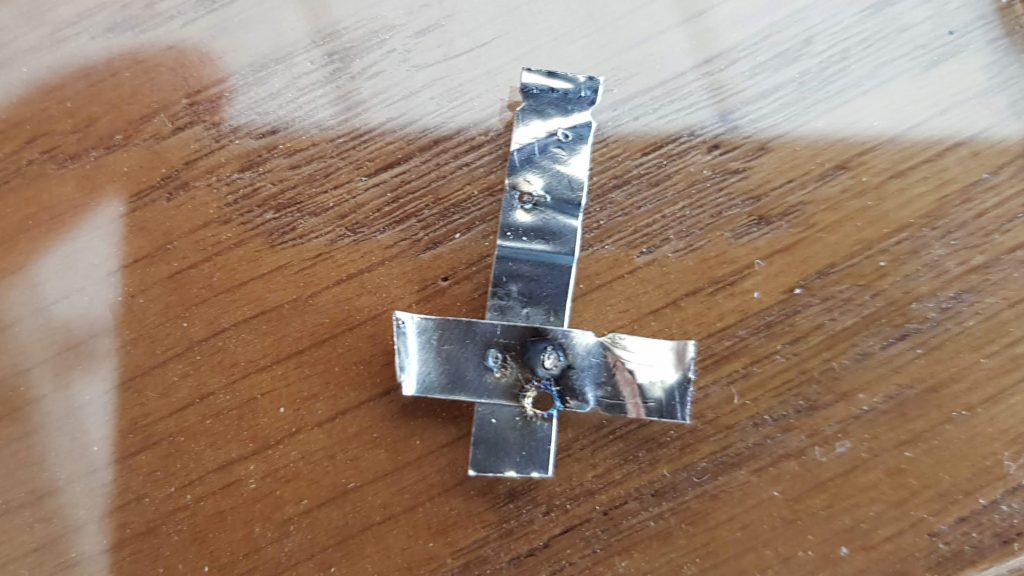
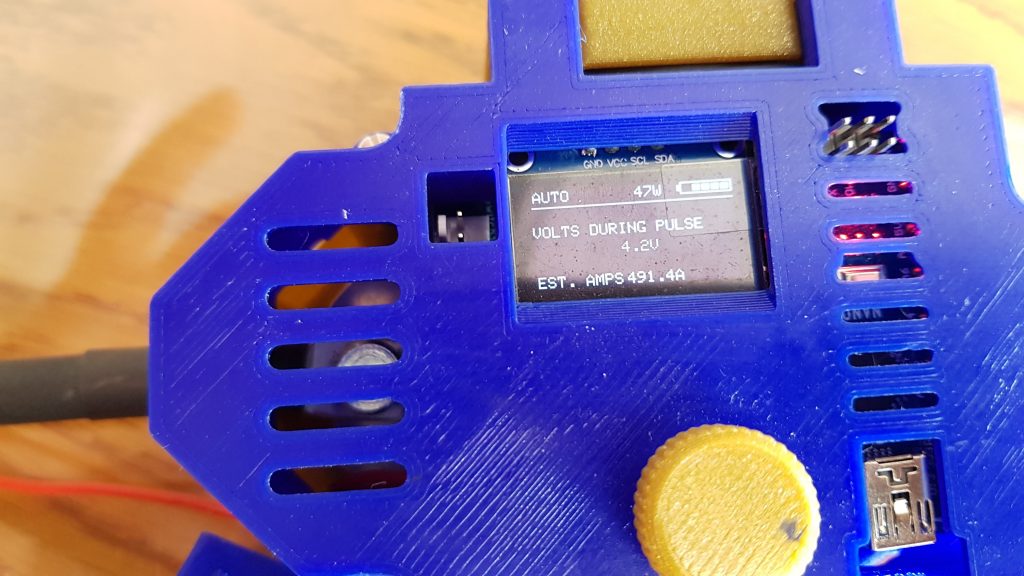
Weld pulse duration can be accurately controlled. This limits the power transferred to the nickel strips. A short weld pulse duration leads to a weak or no connection between the tab and the battery. A long weld pulse duration can completely melt the tab and possibly damage the battery. The sweet spot was at around a 17ms pulse but this depends on the setup and materials. The below image shows clearly what happens when I chose a weld pulse duration which was too long.


Upgrades to the battery spot welder
I plan to design a holder for the probes and create a lever plunger mechanism to be able to operate this without having to hold the probes in my hand. Just like Jan, in a previous blog post, I am using 3D printed parts (like the following item by ‘Nexty‘ on thingiverse) to join the batteries together and hold them in place ready for welding. First of all though I need to buy myself more nickel strips. It was way too much fun seeing them explode due to too long weld pulse durations.