MSLA Printing with Peopoly’s Phenom
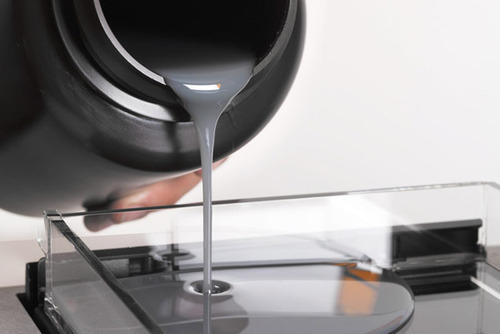
Fused Deposition Modeling (FDM) 3D Printing is the most popular and common type of Additive Manufacturing. However it is not the only technology available out there. Another very well known process is the Stereolithography (SLA) process. This technology utilizes focused UV light to cure a vat of resin layer by layer by polymerization, in succession. A process that is similar to SLA is MSLA – Masked Stereolitography.
The main difference between SLA and MSLA is the method through which the resin is cured. SLA makes use of a laser to solidify the layers one at a time, while MSLA uses a masked LCD to project UV light to solidify the layers.

At the Magigoo office, we starting using a Phenom Printer, a large format MSLA printing machine, by Peopoly, which has a build envelope of 276 x 155 x 400 mm. This technology offers a number of benefits, such as; increased dimensional accuracy, smoother finish, and fast printing time. One thing note is that is quite different from the FDM process, is the printing time. While in FDM the printing time depends on the overall size of the model, in SLA and MSLA, the printing time depends solely on the height of the model, since the entire layer is solidified at one go.
Resin
First of all, it’s important to specify that in general, printing resins are hazardous materials, so a respirator and gloves should always be worn when handling them. Peopoly have their own line of resins, however other resins may be used on the Phenom. In our case, we are mostly using the Deft Peopoly Resin, as we found it to provide the best results with this printer for our applications. When testing out a new resin, it is important to take your time and explore the different settings.
Slicing
When it comes to slicing for SLA and MSLA, there are a number of parameters to take into consideration, but some would argue that the most important one is the orientation.
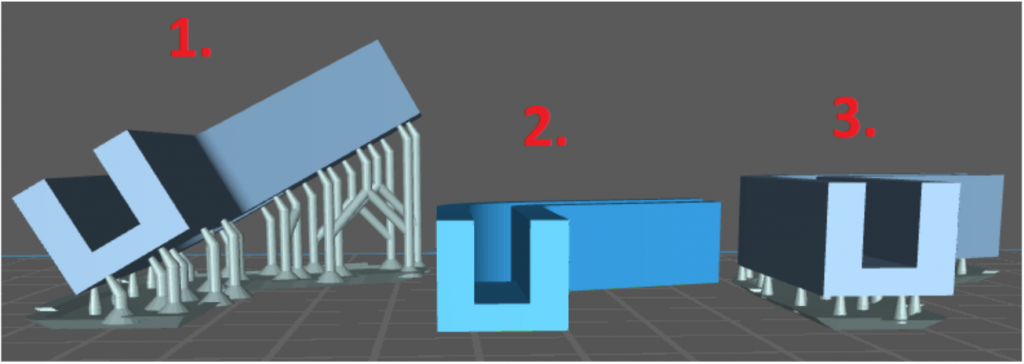
Above, there are three orientations of the same part. As mentioned previously, the printing time is purely determined by the height of the part. In our case, Orientation 1 has the largest height, and Orientation 2 has the lowest height. Thus, Orientation 2 would be the most logical orientation, since it has the least printing time. However, when you have such a large area touching the build plate, it will be difficult to remove due to the large surface adhesion.
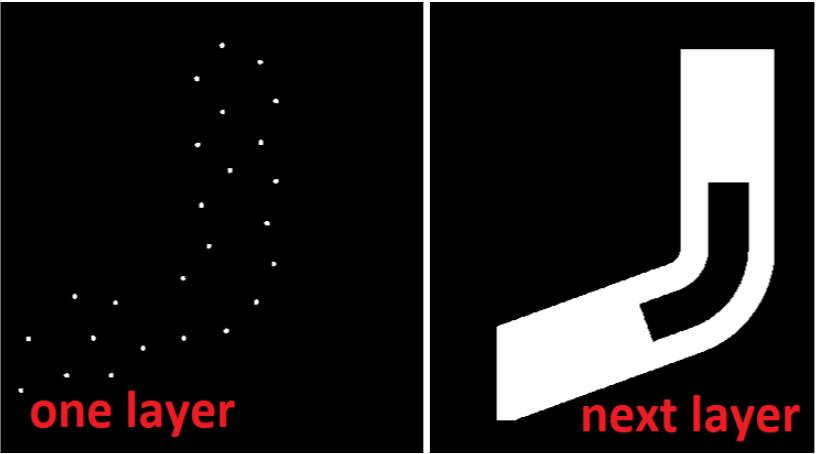
Therefore, one might think that Orientation 3 might be the best option, since it offers the next best printing time. This orientation however also presents a problem, since the interface between the support material and the actual print will be very wavy and rough. This is because when the process reaches the first layer of the part, it goes from curing dots (support) to a whole plane (first layer). This can be seen in the screenshot below. This transition is too extreme and does not really allow for a smooth surface to be created.
The final option goes back to Orientation 1, where the printing time has increased, but the overall quality of the part will be much better than either of the other options. As is the case with most 3D Printing techniques, more often than not, compromises must be made to achieve a successful print. This is especially the case with most MSLA printing of parts.
Post Processing
There are three main aspects to post processing SLA and MSLA prints, Cleaning, Curing, and Surface Finishing. The cleaning mainly consists of removing excess resin and the support structures from the part. This is done by first immersing and washing the part in Isopropyl Alcohol (IPA) to get rid off any excess resin. Following this, you can easily remove the support structure with the use of clippers. It is important to be careful when removing the support, as it may damage the surface it is connected to.
The Curing is done as a further polymerization to that which happens in the MSLA printing process. There are multiple ways in which one can cure a resin print, however here at the Magigoo office, we use our own DIY UV Curing Chamber that we built last year. Check out that blog post to learn all about the features that our chamber has. The Surface Finishing procedures are done purely for aesthetic reasons. This is often done with the use of a dremel tool.
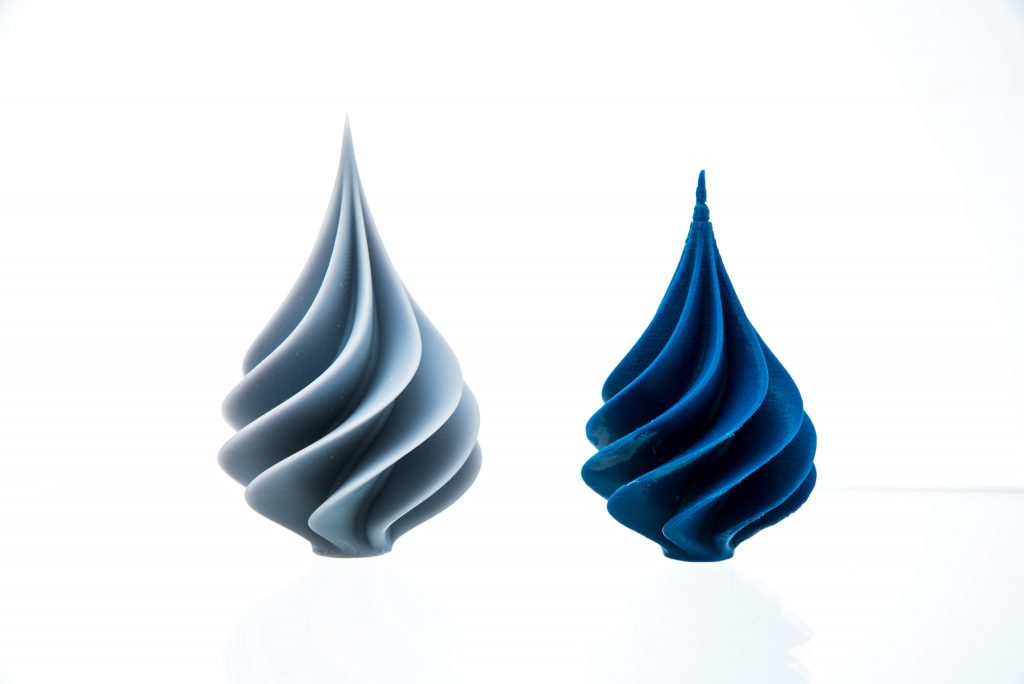
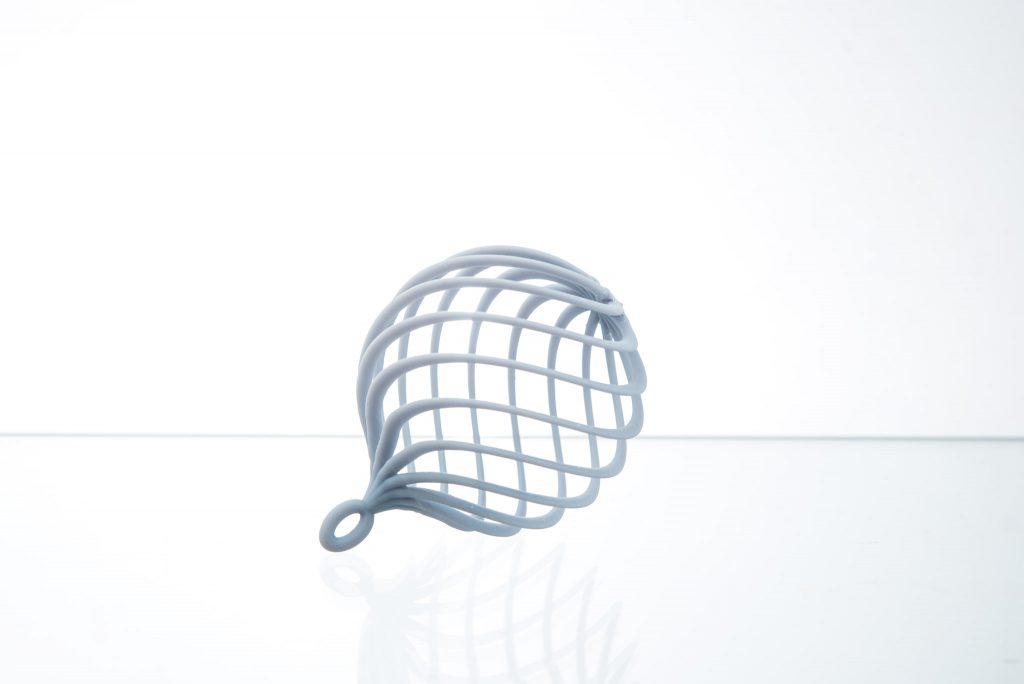
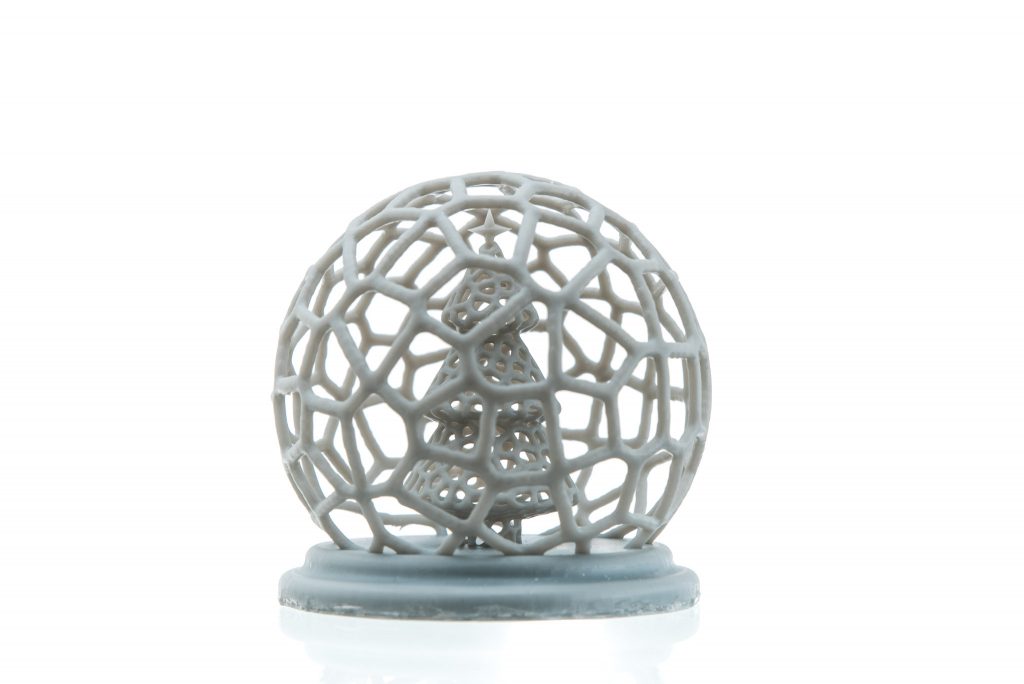
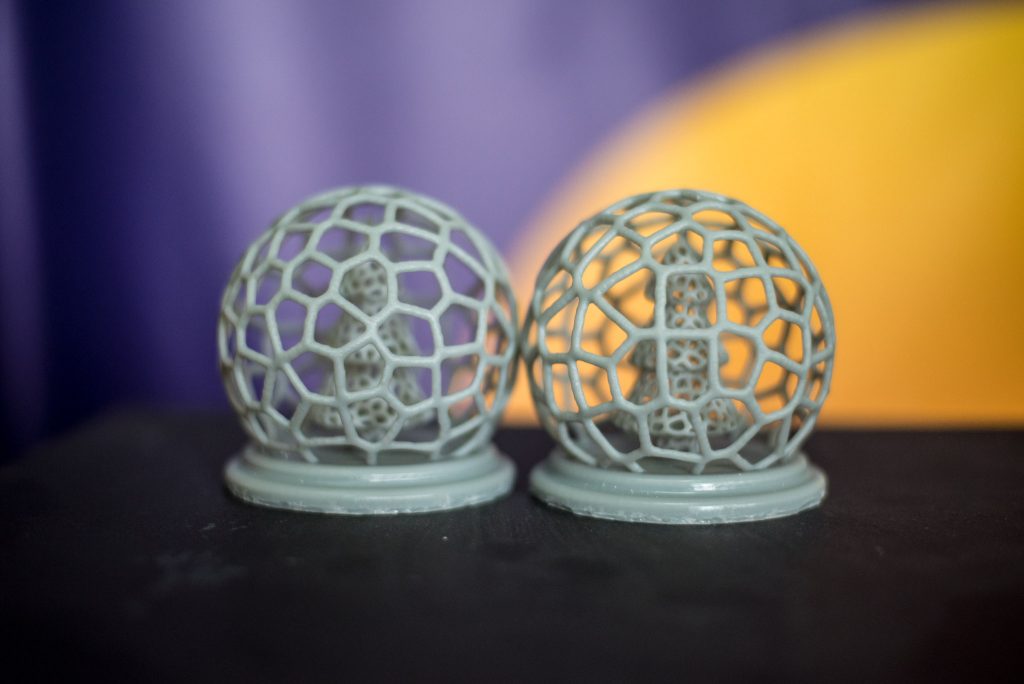
Check out some prints we did with the Peopoly Phenom printer!